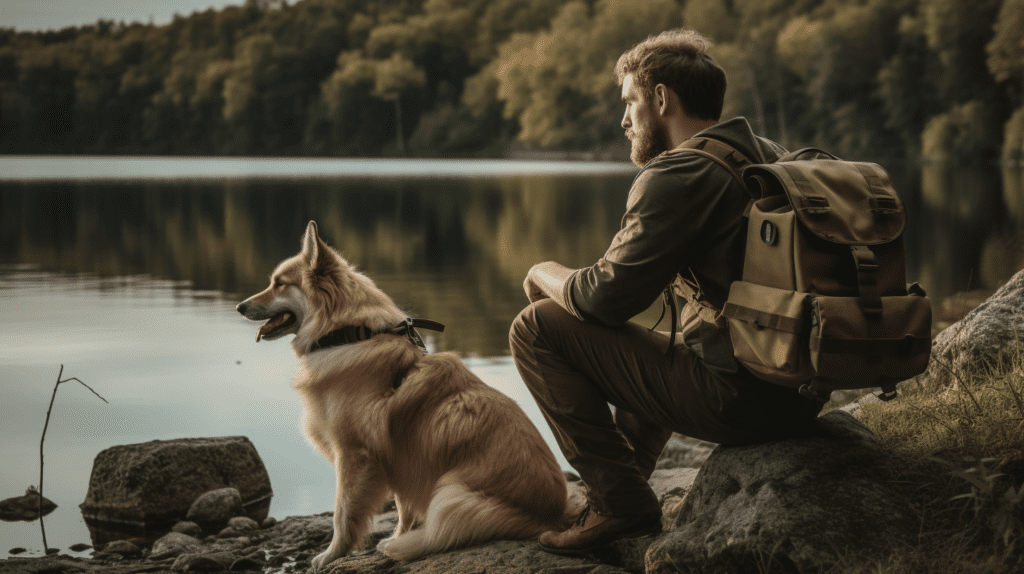
Prepping 101: Modern Day Preparedness
Prepping 101: Mastering Essential Survival Skills for Modern Challenges
Equip yourself with vital knowledge in emergency management, resource allocation, and sustainable living to confidently face unexpected events.
Our comprehensive guide delves into the core aspects of prepping, including strategic planning, stockpiling essentials, and developing self-sufficiency to safeguard your and your loved ones’ future.
Explore key areas such as emergency kits, food preservation, water purification, and energy independence. Learn to navigate natural disasters, financial crises, and global uncertainties with our expert tips.
Prepping 101 isn’t just about survival; it’s about thriving in any circumstance with foresight and preparedness.
Key Takeaways
- Prepping is a practical approach to ensuring your safety in emergencies. It involves taking steps to be financially prepared and stocking up on essential supplies.
- Building a bug out bag and developing survival skills are crucial for unexpected situations.
- It’s important to note that prepping is not just for extremists or conspiracy theorists. It’s a sensible way to be prepared for any situation.
- Don’t wait for disaster to strike. Start prepping today to secure a safe future for yourself and your loved ones.
In This Guide:
- Reasons to Start Prepping
- Financial PreparednessTips
- Adopting Sound Financial Habits
- Essential Supplies for Prepping
- Importance of a Bug Out Bag
- Must-Have Survival Skills
- Building a Support Network
- Bugging Out Vs. Sheltering in Place
- Prepping in Small Spaces
- Food Storage Basics
- Water Filtration and Storage Methods
- Learning Core Survival Skills
- FAQ’s
Reasons to Start Prepping
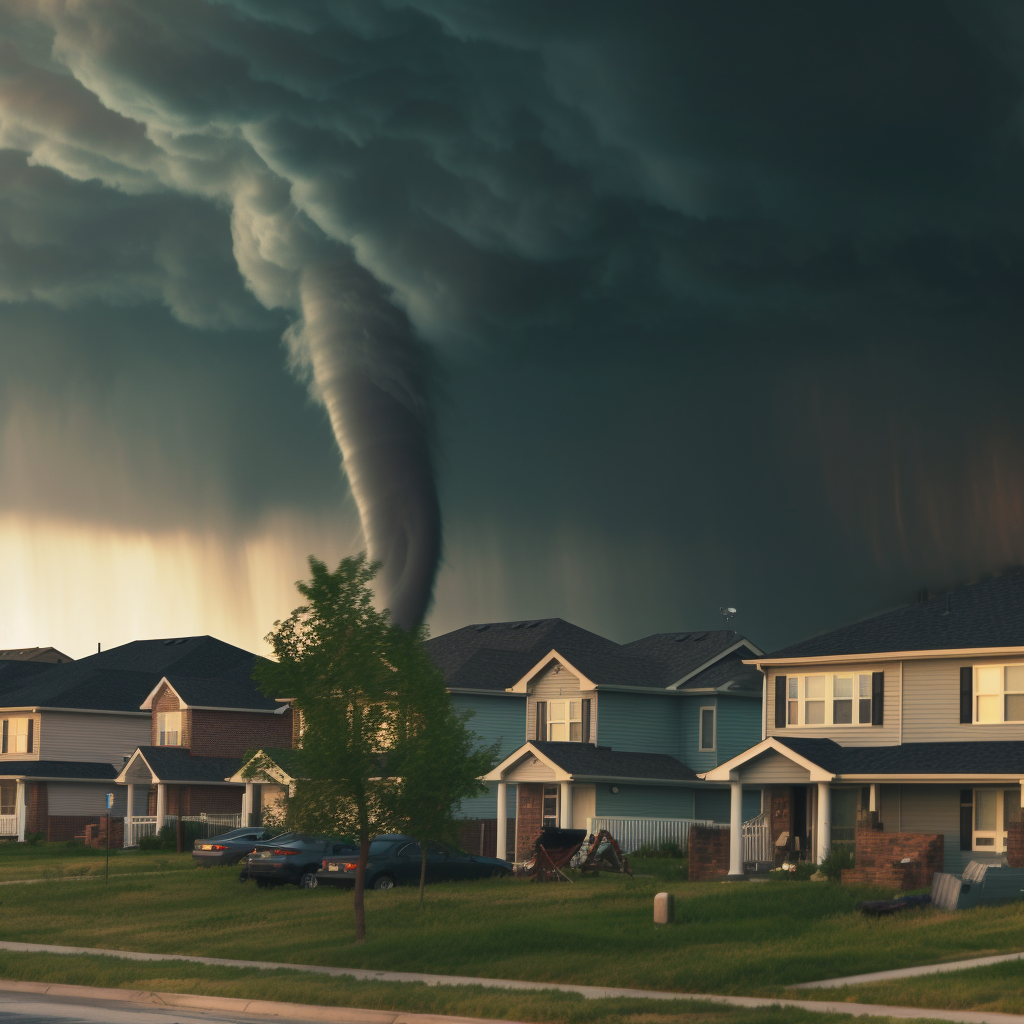
There are numerous reasons why you should start prepping without delay. In today’s world, where the frequency of natural disasters is increasing, the ongoing pandemic is a constant concern, and unexpected emergencies can occur at any time, it’s crucial to be prepared.
Prepping isn’t limited to beginners; it’s a practice that benefits anyone who prioritizes their safety and aims to acquire essential survival skills. Watching preppers TV series provides you with valuable knowledge and insights on how to effectively prepare for various scenarios.
By stockpiling necessary supplies and developing self-reliance and problem-solving skills, prepping equips you with the tools needed to navigate through unpredictable situations.
Don’t wait for disaster to strike; take action today and ensure your readiness for whatever challenges may come your way.
Start your prepping journey now and gain the peace of mind that comes with being prepared for the unknown.
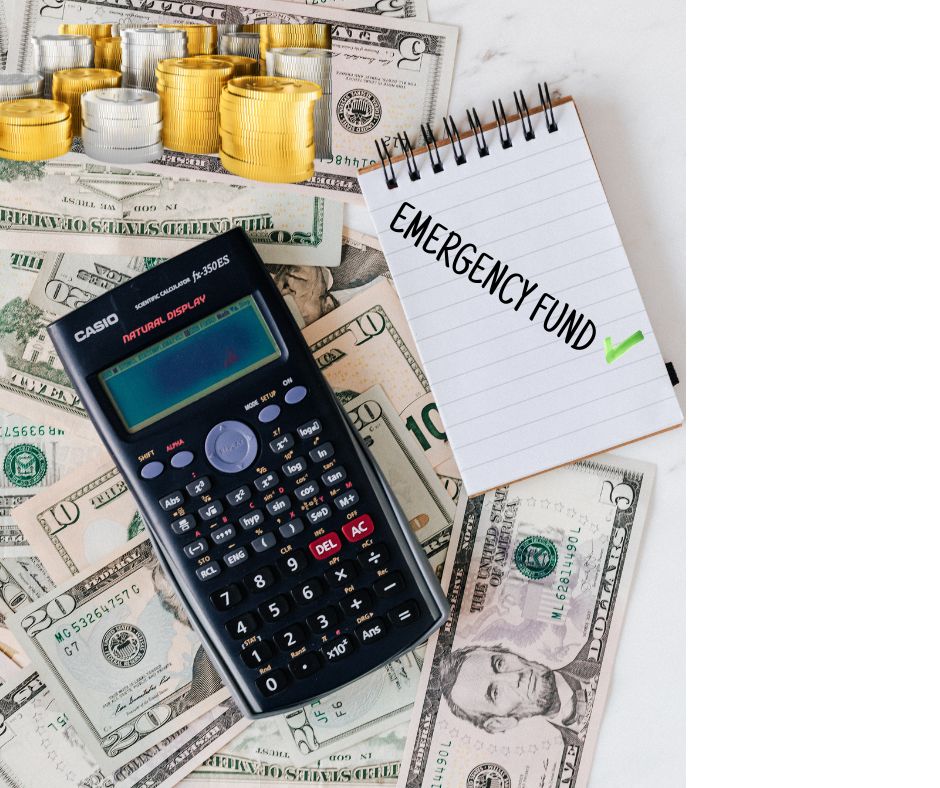
Financial Preparedness Tips
Financial preparedness is crucial for your financial well-being and security. One key aspect of being financially prepared is to save an emergency starter fund of at least $1,000. This fund acts as a safety net to protect you from unexpected expenses or income loss.
It’s recommended to aim for long-term financial security by saving three to six months’ worth of expenses. Creating a budget is essential in disaster preparedness as it helps you keep track of your spending and prioritize saving.
Following the advice of financial expert Dave Ramsey, who suggests the ‘baby steps’ approach to building an emergency fund, can be beneficial. By adopting sound financial habits, such as budgeting and consistently saving, you can achieve financial preparedness and gain peace of mind.
Building a strong financial safety net for emergencies is an important step towards ensuring your financial stability.
Adopting Sound Financial Habits
Adopt sound financial habits in your prepping journey to ensure stability and resilience.
By incorporating these habits, such as budgeting, bulk buying, and cost consideration, you can effectively prepare for emergencies while managing your everyday expenses.
Create a detailed budget that includes your income, expenses, and savings goals. Track your spending and make adjustments as needed to stay on track with your financial objectives.
Take advantage of sales and discounts by buying essential prepping items in bulk. This not only saves you money in the long run but also ensures you have an ample supply of necessary items.
When prepping, consider the cost of the items you purchase. Look for affordable options that meet your needs and prioritize essential items over non-essential ones.
By adopting these sound financial habits, you can navigate your prepping journey with responsibility and effectiveness.
Start today and take control of your financial future, ensuring you’re well-prepared for any situation that may arise.
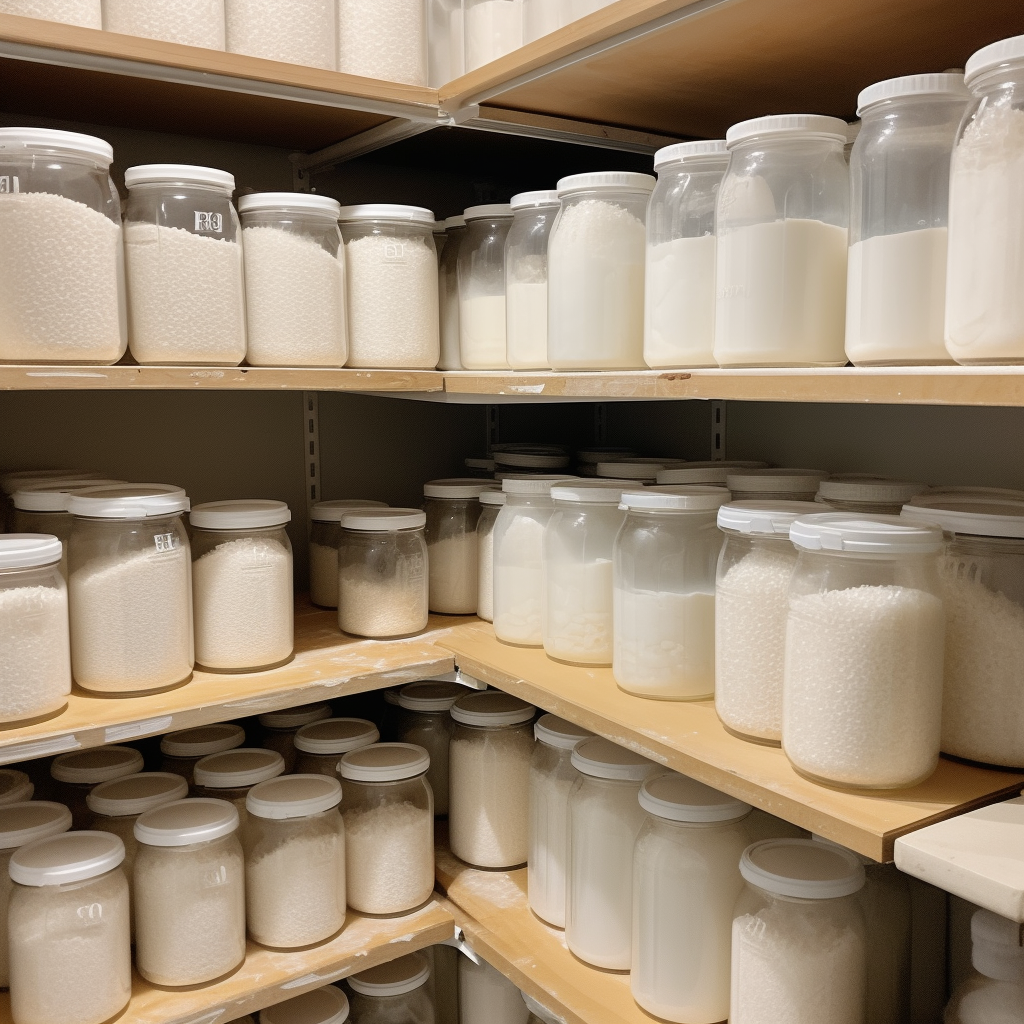
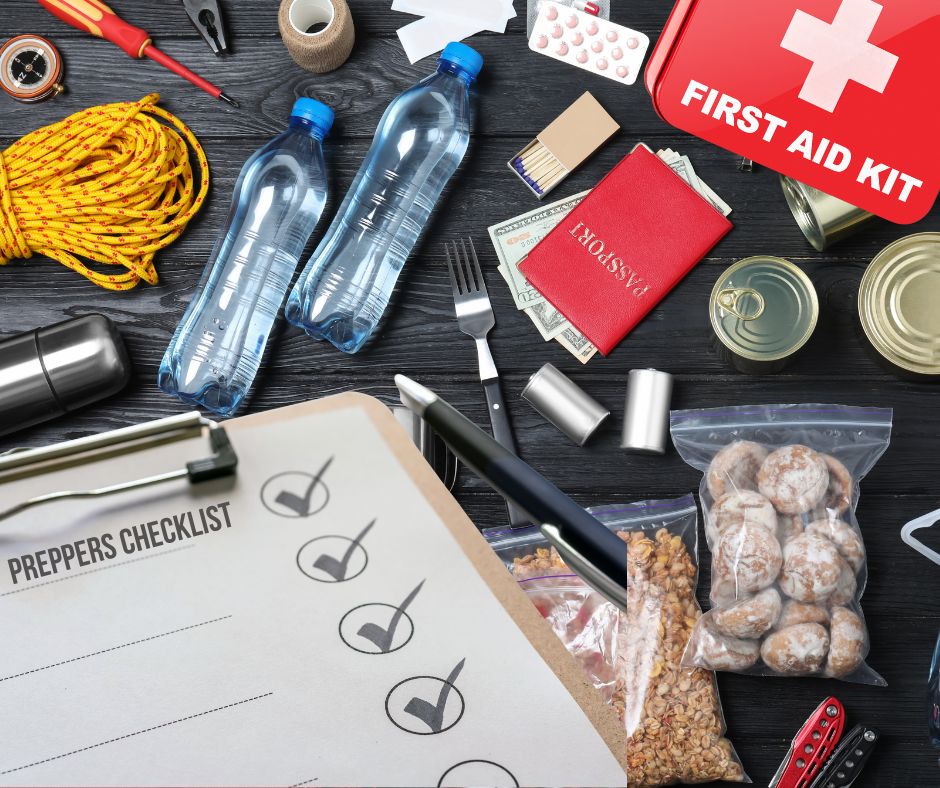
Essential Supplies for Prepping
To be well-prepared for emergencies, it’s essential to have a stockpile of necessary supplies. Investing in essential prepping supplies will ensure your safety and survival in times of crisis.
Here are three main categories of supplies that you should prioritize:
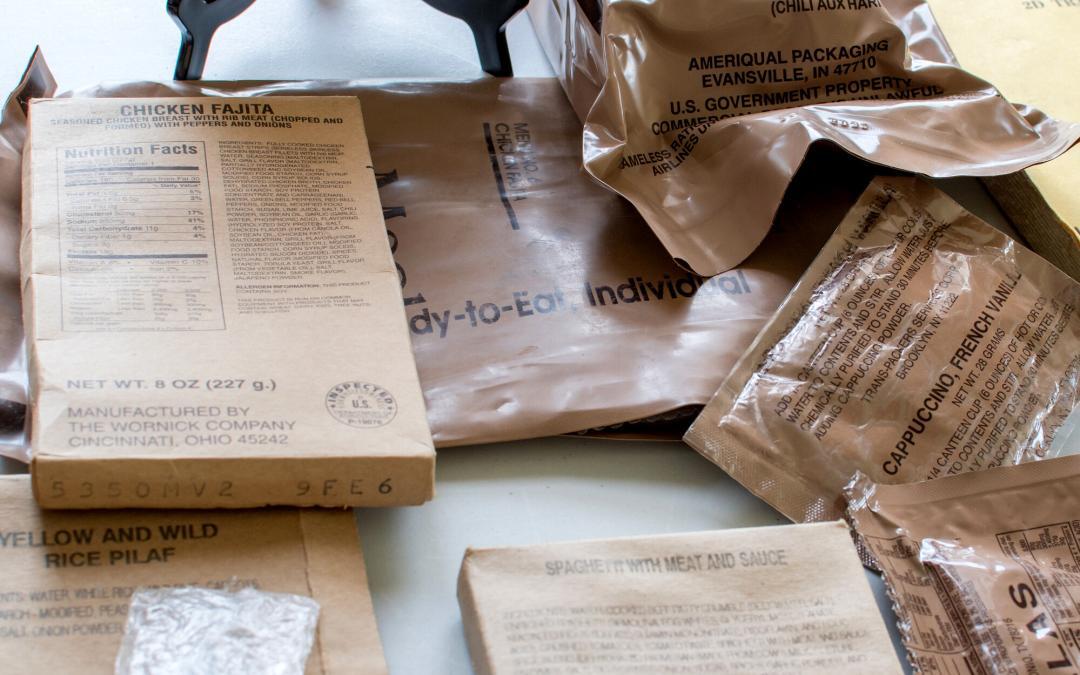
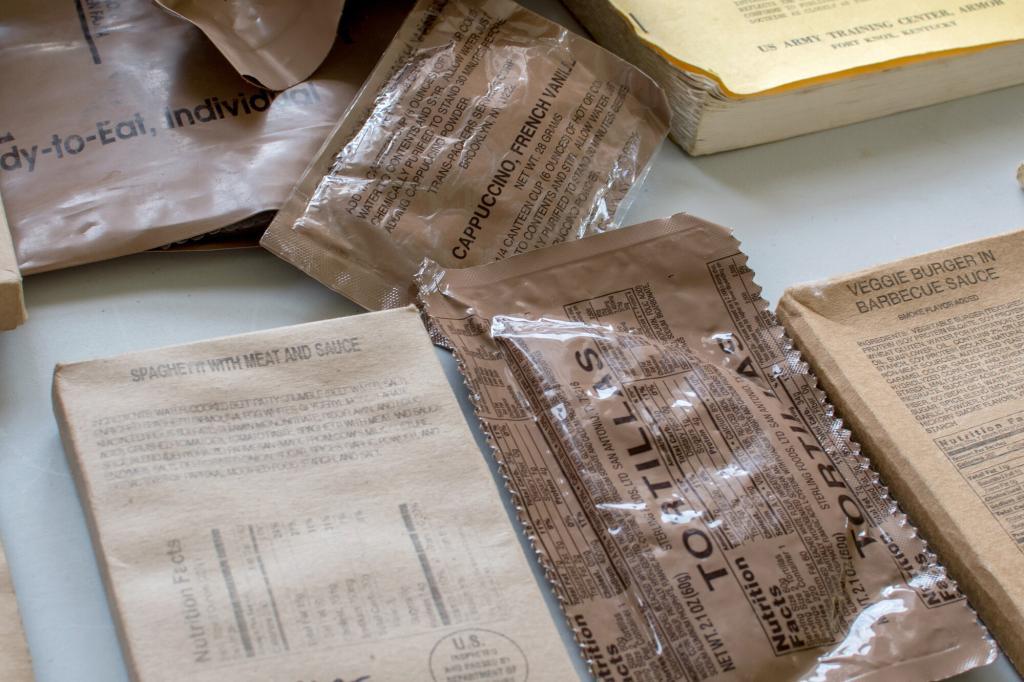
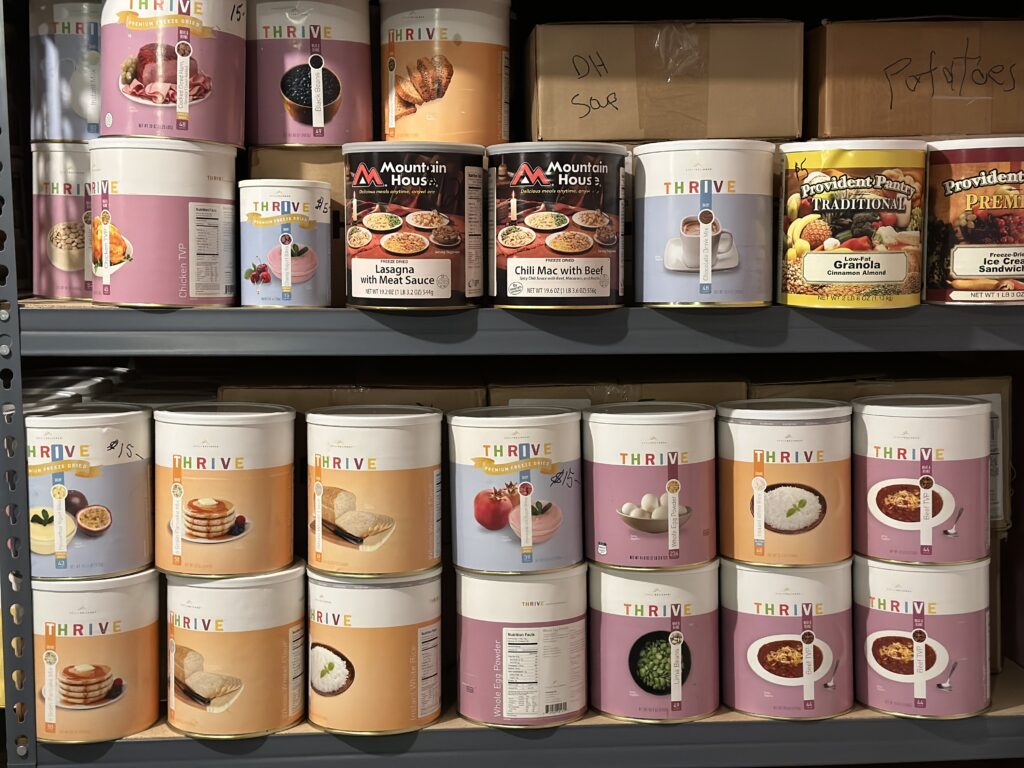
1. Food, Water And Shelter:
Food water and shelter are at the top of the list because they are a must to survive.
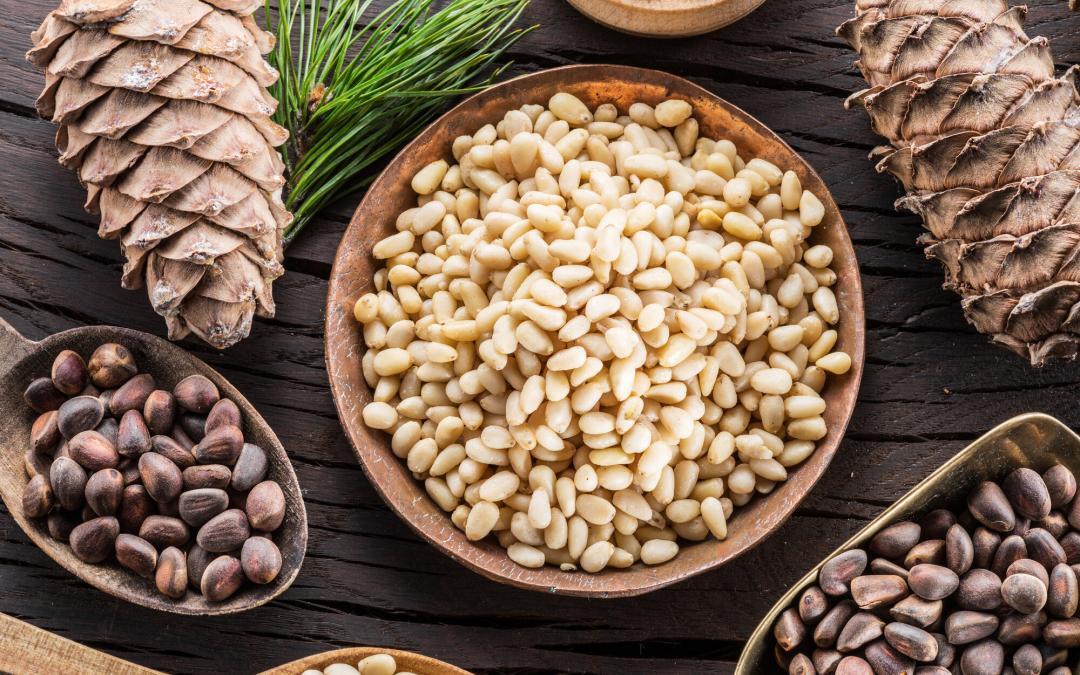
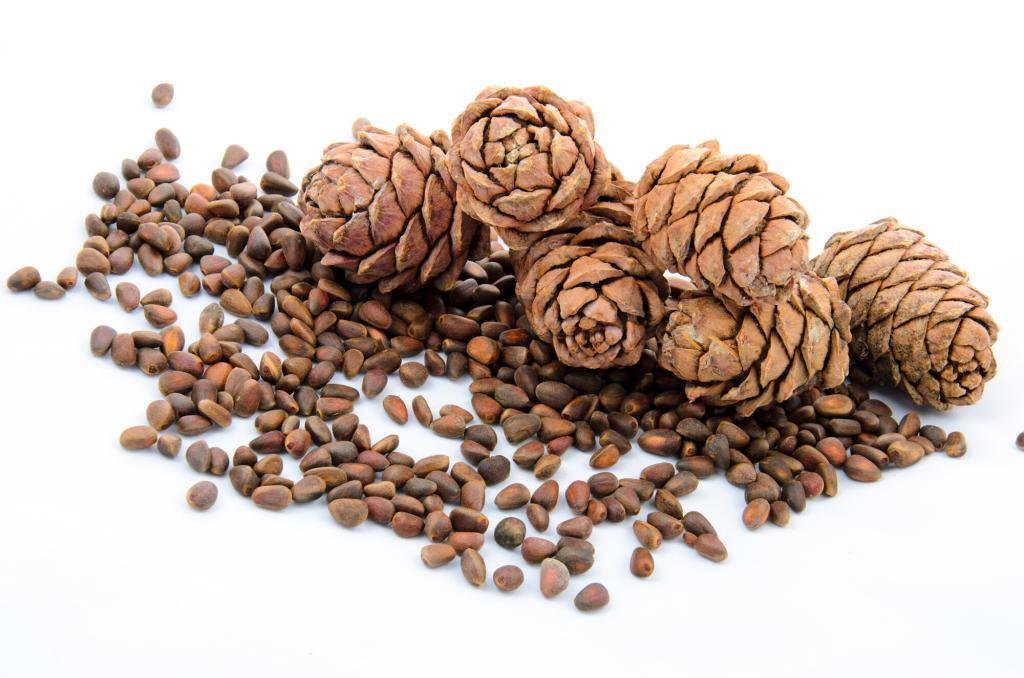
To be well-prepared for emergencies, stocking up on non-perishable food items and having a proper shelter is crucial. Fill your survival kit with long-lasting supplies such as canned goods, dried fruits, rice, grains, dehydrated foods, and protein bars.
Don’t forget to ensure a reliable and ample water supply as well. Consider investing in water purification tablets or a filtration system to guarantee access to clean and safe water.
Shelter is paramount in any survival situation, as it serves as a fundamental element of the survival hierarchy, right alongside the essentials of food and water.
A well-constructed shelter provides protection from the elements, be it extreme temperatures, precipitation, or wind.
Shelter also plays a crucial role in preserving your mental and emotional well-being, providing a safe haven, sense of security and stability in an otherwise chaotic environment.
Moreover, a properly designed shelter can help you maintain a low profile and avoid detection in case you need to evade potential threats.
Whether it’s a temporary tarp lean-to, a makeshift debris hut, or a well-stocked bug-out location, understanding the principles of shelter-building and having the necessary tools and materials can be a lifesaving skill in times of crisis.
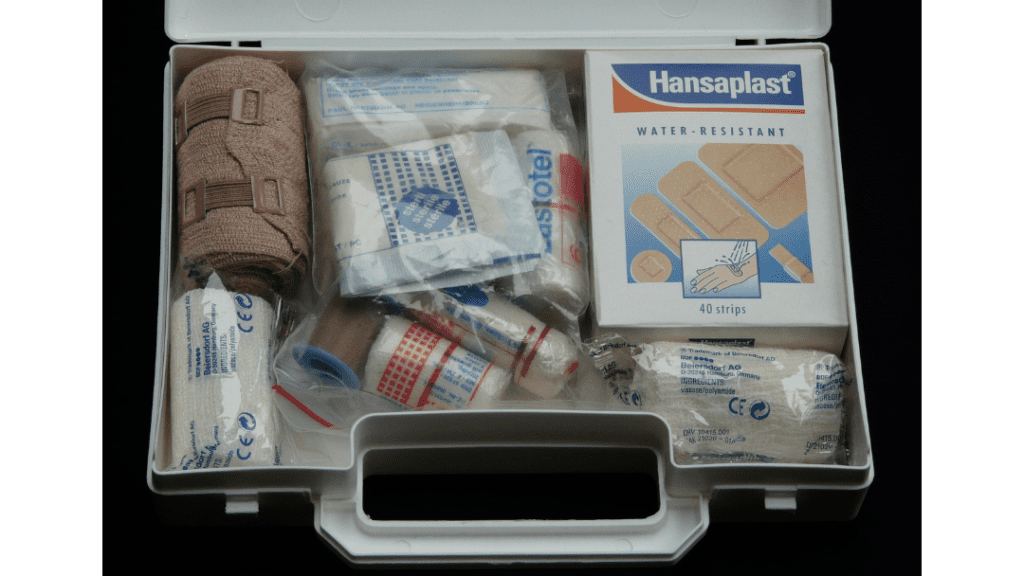
2. Medical and Hygiene Supplies:
Access to medical services can be limited during emergencies, making it vital to have a comprehensive first aid kit on hand. Include essentials like adhesive bandages, sterile gauze, antiseptic wipes, and common medications.
Pay attention to hygiene as well, stocking up on items like soap, toothpaste, and toilet paper. Maintaining cleanliness is crucial for preventing the spread of diseases.
3. Tools and Equipment:
Equipping yourself with essential tools and equipment is fundamental in emergency situations. A reliable flashlight is a must-have for illumination, especially in the dark. Waterproof matches will come in handy for fire-starting purposes, and extra batteries will ensure your devices remain powered.
A multi-tool is a versatile accessory that serves multiple functions. Additionally, having a portable radio or communication device will keep you connected and informed when critical information is necessary.
By focusing on these three main categories of supplies, you will significantly enhance your preparedness and increase your chances of successfully navigating through any crisis.
Remember to regularly check and replenish your supplies, ensuring that they are always up-to-date and readily available when needed.
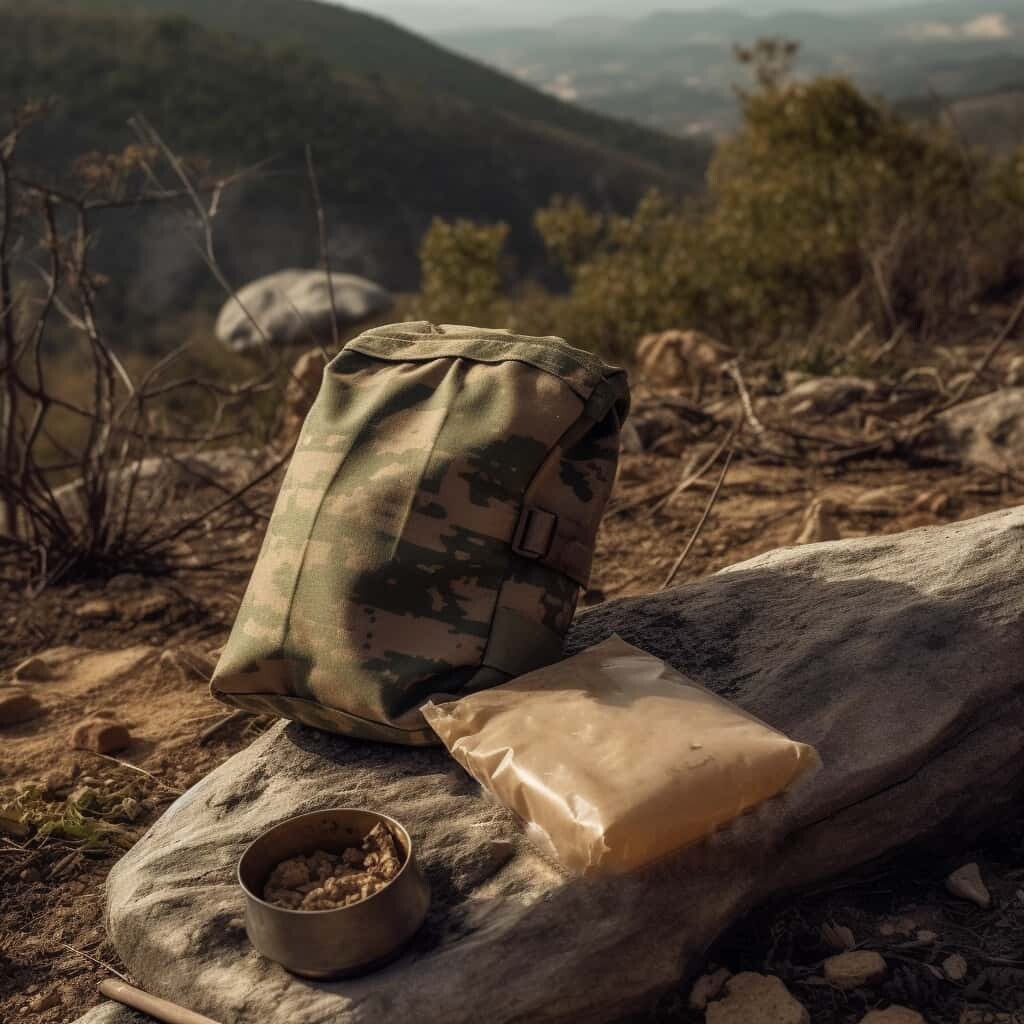
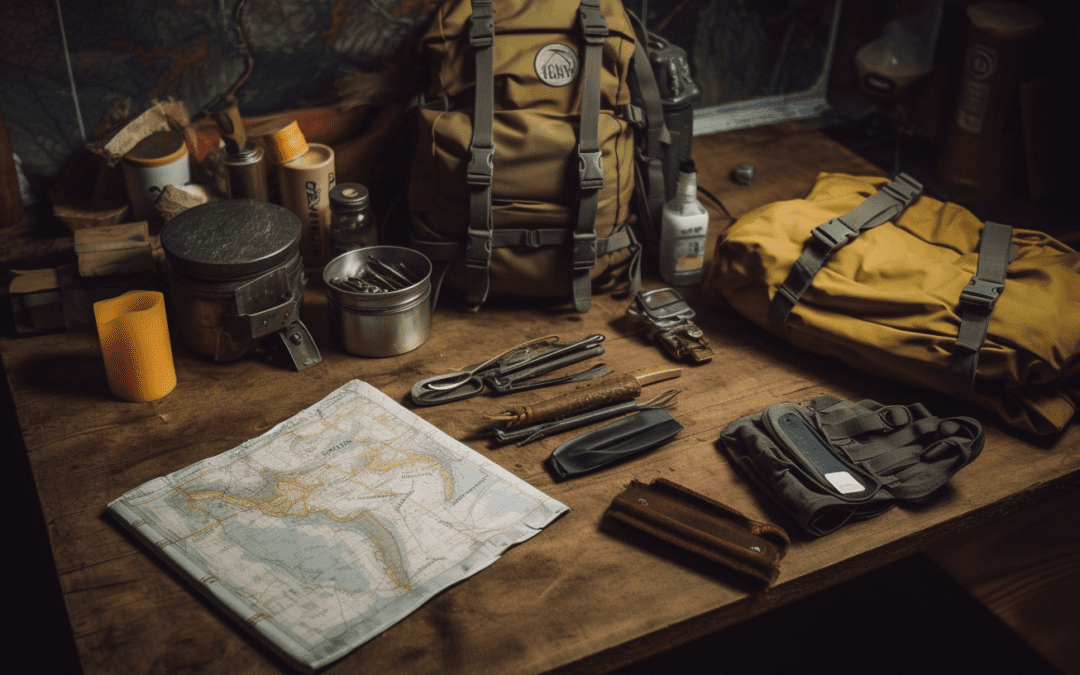
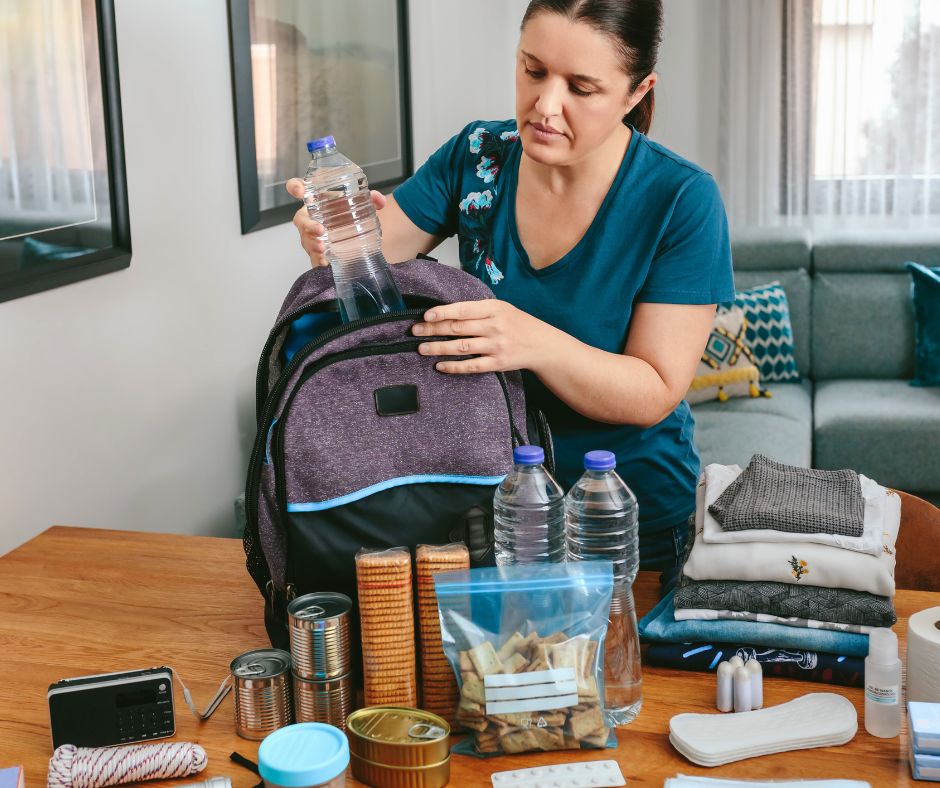
Importance of a Bug Out Bag
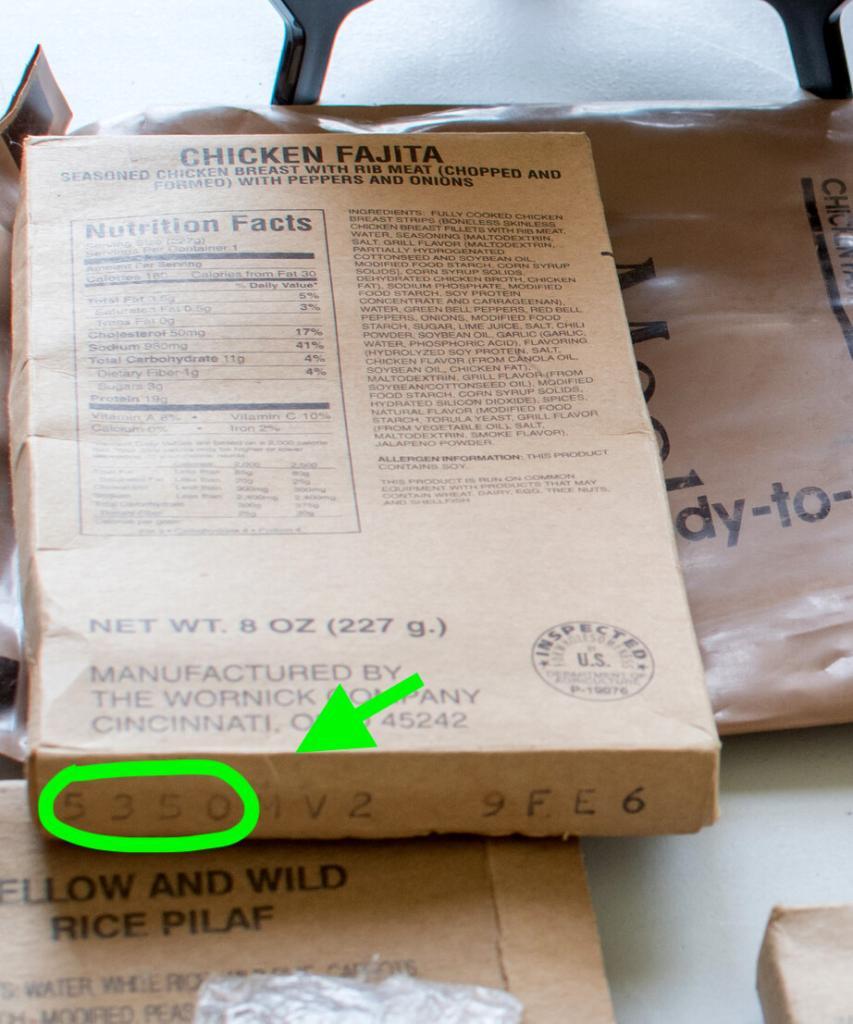
A bug out bag is an essential item for quick and efficient evacuation during emergencies. It ensures self-sufficiency and survival for at least 72 hours, providing you with the necessary supplies for food, water, shelter, and first aid.
A bug out bag allows for mobility and adaptability in unpredictable situations, making it a crucial component of your emergency preparedness.
By having a bug out bag ready, you can confidently face any emergency and have the necessary resources to overcome challenges. It provides you with the means to survive during a crisis, giving you peace of mind knowing that you’re well-prepared.
Having a bug out bag ensures that you’re ready to leave your home at a moment’s notice, enabling quick evacuation when needed. It’s a portable bag filled with essential supplies that are carefully selected to sustain you during an emergency situation.
Whether it’s a natural disaster, power outage, or any other unforeseen event, having a bug out bag ensures that you have the tools and resources to navigate through the crisis.
Start assembling your bug out bag today and be well-prepared for whatever comes your way.
Must-Have Survival Skills
Mastering survival skills is imperative for effectively navigating through emergencies and guaranteeing your safety and well-being. As a skilled prepper, it is vital to possess a diverse range of abilities to handle any unforeseen circumstance that may arise.
To this end, there are three essential survival skills that you must cultivate:
- Disaster Preparedness: Developing the ability to assess potential dangers and create comprehensive emergency plans is indispensable.
Acquiring knowledge in first aid and CPR will enable you to provide immediate medical assistance when required. In addition, understanding how to identify and procure safe food and water sources during a crisis is critical for survival.To find a CPR class near you, go to the American Red Cross for training services.
- Self-Defense: Becoming proficient in self-defense techniques will allow you to safeguard yourself and your loved ones in times of peril. It is essential to familiarize yourself with different types of self-defense weapons and learn their effective utilization.
Cultivating situational awareness will enable you to anticipate and evade potential threats proactively.
- Communication: Acquiring proficiency in using various communication devices, such as ham radios and walkie-talkies, is crucial for staying connected during emergencies.
Developing effective communication strategies will enable you to transmit vital information to others efficiently. Enhancing your ability to actively listen and convey messages clearly and succinctly is also paramount.
By honing these fundamental survival skills, you will be well-prepared to navigate any emergency situation that comes your way.
Whether it involves assessing dangers, defending yourself, or communicating effectively, these skills will empower you to remain safe and take control during challenging times.
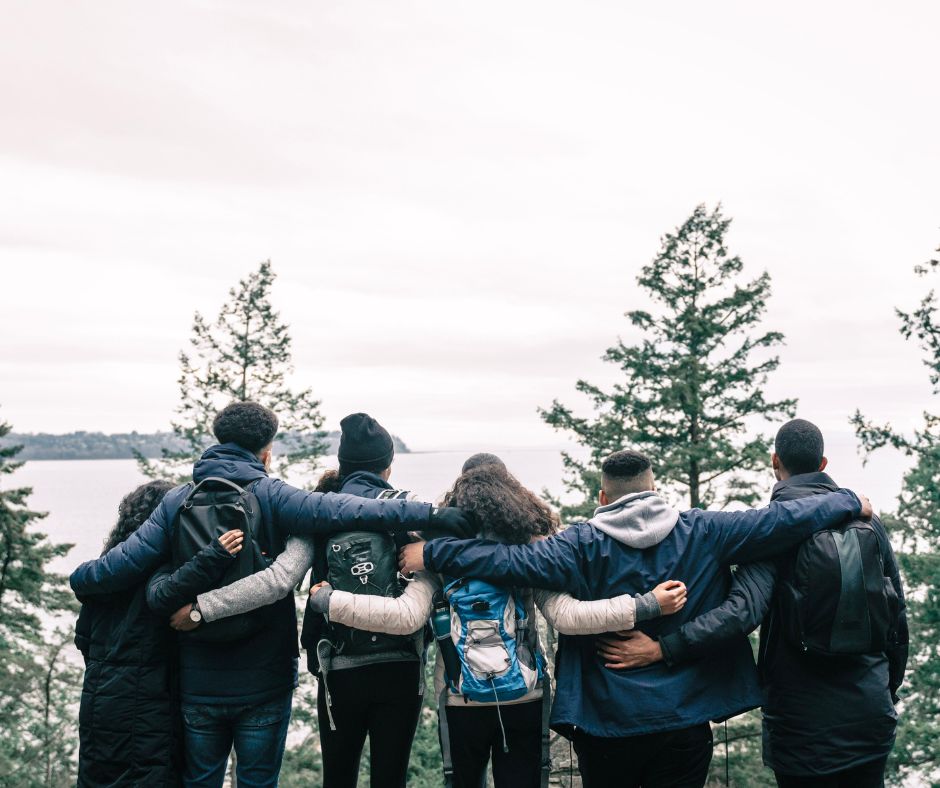
Building a Support Network
Building a support network and collaborating with individuals that have different skillsets and expertise will ensure a well-rounded group. When disaster strikes, joining forces with others allows you to combine resources, skills, and knowledge to effectively navigate through unpredictable situations.
By working together, you can increase your chances of survival and thrive in the face of adversity.
Seek out people who have knowledge in areas such as first aid, navigation, food preservation, and self-defense.
One of the key benefits of collaboration during emergencies is the shared pool of resources. When you collaborate with others, you can combine your prepping supplies, ensuring that everyone has access to essential items like food, water, and medical supplies.
This shared resource pool not only increases your chances of survival but also minimizes the strain on any one individual or group.
Another advantage of collaboration is the diverse range of skills that each person brings to the table.
During emergencies, tapping into a diverse set of skills such as first aid, navigation, communication, and problem-solving can be invaluable.
By collaborating with others, you can leverage this collective knowledge and expertise to tackle challenges more effectively.
Furthermore, collaboration provides essential emotional support during difficult times. Emergencies can be overwhelming, and having a support network is crucial for your mental and emotional well-being. Be sure to establish reliable communication channels, such as a group chat or designated meeting spot, this will facilitate effective coordination and information sharing.
It is important to foster a sense of trust and cooperation within the group, so that everyone feels comfortable asking for and offering help when needed.
Remember, building a support network is not just about preparing for emergencies, but also about forming meaningful connections with others who share a common goal of readiness and resilience.
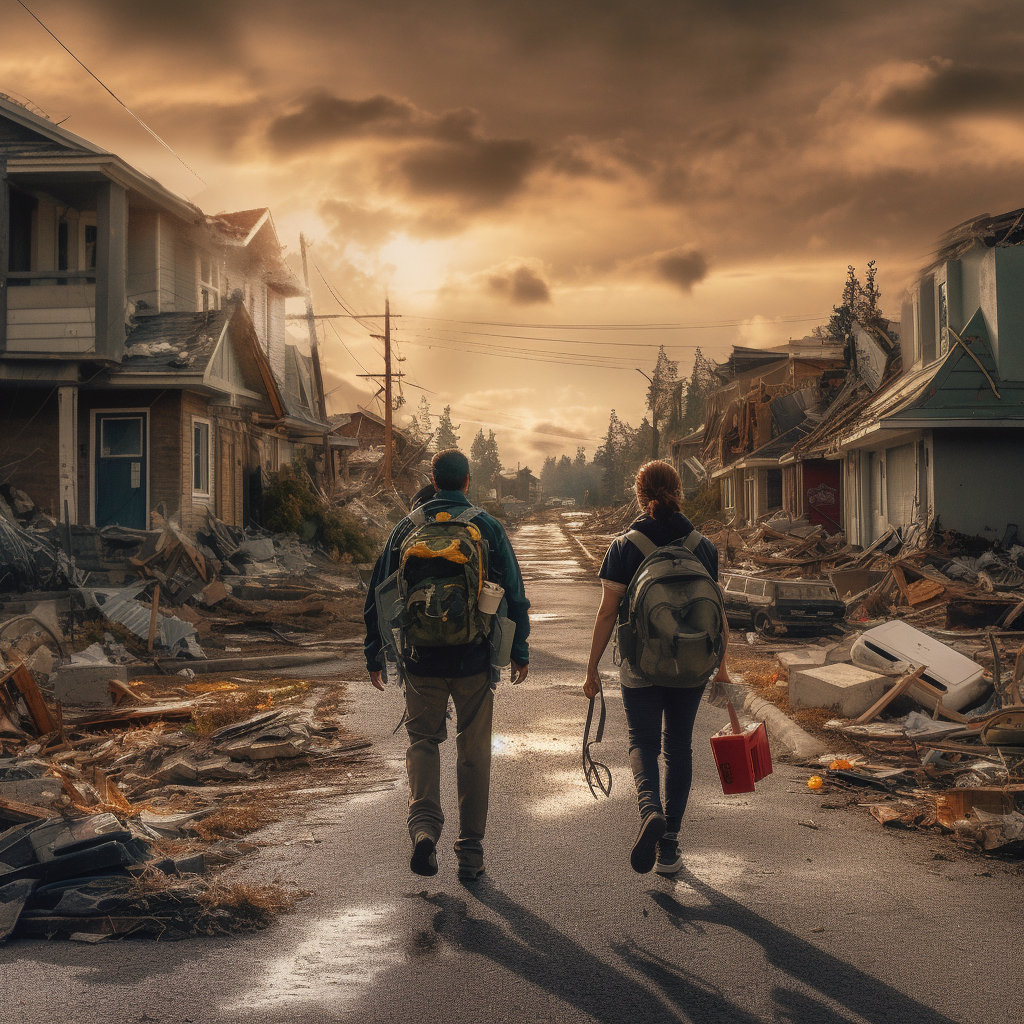
Bugging Out Vs. Sheltering in Place
When faced with an emergency situation, it’s crucial to carefully consider whether to bug out or shelter in place. Your circumstances and level of preparedness play a significant role in this decision-making process.
Factors to consider when contemplating a bug out scenario include mobility, the availability of survival gear, and having a designated safe location to retreat to.
It’s important to assess your ability to quickly and efficiently move to a safer area if necessary.
On the other hand, sheltering in place can be a viable option if you have a well-stocked and secure location.
Prioritize your comfort by ensuring you have ample survival supplies, including non-perishable food, water, and medical necessities. Take steps to secure your home, such as reinforcing doors and windows, and consider acquiring basic self-defense skills to protect yourself and your loved ones.
Ultimately, your decision should be based on your available resources, capabilities, and the potential risks you may face during an emergency.
It’s essential to make a realistic assessment of your situation, taking into account factors such as the severity of the crisis, the duration of the event, and the availability of support systems.
Remember, there is no one-size-fits-all answer to this question. It’s important to evaluate your circumstances and preparedness level carefully.
By doing so, you can make an informed decision that maximizes your chances of survival and minimizes risks during a crisis.
Prepping in Small Spaces
Prepping in small spaces? No problem! With the right strategies, you can effectively prepare for emergencies even in compact living spaces like apartments or dorm rooms.
Take advantage of under-the-bed storage, deep cabinets, bookshelves, and bins in the garage to maximize your space. To save even more space and extend the shelf life of your supplies, consider vacuum packing items like clothing and bedding.
And don’t forget the versatility of tin foil, which can be used to wrap and protect delicate items.
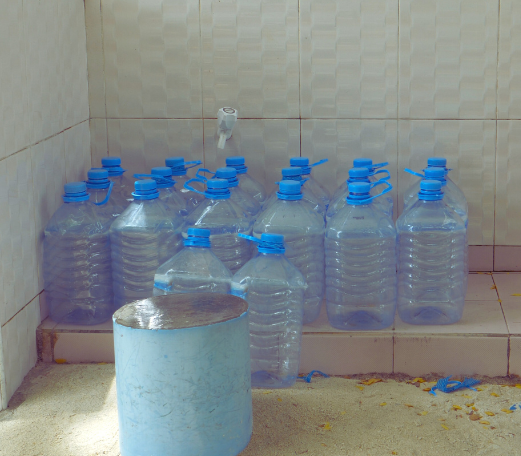
When it comes to water storage, opt for gallon bottles or 5-gallon water containers as they are easy to store and manage.
Remember to prioritize your needs and get creative with your storage solutions in small spaces.
By utilizing the available space efficiently and thinking outside the box, you can effectively prep for emergencies, no matter the size of your living space.
H/T to @TheUrbanSentinelChannel for this video on small prepping spaces.
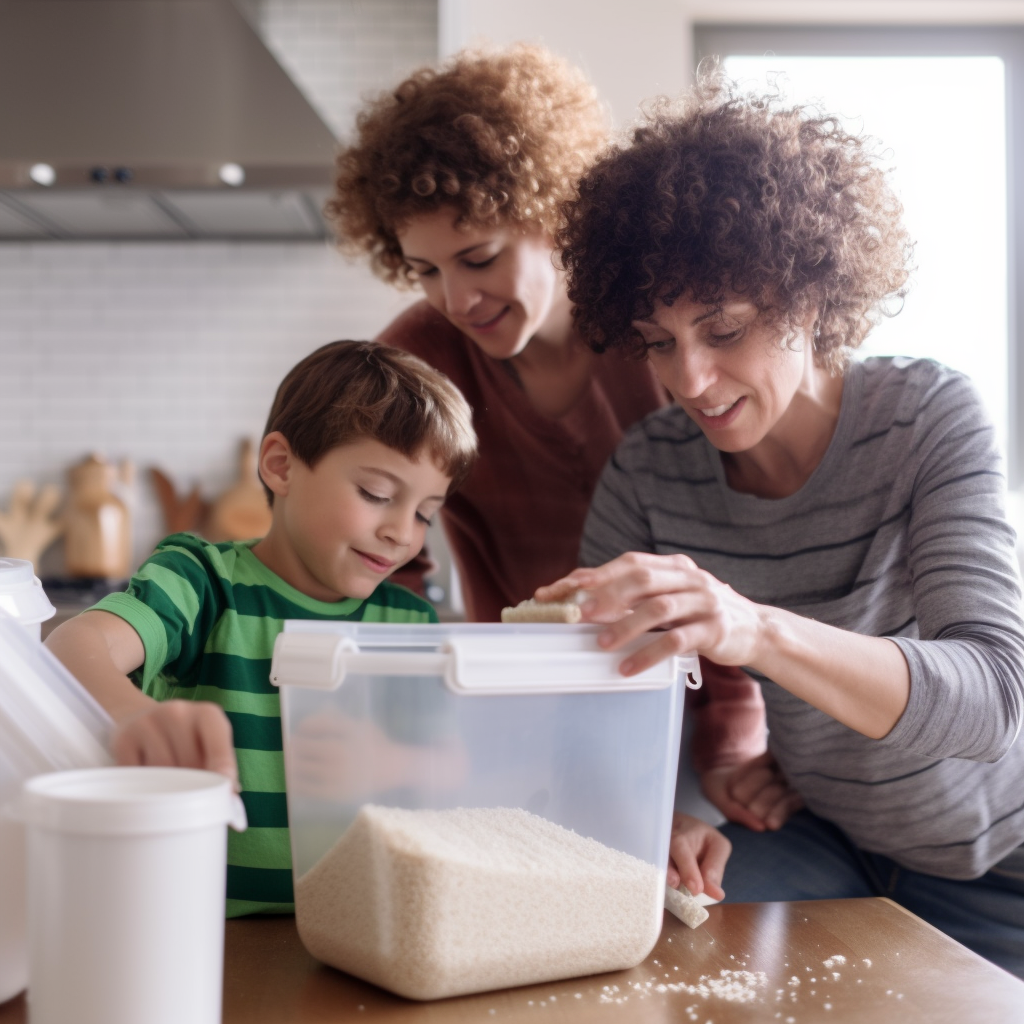
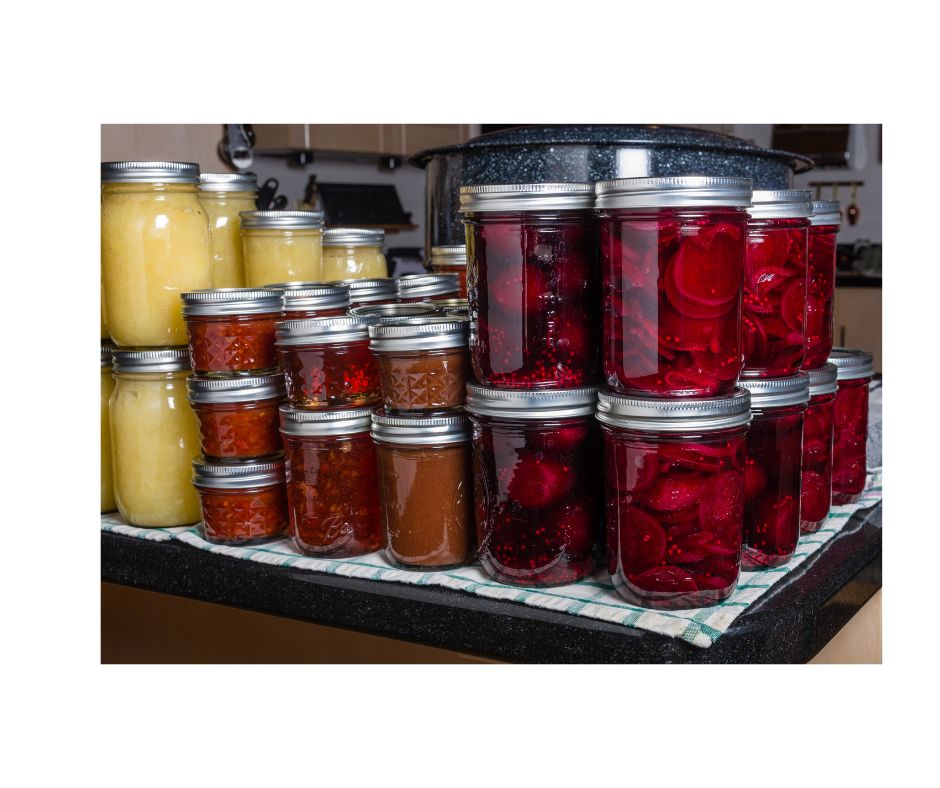
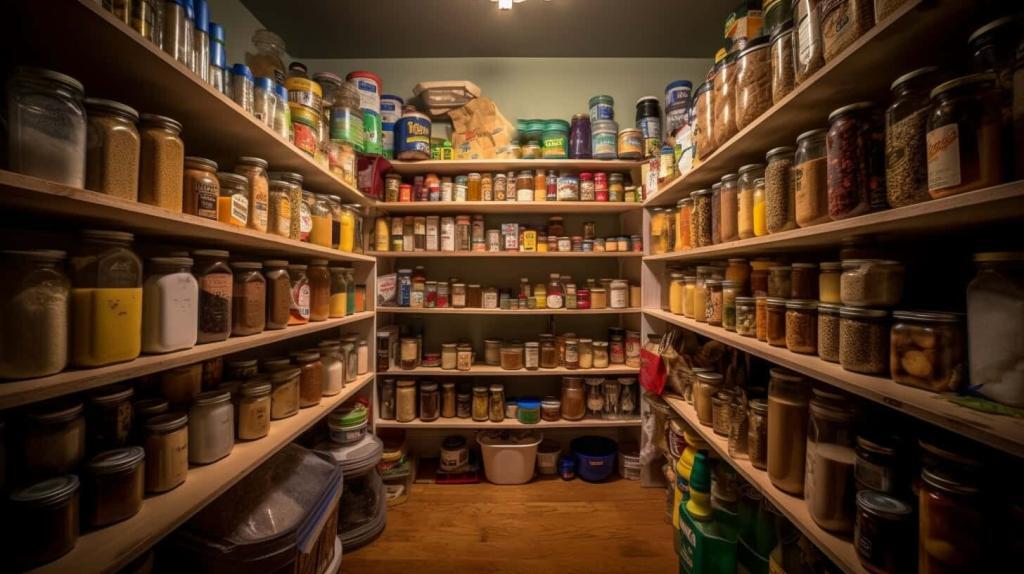
Food Storage Basics
To maximize your food storage efforts, consider these essential strategies:
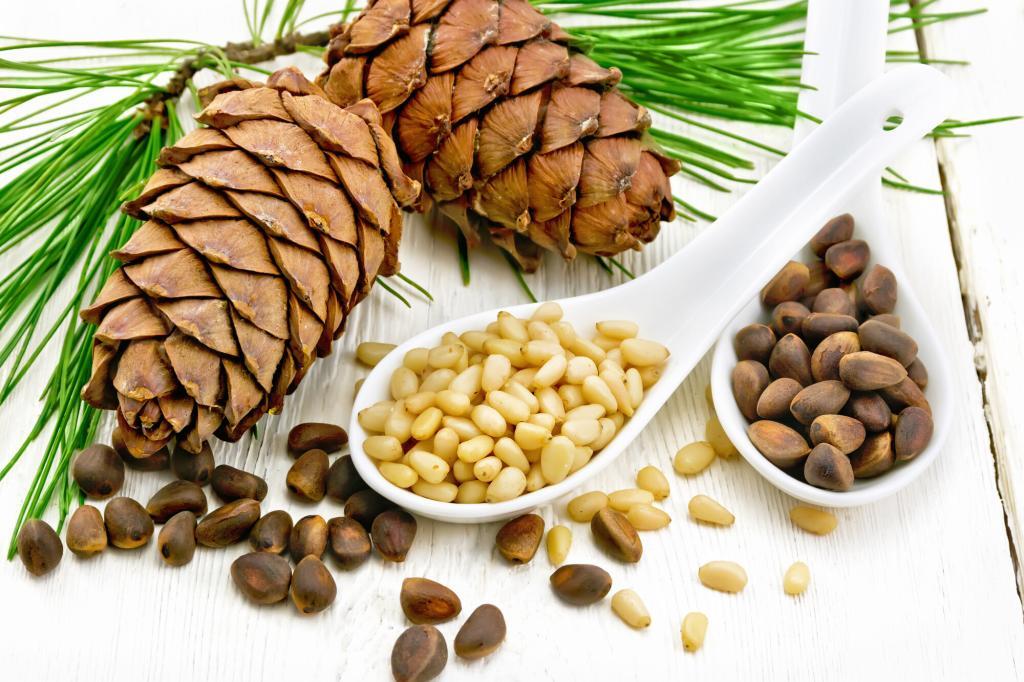
- Vacuum sealing: Extend the shelf life of your food by removing air through vacuum sealing. Use a vacuum sealer to keep dried fruits and nuts fresh.
- Root cellaring: Store root vegetables like carrots, potatoes, and beets in a root cellar. This cool and stable environment helps extend their freshness.
- Curing and smoking: Preserve and enhance the flavors of meats by curing and smoking them. Invest in a smoker to enjoy homemade bacon, jerky, and sausages.
- Fermentation: Increase the shelf life of vegetables and enjoy tangy flavors through fermentation. Make sauerkraut or pickles to have a source of probiotics and nutrients.
- Bulk storage: Save money by buying in bulk and store essentials like rice, pasta, and beans. Keep them fresh and pest-free in airtight containers.
- Preserving herbs: Dry herbs such as basil, rosemary, and thyme to have flavors all year round. Hang them in a cool, dry place or use a dehydrator for long-lasting herbs.
- Preserving dairy: Extend the shelf life of dairy products and have control over ingredients by making your own cheese or yogurt. Enjoy homemade dairy products with added freshness.
- Canning: If you have a garden or access to affordable fruits and vegetables, canning is a great skill to learn. By canning your fresh food you are extending the shelf life and you can enjoy out of season fruits and veggies throughout the year.
- Freeze Drying: If you own a freeze dryer, you know it is a great way to prep and store food. It prolongs your foods shelf life as well as making it light weight and easily tucked in a bug out bag. A great skill and option to have to get your emergency food storage prepared.
By incorporating these strategies into your food storage plan, you can ensure a diverse range of nutritious options, even in limited space.
Regularly rotate your supplies to maintain freshness and minimize waste for an effective food storage system.
Water Filtration and Storage Methods
To ensure a reliable supply of clean drinking water in emergency situations, it’s important to have effective water filtration and storage methods.
One option for water filtration is using water purification drops, which effectively treat large quantities of water. These drops are specially designed to eliminate harmful bacteria, protozoa, and viruses, making the water safe for consumption.
Another method is the Augason Farms 55-gallon water purification system, which provides a comprehensive solution for purifying and storing water. |
This system includes water treatment chemicals, a hand pump, and a water storage drum with a capacity of 55 gallons. With a shelf life of up to 4 years, it offers a long-term solution for water purification and storage.
When it comes to storing water, it is crucial to have suitable containers that are specifically designed for food storage. Gallon bottles or 5-gallon water containers made of food-grade plastic are ideal options.
They are easy to handle and convenient to store. It is recommended to label the containers with the date of storage so that you can easily track and rotate your water supply to maintain its freshness.
For emergency situations, it is advisable to have at least one gallon of water per person per day for a minimum of three days.
However, for longer-term emergencies, it is recommended to have a two-week supply of water stored. This ensures that you have an adequate supply to meet your hydration and sanitation needs.
It is also important to consider the quality of the water you are storing. If you are collecting water from natural sources such as rivers or lakes, it is necessary to filter and disinfect it before storage.
Portable water filters, like the LifeStraw Personal Water Filter, are effective in removing bacteria and parasites from water, ensuring its safety for consumption.
In addition to filtration and storage, it is crucial to plan for potential emergencies by identifying alternative water sources. Rainwater harvesting systems equipped with filters and storage tanks can provide a sustainable supply of water.
Additionally, understanding the location of nearby water sources and having the necessary tools for collecting and treating water from these sources is essential.
Preparing for emergencies includes being knowledgeable about waterborne contaminants specific to your area.
It’s important to be aware of potential pollutants and to select appropriate filtration methods to address them. Regularly maintaining and inspecting your filtration and storage systems will help ensure their effectiveness when needed.
By following these water filtration and storage methods, you can be well-prepared to meet your water needs during emergencies.
Remember to regularly rotate and replenish your water supply, stay informed about potential water sources in your area, and invest in reliable filtration systems to safeguard the health and well-being of you and your loved ones.
Check out this video from @homesteadonomics on a step by step rainwater harvesting set up.
Learning Core Survival Skills
Learn the essential survival skills necessary to be prepared for any emergency situation. Mastering core survival skills is crucial for preppers who want to effectively navigate unexpected circumstances.
Here are three lists of skills to focus on and develop:
- Wilderness Medical Emergency Skills:
- Gain proficiency in basic first aid techniques, including cardiopulmonary resuscitation (CPR) and wound treatment.
- Learn how to identify and treat common medical emergencies that may occur in wilderness settings, such as dehydration, hypothermia, and snake bites.
- Acquire the knowledge needed to improvise medical supplies and create makeshift splints or bandages.
2. Shelter and Fire Skills:
- Learn how to construct shelters using natural materials like branches and leaves, understanding the principles of insulation and weather protection.
- Master different fire-making techniques, such as using flint and steel, fire-starters, or friction methods.
- Familiarize yourself with various fire structures, including teepee fires or log cabin fires, and their specific purposes.
3. Navigation and Orientation Skills:
- Develop proficiency in using a compass and reading maps accurately, allowing you to navigate effectively in different terrains.
- Learn basic celestial navigation techniques, such as using the North Star as a point of reference for determining direction.
- Acquire skills in orienteering, including understanding map symbols, route planning, and using landmarks to guide your way.
By focusing on these core survival skills, you will enhance your ability to handle emergencies and successfully navigate challenging situations.
Remember to practice and refine these skills regularly to maintain proficiency.
Frequently Asked Questions
How Can I Incorporate Prepping Into My Daily Life?
To incorporate prepping into your daily life, start by assessing your needs and creating a plan. Set aside money for emergencies, stock up on essential supplies, learn survival skills, and build a support network.
What Are Some Cost-Effective Ways to Prepare for Emergencies?
To prepare for emergencies on a budget, focus on essential supplies like food, water, and lighting. Look for cost-effective options, buy in bulk, and prioritize long-term storage. It’s all about being resourceful and efficient.
How Do I Customize a Bug Out Bag to Suit My Specific Needs?
To customize your bug out bag, assess your specific needs. Consider factors like climate, terrain, and duration of survival. Pack essential items like food, water, shelter, tools, and first aid supplies accordingly.
What Are Some Essential Survival Skills That Every Prepper Should Learn?
Learn essential survival skills for prepping: knot tying, CPR, and wound treatment. These skills are crucial for your safety and the well-being of your loved ones in emergency situations.
Start mastering them today.
How Can I Build a Support Network for Emergencies While Still Maintaining Self-Reliance?
To build a support network for emergencies while maintaining self-reliance, start by making a list of dependable people.
Be willing to reciprocate help and create a community of support for navigating unpredictable situations. Collaboration is essential for survival.
Conclusion
In conclusion, prepping isn’t just for extremists or conspiracy theorists. It’s a practical approach to ensuring the safety and well-being of yourself and your loved ones in the face of emergencies.
By taking steps to be financially prepared, stocking up on essential supplies, building a bug out bag, and developing survival skills, you can take control of your future and be ready for the unexpected.
Don’t wait for disaster to strike – start prepping today.