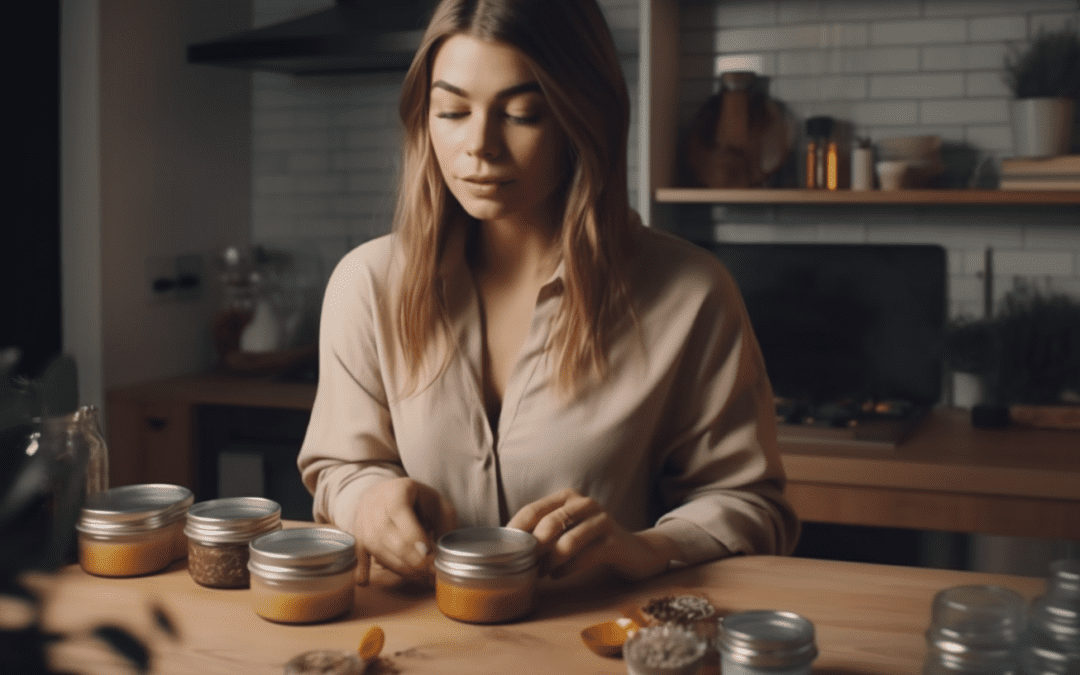
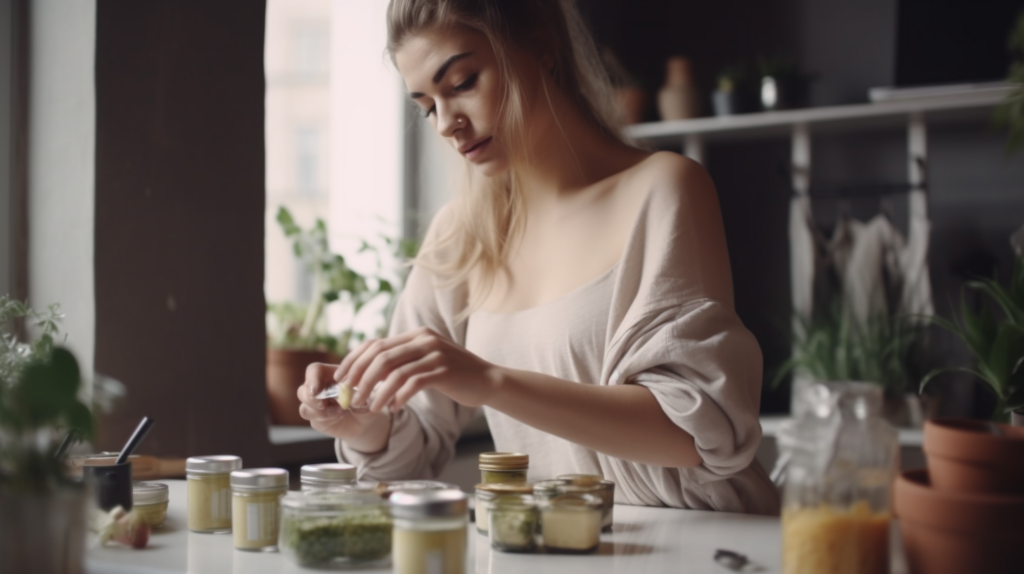
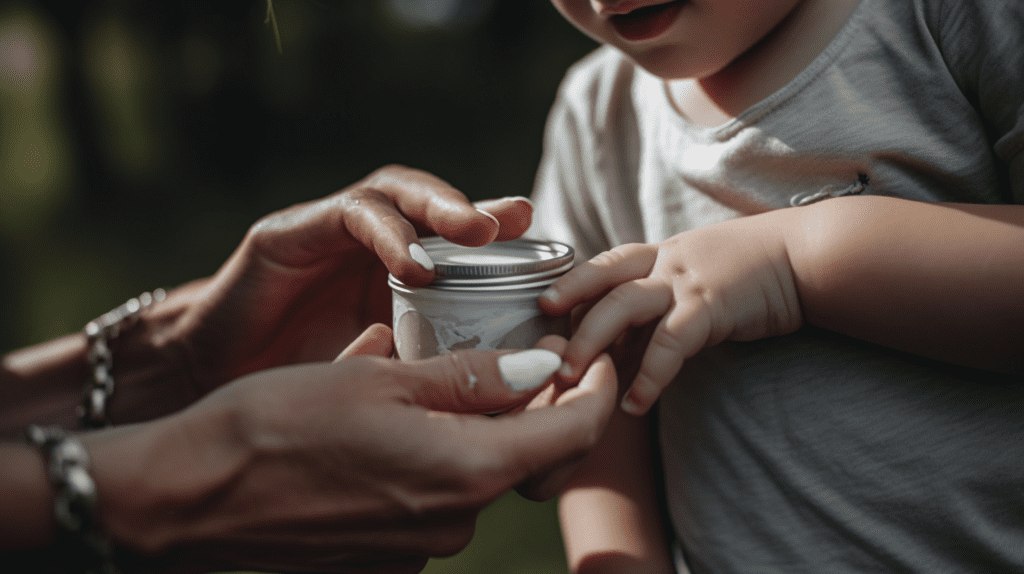
How do you make healing salve? It begins with understanding nature’s gifts, like essential oils and medicinal plants to create a potent remedy that offers a variety of skin benefits.
Healing salves serve as an excellent solution to manage occasional cuts, scrapes and skin irritations. Made with nature’s best ingredients, they soothe and speed up the healing process. Using beeswax, a widely recognized entity for its protective qualities, can further enhance your salve’s effectiveness.
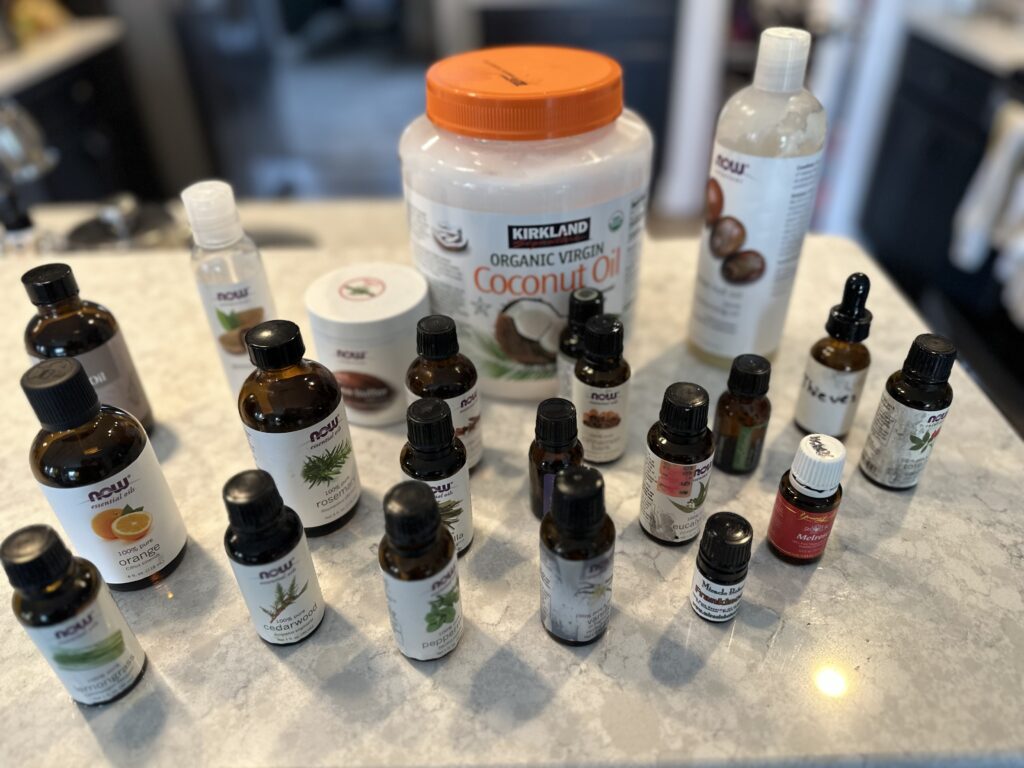
Starting the process of creating a healing salve requires gathering of necessary materials, including essential oils like lavender and eucalyptus oil, and carriers like beeswax or shea butter.
Herbs
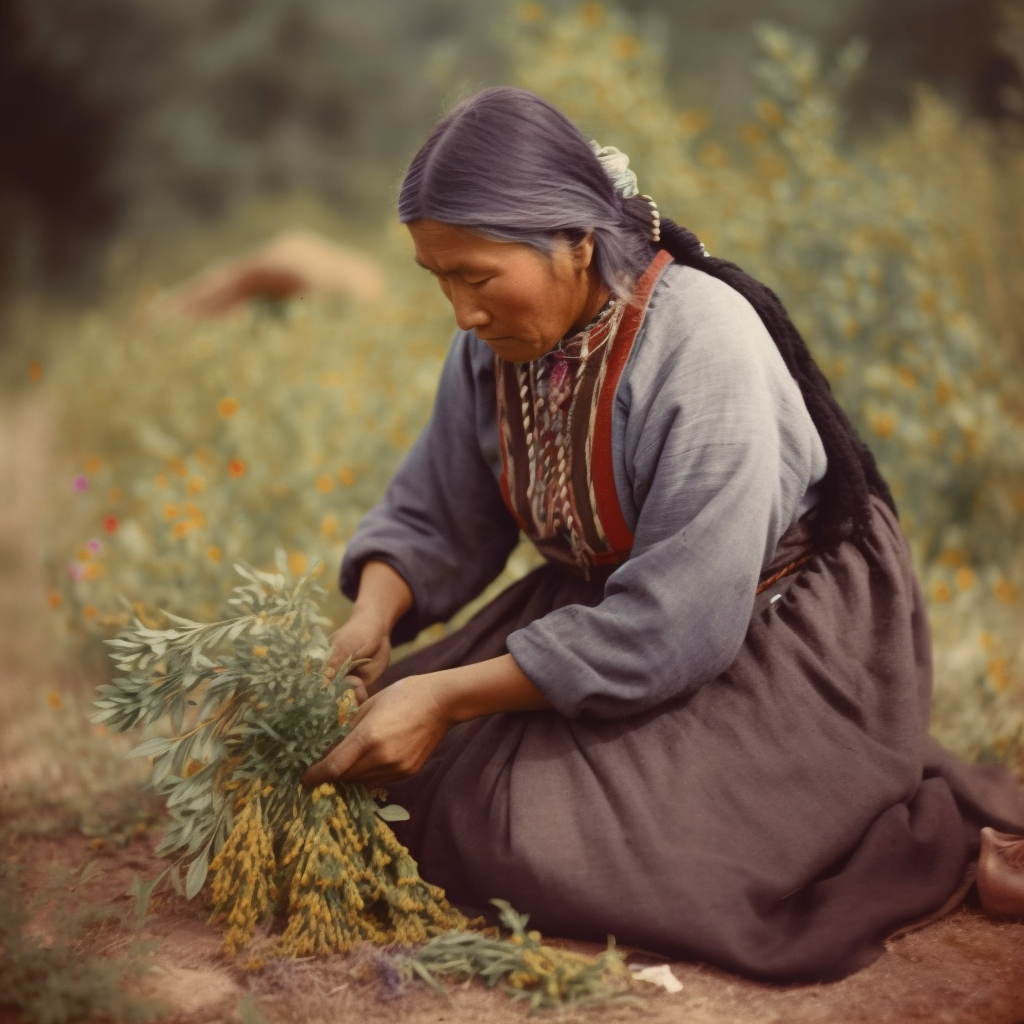
Medicinal plants like calendula and comfrey are often utilized due to their healing properties. Pick herbs that are known for their healing properties and address your specific needs. It’s always best to go for high-quality fresh or dried herbs for effective salves.
Carrier Oils
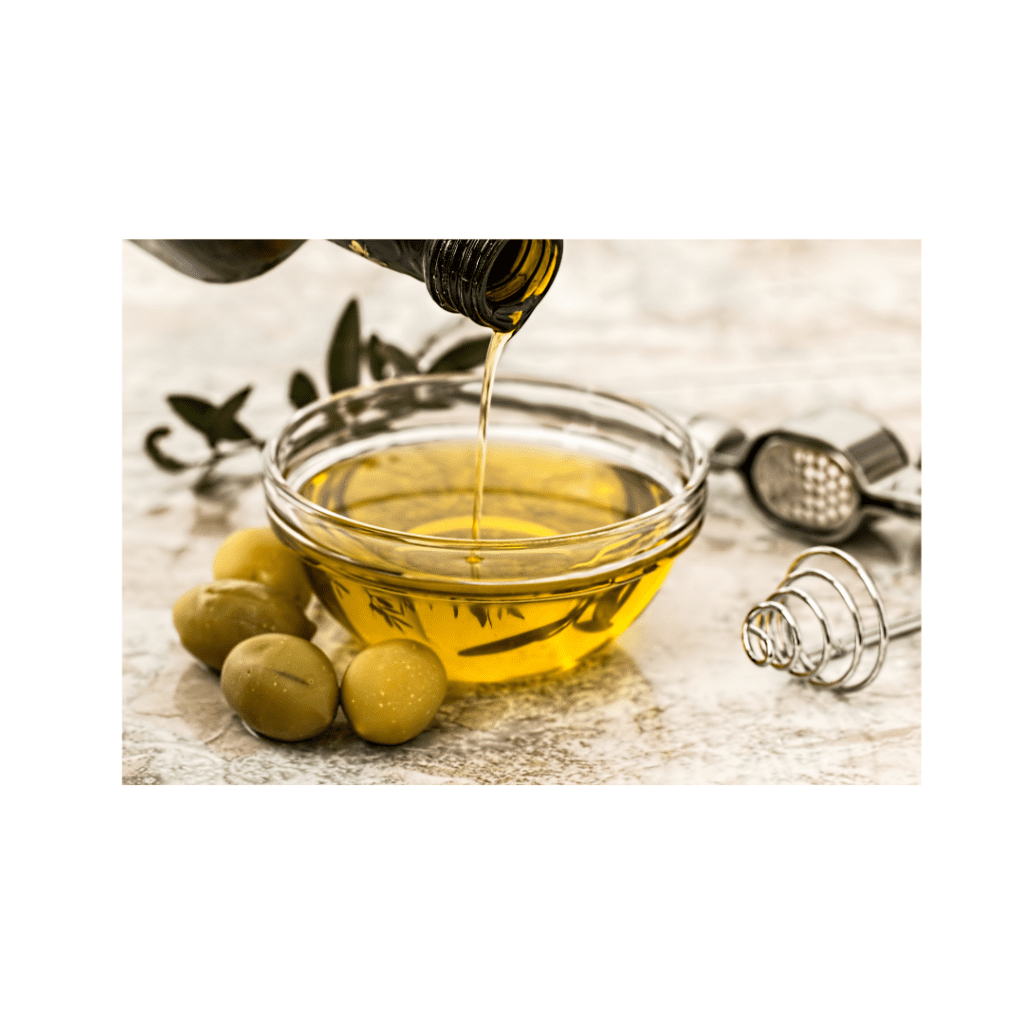
Carrier oils such as coconut oil and olive oil serve as the basis for your healing salve, ensuring effective application and absorption Carrier oils play a critical role in diluting potent essential oils, making them skin-friendly. These oils are used to infuse the herbs and create the base for your salve.
Olive oil and coconut oil are popular choices, each bringing its own set of therapeutic benefits. Other common options include olive oil, coconut oil, and jojoba oil. Consider the properties of each oil when selecting one for your salve.
Beeswax
Incorporate beeswax to provide the needed texture and firmness for your homemade remedy. Beeswax gives the salve its solid consistency. Generally, the ratio of liquid oil with beeswax is 1:3 or 1:5. You can adjust the amount of beeswax to create a softer or firmer texture.
Essential Oils
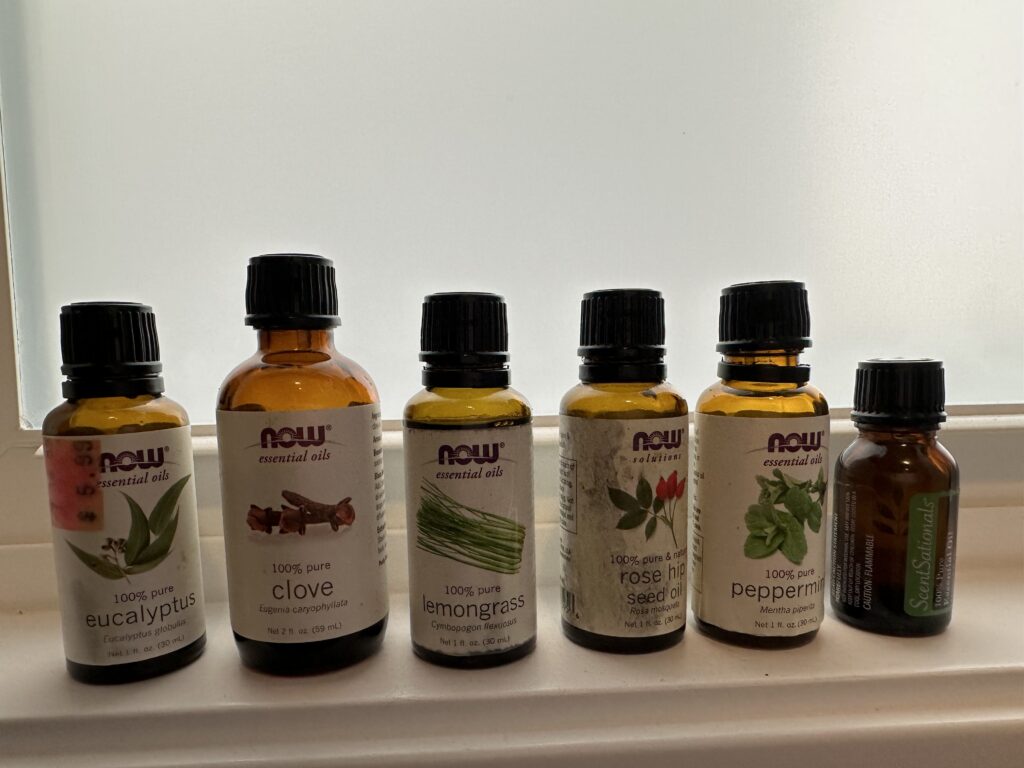
Essential oils like lavender oil and eucalyptus oil enhance the therapeutic properties of your healing salve. Choose oils that complement the herbs in your salve. Make sure to consider any potential sensitivities or allergies.
Double Boiler
A double boiler is used to gently melt the beeswax and combine it with the infused oil to prevent overheating and to ensure even melting. If you don’t have a double boiler you can use a mason jar and a pan.
Cheesecloth or Fine Mesh Strainer
You’ll need a cheesecloth or fine mesh strainer to separate the plant materials from the oil.
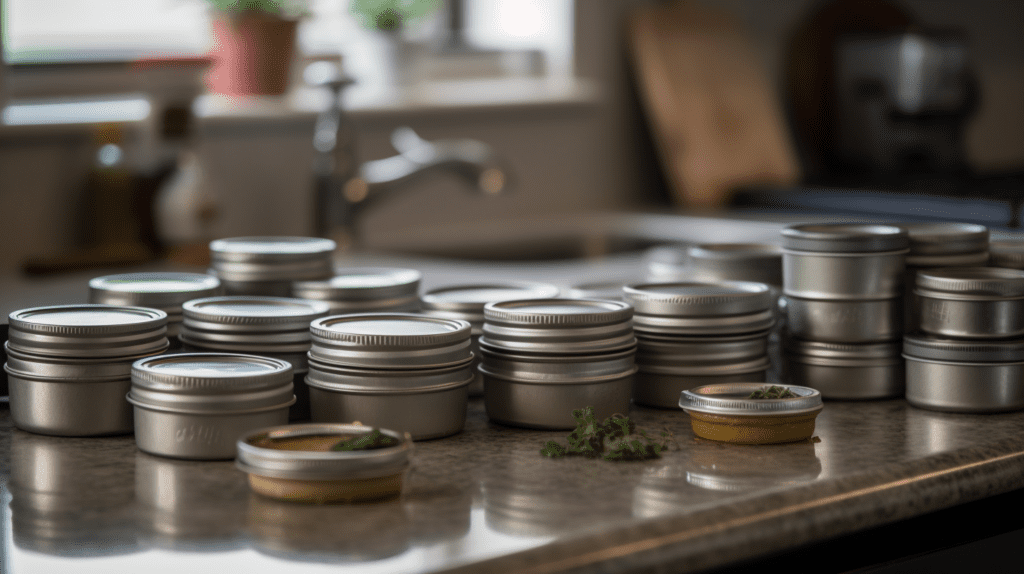
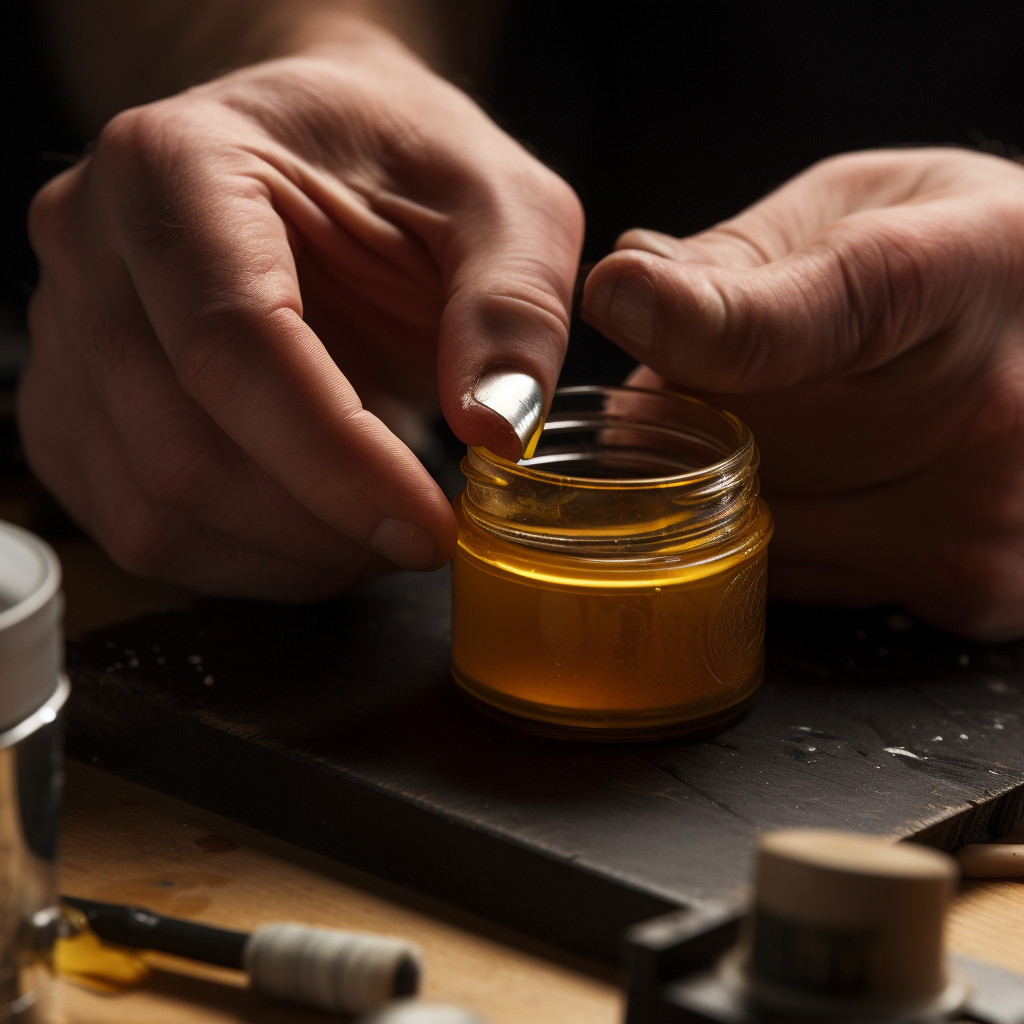
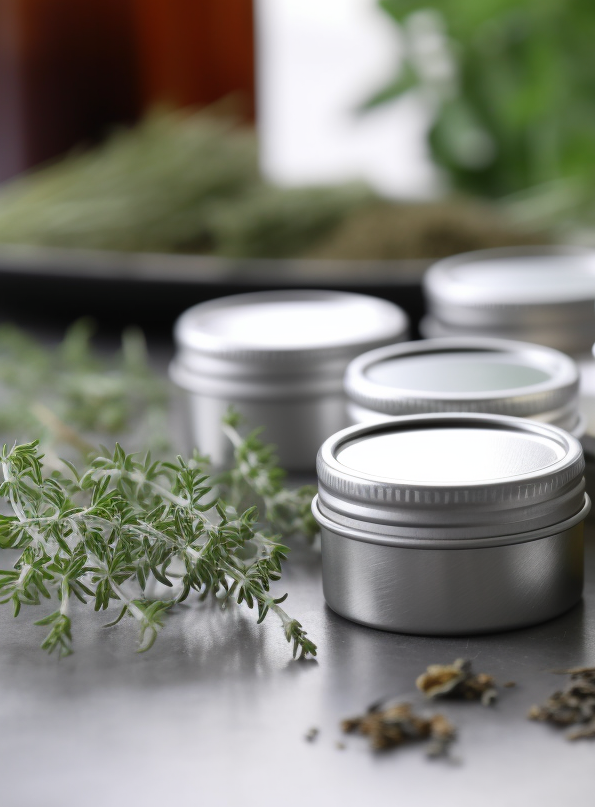
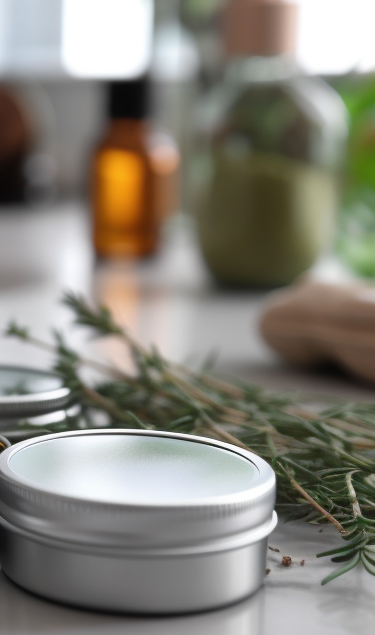
Glass Jars or Tins
This is where you’ll store your finished salves. Make sure they are clean and dry before filling them with your salve.
Labels
Be sure to label your salves with the ingredients, date of production, and instructions for use. This helps you keep track of your healing salves and ensures proper usage.
Spatula or Wooden Spoon
Use a spatula or wooden spoon to mix the ingredients and transfer finished salves into containers.
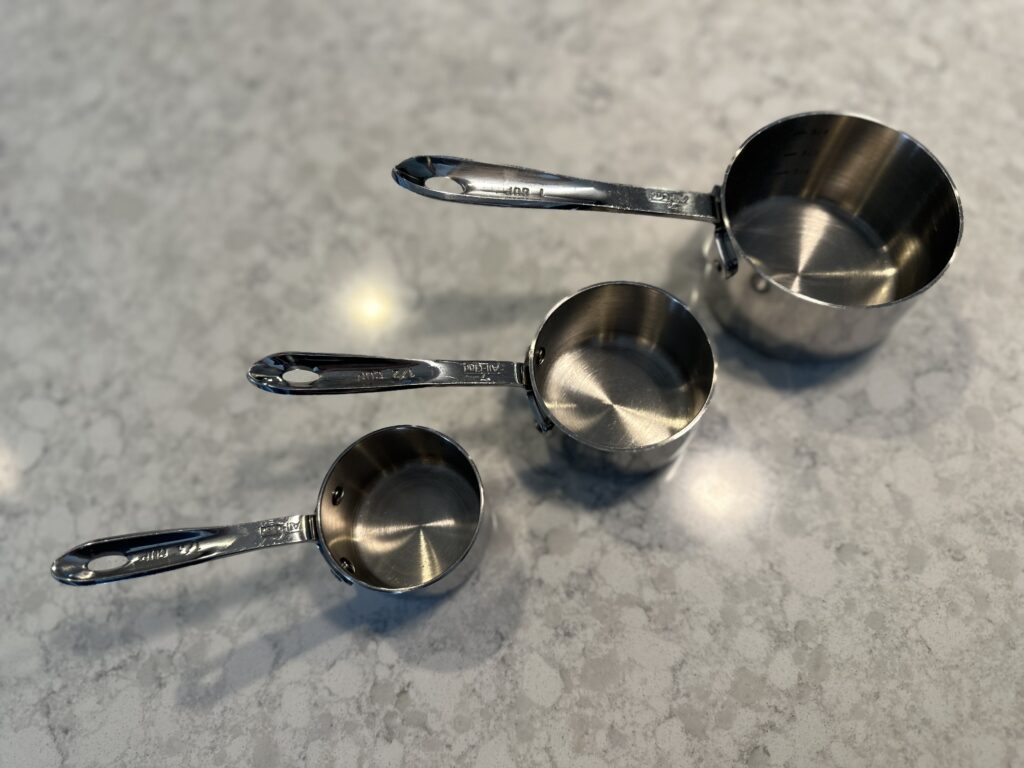
Measuring Cups and Spoons
Accurate measurements are crucial for creating consistent salves. Have a set of measuring cups and spoons handy to ensure the proper ratios of ingredients.
[lasso id=”32″ link_id=”21571″ type=”table”]
Importance Of Carrier Oils When You Make Healing Salve
A primary element in herbal medicine, carrier oils act as an infusion medium for herbs, diluter for essential oils, moisturizer for the skin, and enhance absorption.
Carrier oils play a crucial role in healing salves as they serve as the base for the salve. It delivers the herb and the oil’s therapeutic properties to the skin. Here are the reasons why carrier oils are an important ingredient in making your homemade salve:
Infusion Medium: Carrier oils help infuse the beneficial properties of herbs. Soaking the herbs in the oil extracts the active compounds to create a potent infusion.
Dilution of Essential Oils: Essential oils are potent and may irritate the skin if used undiluted. Carrier oils help to dilute essential oils, making them safe for topical application.
Moisturizing and Nourishing Properties: Carrier oils possess moisturizing, nourishing, and soothing properties for the skin, which are enhanced when combined with herbs and essential oils for more healing effects.
Enhances Absorption: Carrier oils aid in the absorption of active ingredients from herbs and essential oils into the skin. This concentrates the healing properties to the area they are needed most.
Prolongs the Salve’s Shelf Life: Some carrier oils have natural antioxidants that prolong the salve’s shelf life. When you make healing salve, this is particularly important if you’re using fresh herbs or ingredients that quickly spoil.
Types Of Infusion Methods For When You Make Healing Salve
Different infusion methods, such as heat-based or time-based, affect the potency of your healing salve. The infusion method you choose can have a significant impact on how you make healing salve and the final product.
Heat-based methods are quicker but may compromise some benefits, whereas time-based infusions preserve all herbal qualities.
Infusion is the process of extracting the beneficial properties of herbs and plants into a carrier oil, which forms the base of your healing salve. Here are several infusion methods you can try:
Cold Infusion Method
Suitable for heat-sensitive herbs and when a longer infusion time is acceptable.
Preserves more of the herb’s delicate constituents, such as enzymes and volatile oils.
Requires more time (4-6 weeks); requires less hands-on effort.
Instructions:
Place the prepared herbs in a clean, dry jar.
2. Pour the carrier oil over the herbs, ensuring they are fully submerged.
3. Secure the jar with a lid and shake gently to mix the herbs and oil.
4. Store the jar in a cool, dark place for 4-6 weeks, shaking it every few days.
5. After the infusion period, strain the oil through a cheesecloth, discarding the herbs.
6. Pour the infused oil into a clean, airtight container and store it in a cool, dark place.
Hot Infusion Method
Suitable for herbs that can withstand heat and when a quicker infusion is desired to make healing salve.
Faster infusion time (4-8 hours); requires more hands-on effort and monitoring.
Can potentially degrade some heat-sensitive constituents but still yields potent herbal oils.
Instructions:
Combine the prepared herbs and carrier oil in a heat-safe container.
2. Place the container in a double boiler or slow cooker filled with water, ensuring that the water does not enter the oil.
3. Heat the mixture on low heat for 4-8 hours, ensuring the temperature remains between 100-120°F (38-49°C).
4. Periodically stir the mixture and check the water level in the double boiler or slow cooker.
5. After the infusion period, remove the container from heat and allow it to cool.
6. Strain the oil through a cheesecloth, discarding the herbs.
7. Pour the infused oil into a clean, airtight container and store it in a cool, dark place.
How To Make Herb-Infused Oils For DIY Healing Salves
Knowing the process of making herb-infused oils is an integral part of creating potent and effective DIY healing salve. Whether it’s a simple lavender salve or a complex blend involving multiple herbs, the possibilities are endless. Below is a step-by-step guide:
Choose high-quality, organic, dried herbs that offer the desired therapeutic benefits. Some popular choices include calendula, lavender, chamomile, comfrey, plantain, and St. John’s wort.
Pick a carrier oil that complements the chosen herbs and meets your skin’s needs. Some popular carrier oils for salves include olive oil, coconut oil, sweet almond oil, jojoba oil, and grapeseed oil.
Gently crush or chop the dried herbs to increase their surface area and facilitate the infusion process.
Select an appropriate infusion method that best fits your needs and the specific herbs you’re using.
Once you’ve made your herb-infused oil, you can use it as the base to make healing salves, combining it with other beneficial ingredients such as essential oils, beeswax, and additional carrier oils.
DIY Salve Recipes You Can Make at Home
You can customize your DIY healing salve by experimenting with blends of herbs, oils, and essences that cater to your personal or therapeutic needs. For instance, adding ginger, for instance, can enhance anti-inflammatory properties, while a dash of peppermint can provide a cooling effect.
To harness the benefits of healing salve, specific ingredients are essential. Here are various recipes tailored to meet your requirements.
1. Salve Recipe for Inflammation
This anti-inflammatory salve recipe combines the healing power of various herbs like arnica and St. John’s wort-infused oils and essential oils to soothe and reduce swelling in the skin.
Ingredients:
Calendula, arnica, and St. John’s wort-infused oils
Beeswax
Lavender essential oil
Peppermint essential oil
Instructions:
Combine equal parts calendula, arnica, and St. John’s wort-infused oils with beeswax in a double boiler.
2. Melt the beeswax and oils together until fully combined.
3. Remove from heat, and add a few drops of lavender and peppermint essential oils for a soothing and cooling effect.
4. Pour the mixture into containers and let cool before using.
2. Olive Oil and Beeswax Salve Recipe
This simple olive oil and beeswax salve recipe is perfect for beginners and allows you to customize the salve with the essential oils of your choice.
Ingredients:
1 cup of olive oil
1/4 cup of beeswax
Essential oil of your choice
Instructions:
Heat 1 cup of olive oil and 1/4 cup of beeswax in a double boiler until the beeswax melts.
2. Remove from heat, and add 10-15 drops of essential oil of your choice.
3. Pour the mixture into containers and let cool before using.
3. Grandma’s Salve Recipe
Inspired by traditional herbal remedies, this “Grandma” salve recipe uses a combination of dried herbs like calendula, comfrey and yarrow for a gentle and effective healing solution.
Ingredients:
1 cup of olive oil
Dried herbs such as calendula, comfrey, plantain, and yarrow
1/4 cup of beeswax
Instructions:
Infuse 1 cup of olive oil with a mixture of dried herbs such as calendula, comfrey, plantain, and yarrow.
2. Put 1/4 cup of beeswax into a double boiler and melt it.
3. Combine the infused oil with the melted beeswax.
4. Pour the mixture into containers and let cool before using.
4. Herbal Salve Recipe for Pain
This herbal healing salve recipe targets pain relief by incorporating warming and soothing essential oils with pain-relieving infused oils.
Ingredients:
Infused oils of arnica, St. John’s wort, and ginger
Beeswax
Wintergreen essential oil
Clove essential oil
Instructions:
Combine equal parts infused oils of arnica, St. John’s wort, and ginger with beeswax in a double boiler.
2. Melt the beeswax and oils together until fully combined.
3. Remove from heat, and add a few drops of wintergreen and clove essential oils for a warming and pain-relieving effect.
4. Pour the mixture into containers and let cool before using.
5. Native American Healing Salve Recipe
Drawing inspiration from traditional Native American herbal remedies, this healing salve recipe combines a variety of potent herbs for a unique and effective solution.
Ingredients:
A combination of traditional Native American herbs such as yarrow, sage, and cedar
Beeswax
Essential oil of your choice
Instructions:
Create an infused oil using a combination of traditional Native American herbs such as yarrow, sage, and cedar.
2. Melt an appropriate amount of beeswax in a double boiler.
3. Combine the infused oil with the melted beeswax.
4. Add a few drops of essential oil for added benefits and fragrance.
5. Pour the mixture into containers and let cool before using.
Customize How You Make Healing Salves
When making your healing salve, consider the specific needs and preferences of the person who will be using it in order to customize it to their ailments.
Experiment with different herbs, essential oils, and carrier oils to create a personalized blend that suits their requirements.
Also, adjust the consistency of your salve by altering the ratio of beeswax to carrier oil, and choose scents that are pleasing and comforting.
Tips for Making Herbal Salves
Knowing how to make healing salve is a timeless practice rooted in ancient traditions, offering a natural remedy for various skin issues. Consider these pro tips when making your DIY healing balm to ensure quality, potency, and shelf life.
Choose high-quality, fresh herbs.
Store herbs properly to maintain their potency and prevent them from becoming stale.
Choose a carrier oil that complements the herbs and essential oils you are using.
Ensure that the herbs are fully submerged in the carrier oil and allow them to steep long to fully extract their healing properties.
Use a double boiler to melt beeswax gently and evenly, preventing overheating or scorching.
Make sure your salve has the desired consistency by placing a small amount on a cold spoon and letting it cool.
Experiment with different herbs, essential oils, and carrier oils to create a personalized blend that suits the needs and preferences of the person who will be using it.
Clean and sanitize the containers you use for storing your salve to prevent contamination.
Give yourself time to learn and refine your techniques to achieve the best results. Making herbal salves is an art that requires practice and patience.
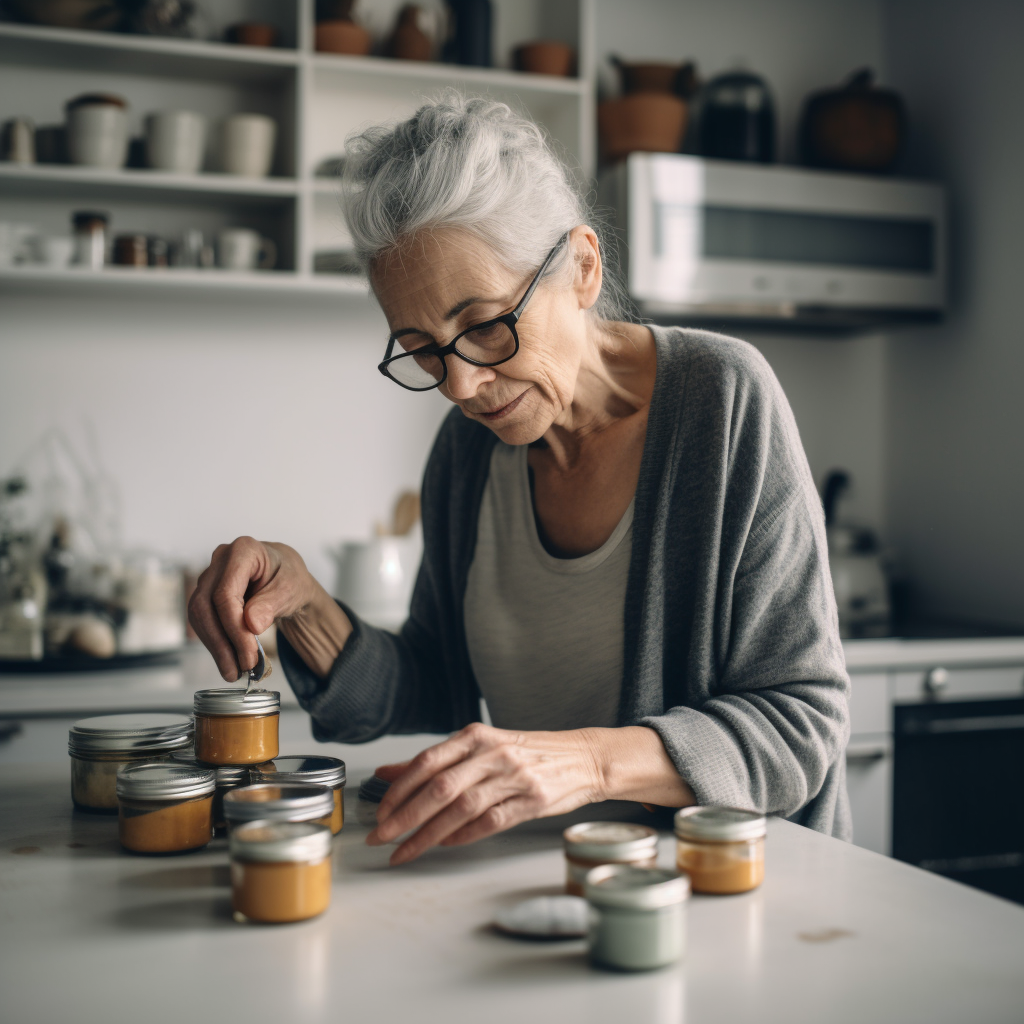
Shelf Life Of Healing Salves
The shelf life of your healing salve is influenced by the ingredients you use and the storage conditions. Glass jars and cool storage spaces can extend the longevity of your handcrafted salves.
Generally, when making healing salves homemade they can last anywhere from 1 to 2 years. Here are some factors that can affect the shelf life of your salve:
Quality of Ingredients: Using fresh, high-quality ingredients to make healing salve will help extend the shelf life of your salve. Rancid oils or expired herbs can negatively affect the shelf life and potency of your product.
Preservatives: Some natural preservatives, such as vitamin E or rosemary antioxidants, can help extend the shelf life of your salve. These preservatives can also provide additional skin benefits.
Storage Conditions: Proper storage is crucial for maintaining the shelf life of your healing salve. Keep the salve in a cool, dark, and dry place, away from heat and direct sunlight. Also, use airtight, opaque, or amber-colored glass jars to protect the salve from light, air, and moisture, which can degrade the product over time.
FAQs About Making Healing Salve
What are the main ingredients used to make healing salve?
The main ingredients in a healing salve are carrier oils (like coconut or olive oil), herbs or essential oils, and a thickening agent (like beeswax or shea butter).
What oils are good for making a healing salve?
Coconut oil and olive oil are excellent choices for making a healing salve, as they both have natural moisturizing and nourishing properties.
These oils also have a long shelf life and are readily available, making them practical options for salve-making.
What is a two-ingredient salve?
A two-ingredient salve is a simple salve made using only two ingredients: carrier oil and beeswax.
This basic salve can be used as a moisturizer, lip balm, or base for adding other ingredients, such as herbs and essential oils, to create a more specialized healing salve.
What’s the difference between a healing balm and a healing salve?
A healing balm and a healing salve are often used interchangeably, as they both serve to soothe and promote healing for minor skin irritations.
The primary difference lies in their consistency: balms are generally thicker and more solid because of a higher concentration of thickening agent, while salves have a softer, more spreadable texture.
How do you thicken homemade salve recipes?
To thicken a homemade salve, you can increase the amount of beeswax in the recipe which helps solidify the salve, giving it a thicker, firmer consistency.
Experiment with different ratios of carrier oil to beeswax to achieve your desired thickness.
Key Takeaways on How To Make Healing Salve
Understanding the nuances of ingredients, infusion methods, and customization is crucial to mastering how to make healing salve.
Making your own healing salve not only equips you for emergencies and minor mishaps but it also opens the door to a world of personalized healthcare solutions.
Believe me, once you’ve dipped your toes into this DIY world, you’ll find it both intuitive and a thrilling creative outlet.
So give it a try and see how awesome it is to create your own salve at home.
Pro Tip: I don’t own a double boiler and I have made salve, chapstick and other tinctures without it. If you don’t own a double boiler, you can easily use a mason jar, aluminum foil and pot of water instead. I have even done this without aluminum foil and I have never had a problem. It works just fine.
You can check out the video below for directions.
Plus, I highly recommend using the beeswax pellets over a bar or block. The pellets melt down nicely, making it quicker and easier to work with. The bars or blocks of beeswax will work but, it will take a little longer to melt.
H/T to @BrilliantlyBland for this video on making a double boiler.
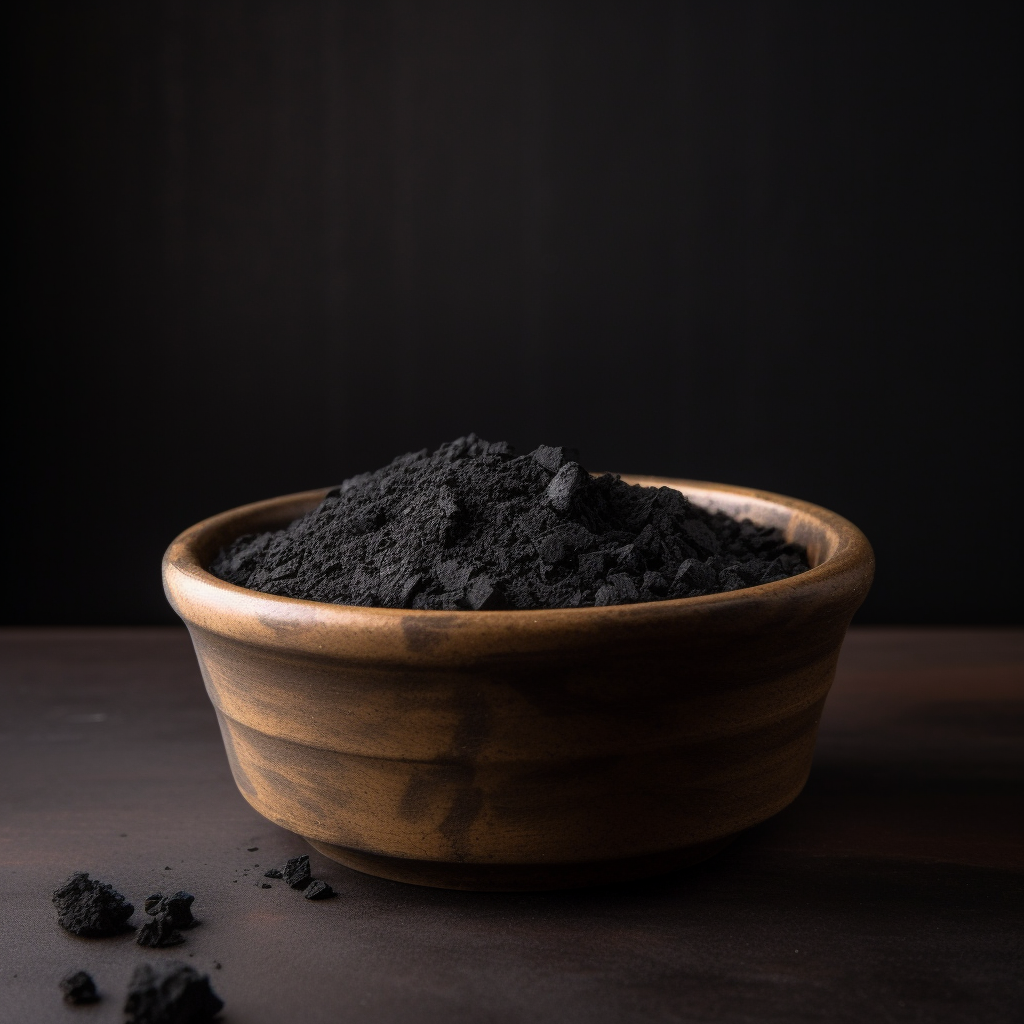
Charcoal VS. Activated Charcoal is a topic that sparks curiosity among many, as they both offer distinct applications and benefits.
While traditional charcoal has been utilized for centuries as a fuel source and artistic medium, activated charcoal stands out for its advanced purification properties and medical applications.
When it comes to being self-sufficient and well-prepared, activated charcoal may be a game-changer. This item is great to have around in an emergency because of its purifying and detoxifying properties.
If you’ve been curious about the difference between regular charcoal vs. activated charcoal and how that knowledge could boost your survival know-how, you’re in the right place.
We’ll dive into the unique properties and uses of activated charcoal, giving you the lowdown on why it’s such a valuable addition to your supply kit.
What’s The Difference Between Charcoal VS. Activated Charcoal?
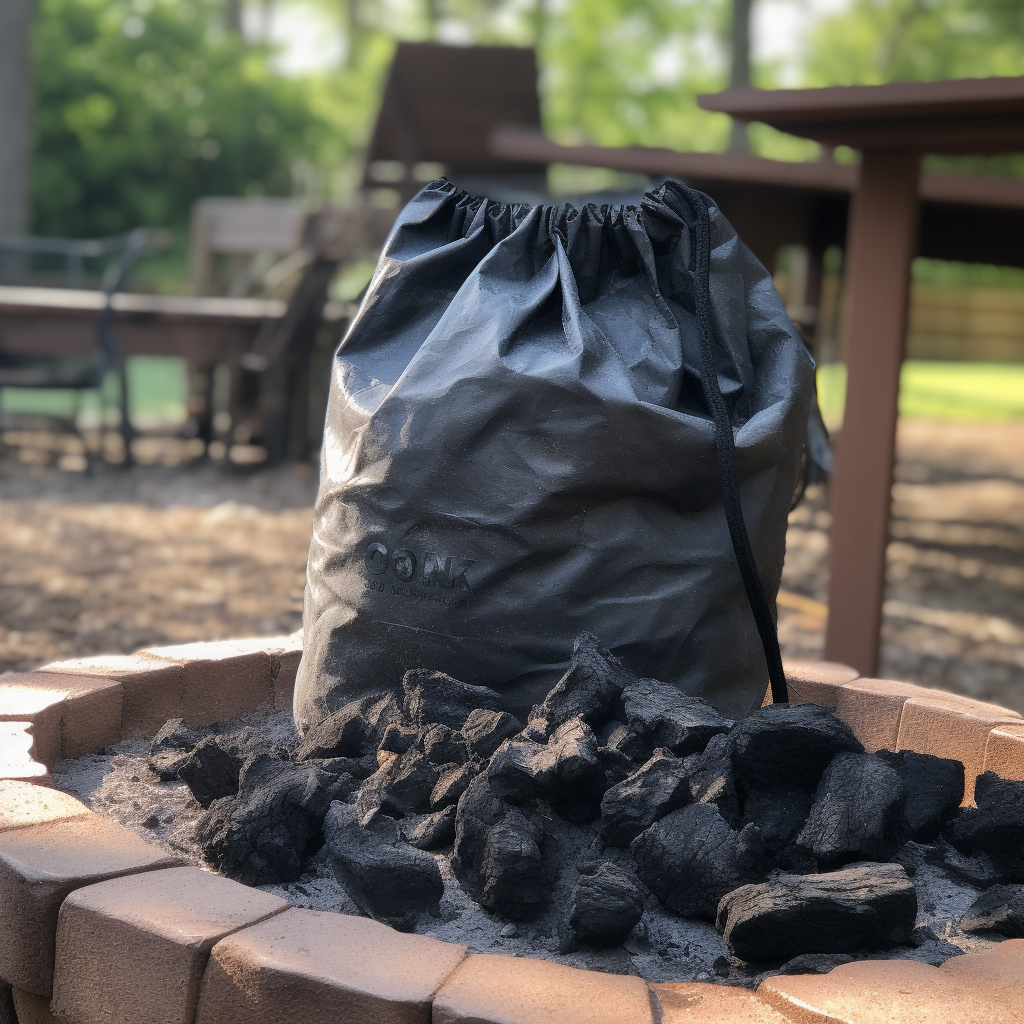
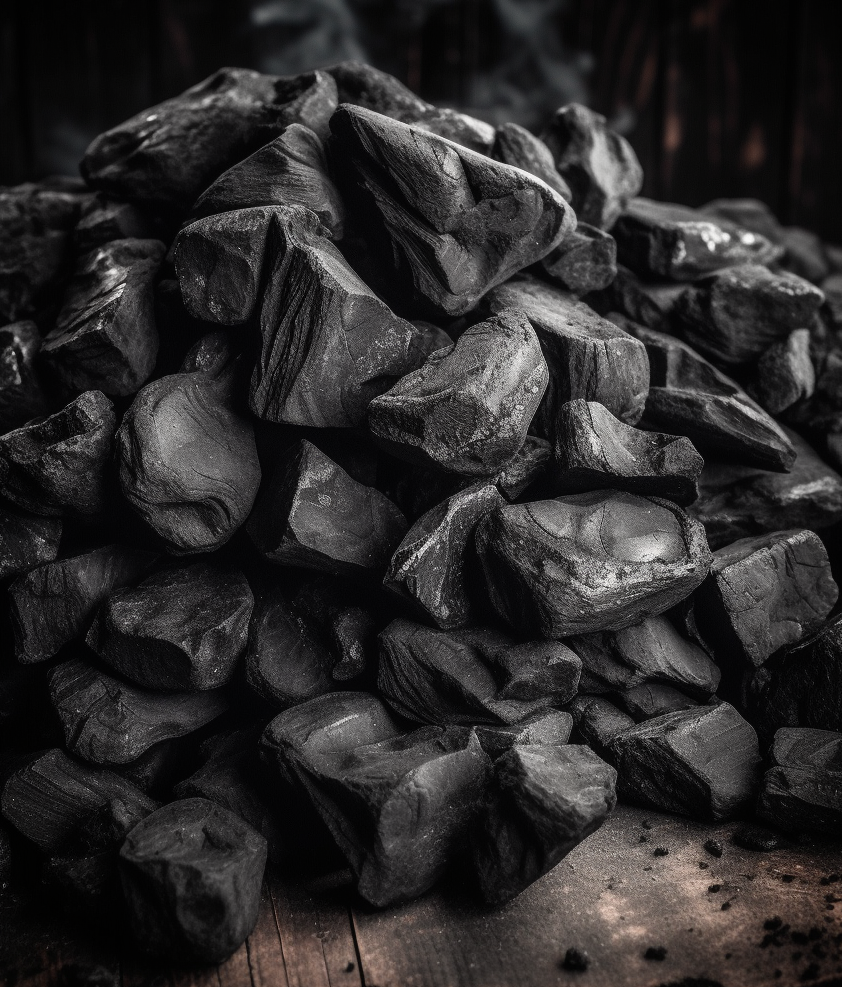
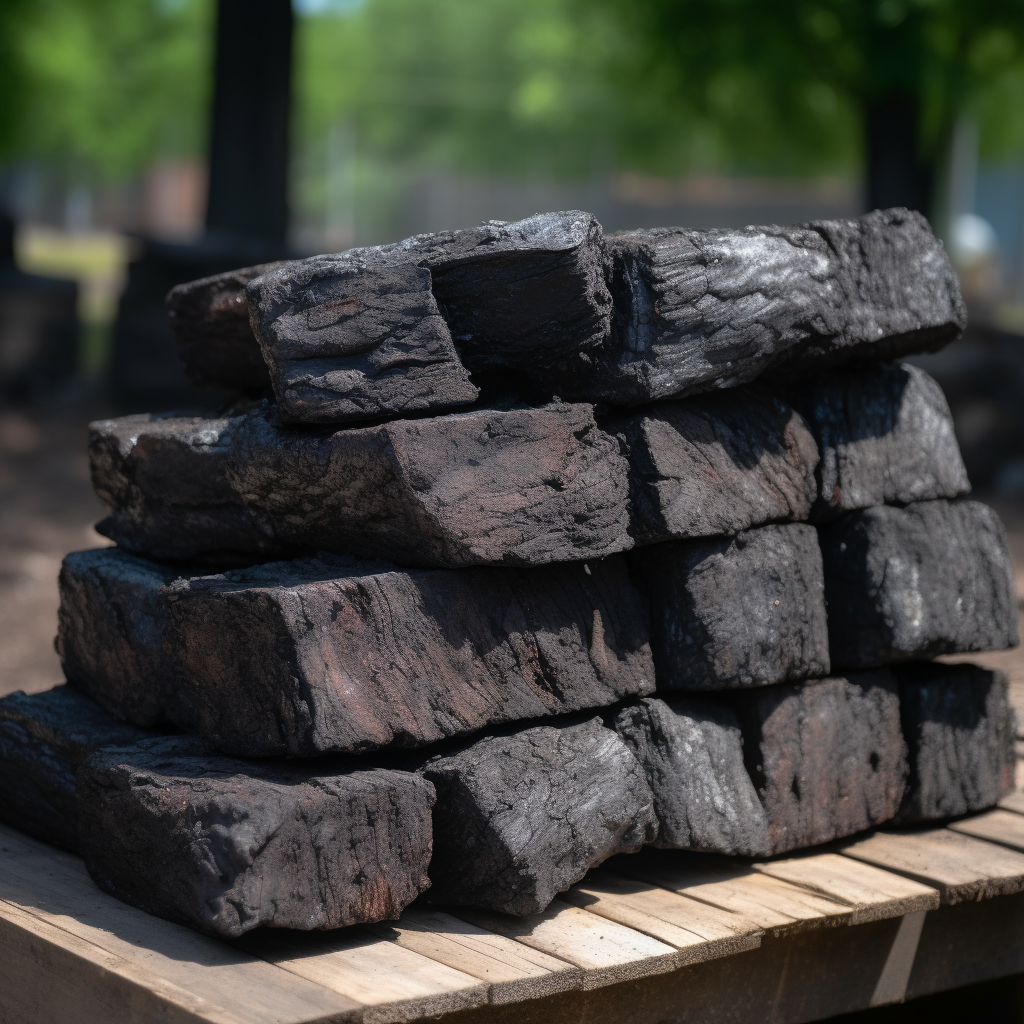
Standard charcoal is a black substance typically produced through the slow combustion of carbon-rich materials like wood or coconut shells. These materials have been charred in an oxygen-deprived environment, leaving behind an unrefined carbon byproduct.
While charcoal’s applications span from the creation of drawing materials to filtration systems, its primary role lies in combustion. Its ability to burn hotter, cleaner, and more slowly than wood makes charcoal the preferred choice for fires.
Historically, charcoal first found a purpose beyond heating around 30,000 BC, when prehistoric humans used it as a drawing medium on cave walls.
Fast forward to around 4000 BC, a serendipitous event likely led to a remarkable discovery: a piece of ore, accidentally falling into a charcoal fire, started to leak molten metal.
This revealed the need for charcoal in smelting copper and tin ores to produce bronze, thus underestimating its essential role in the evolution of metal production.
Today, charcoal has evolved and this is where activated charcoal comes in. Charcoal and activated charcoal are like distant relatives, they share the same origins but have been through very different life experiences.
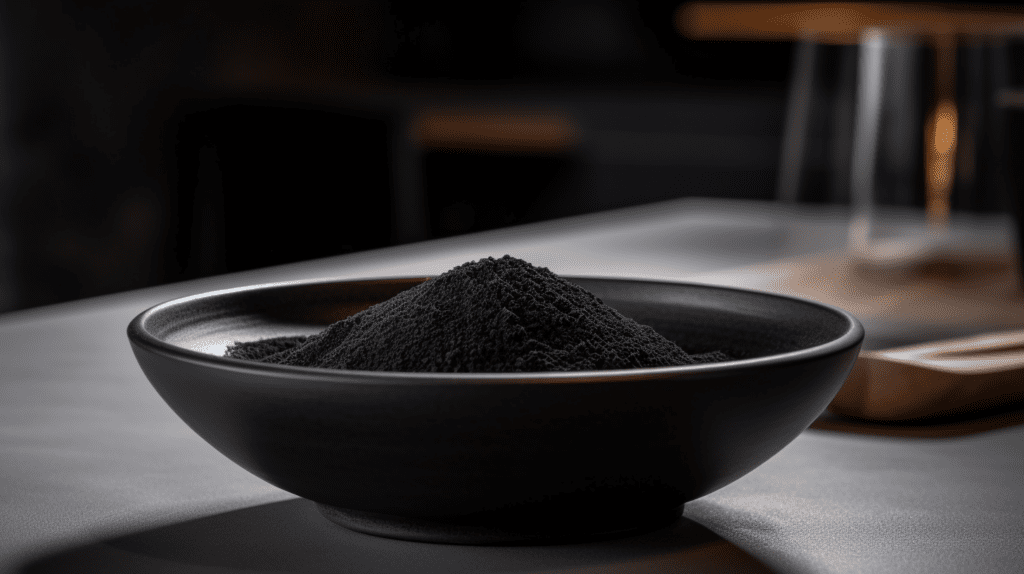
On the other hand, activated charcoal has multiple uses in everyday products and in first aid. Activated charcoal undergoes a secondary process where it’s subjected to high temperatures in the presence of a gas like steam.
This activation process creates numerous tiny pores on its surface, giving it a very high surface area.
This unique property makes activated charcoal an excellent absorbent, making it highly effective in various filtration and purification processes.
It’s why you’ll find activated charcoal in your water purifier, in emergency rooms for treating poison ingestion, and even in your face mask, helping pull out all those nasty impurities.
So while both types start from the same place, they end up with very different jobs due to their different processing.
Comparing Applications Of Charcoal VS. Activated Charcoal
From grilling to filtration, the applications of both charcoal types vary significantly. Grilling represents a conventional use for charcoal, while filtration shows the more specialized uses of activated charcoal.
While both forms of charcoal have their uses, activated charcoal has more specialized uses. See the chart below on uses of charcoal vs. activated charcoal.
Aspects
Charcoal
Activated Charcoal
Properties
Porous, lightweight
Carbon residue of dehydrated and burned organic material
Combustible (burns steadily and maintains heat)
Highly porous, lightweight
Carbon residue of dehydrated and burned organic material heated at high temperature
Activated charcoal excels in specialized scenarios, from detoxification to aesthetic improvements. It boasts an extensive range of uses due to its potent absorption capabilities. Some of the most common uses for activated charcoal include the following:
Poison Treatment And Overdose Prevention
In emergency rooms, activated charcoal is a go-to solution for poison treatment and overdose management. Activated charcoal is used to treat poisonings and drug overdoses.
This wonder substance can trap toxins, reducing their absorption in your gut.
Water Purification
Activated charcoal filters are a popular choice for water purification systems, thanks to its high absorption power. Filters are the tool through which activated charcoal operates. It effectively removes impurities and unwanted chemicals, leaving the water cleaner and safer to drink.
Air Purification
In homes and industrial settings, activated charcoal aids in air purification. If it can clear up the water, why not air? Activated charcoal can absorb airborne pollutants, which makes it a valuable tool in air purification systems.
It’s particularly useful in eliminating odors, pollutants, and harmful gases from indoor environments.
Teeth Whitening
Activated charcoal toothpaste has gained popularity for its teeth-whitening capabilities. Toothpaste is the medium used for this application.
It’s believed to absorb plaque and other teeth-staining compounds.
Skincare
These days, you can find activated charcoal in everything from face masks to shampoos. Activated charcoal masks and scrubs have also become a staple in skincare routines.
Its absorption power is thought to help detoxify the skin by drawing out oils, dirt, and other harmful substances from pores.
Digestive Health
Some studies suggest that activated charcoal for digestive health might help reduce gas production after a meal. It’s thought to bind to byproducts in the gut that lead to gas formation.
[lasso id=”31″ link_id=”20695″ type=”table”]
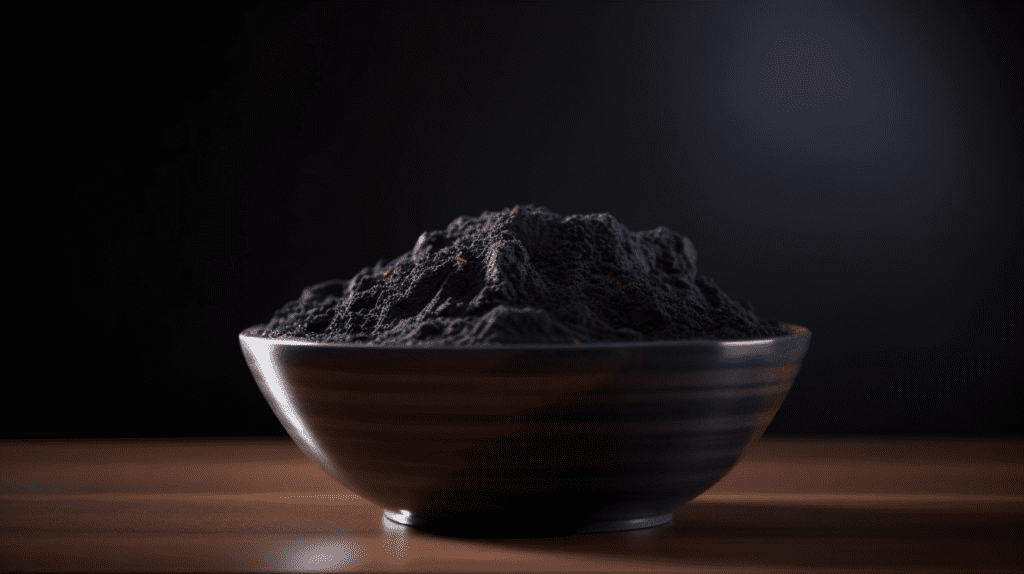
How To Make Activated Charcoal At Home
Making activated charcoal at home requires careful preparation and safety precautions. It is a complicated and risky process which involves heating charcoal to very high temperatures with a special activating substance.
This process can be dangerous, possibly causing harmful reactions or fires. So it’s not recommended to DIY it.
For safety and to ensure the best quality, buy activated charcoal from a store. Plus, it’s very affordable and not worth the risks of trying to make it on your own.
FAQs About The Difference Between Charcoal VS. Activated Charcoal
Does charcoal absorb moisture?
Yes, charcoal absorbs moisture. Its porous nature allows it to soak up moisture from the surrounding environment. This is why it’s sometimes used as a simple, natural dehumidifier in small spaces.
However, more effective moisture-absorbing materials are available if you need a stronger solution.
Can I use normal charcoal vs. activated charcoal?
While activated charcoal is renowned for its exceptional absorption capabilities and wide-range of uses, its common cousin, regular charcoal, may serve as a substitute in certain SHTF situations when nothing else is available.
Regular charcoal does not possess the same level of adsorptive properties because it is less porous and it could contain chemicals and other impurities that are not safe. However, in a pinch, it can still offer some filtration benefits.
For instance, in an emergency where activated charcoal isn’t available, regular charcoal can be utilized for basic water filtration, though its effectiveness will not match that of activated charcoal.
It’s a testament to the adaptability of this material and the uses it can serve, even when it’s not in its most potent form.
Always remember that these are contingency uses and for optimal purification and detoxification benefits, activated charcoal is the recommended choice.
Charcoal does not have the same adsorptive properties as activated charcoal and should only be used if there is no other options.
Again, in SHTF situations, you can use it, but it may not be as effective or safe as using activated charcoal. It’s best to use its activated form if you’re using charcoal aside from cooking.
How do you know if it is activated charcoal?
Charcoal is “activated” when heated to high temperatures, which changes its structure. Heating increases the surface area of fine carbon powder, making it more porous.
Activated charcoal is usually sold as a fine black powder or in capsule form, and it should be labeled as “activated” on the packaging.
How do you make activated charcoal?
Activated charcoal is made by heating regular charcoal with an activating agent, such as steam or specific chemicals, to create tiny pores that increase its adsorptive properties. This is not recommended because of safety issues.
Is it OK to take charcoal every day?
No, using activated charcoal regularly is not recommended. It may also absorb vital minerals and drugs, leading to potential health issues.
If you are ingesting activated charcoal in pill form or powder, you should stick to the instructions on the label and follow recommended dosage. It is always a good idea to seek the guidance of a medical professional before taking any supplements.
Key Takeaways: What’s The Difference Between Charcoal VS. Activated Charcoal?
Understanding the difference of charcoal vs. activated charcoal opens doors to diverse applications and responsible usage. Both charcoal and activated charcoal offer a wide range of applications, each bearing unique benefits.
Regular charcoal, primarily used as a heat source, has held a significant role throughout history, from prehistoric art to the evolution of metals.
On the other hand, activated charcoal, with its exceptional purifying abilities, truly stands as a game-changer. Its multifaceted applications, from detoxification and poison treatment to air and water purification, make it an indispensable addition to our daily lives and emergency kits.
Knowing the applications of charcoal vs. activated charcoal not only amplifies our appreciation of these incredible substances but also equips us with knowledge that can be life-saving in certain situations.
In the end, whether it’s the humble charcoal used in a barbecue grill or activated charcoal saving a life in an emergency room, both have their unique places in our world and lives.
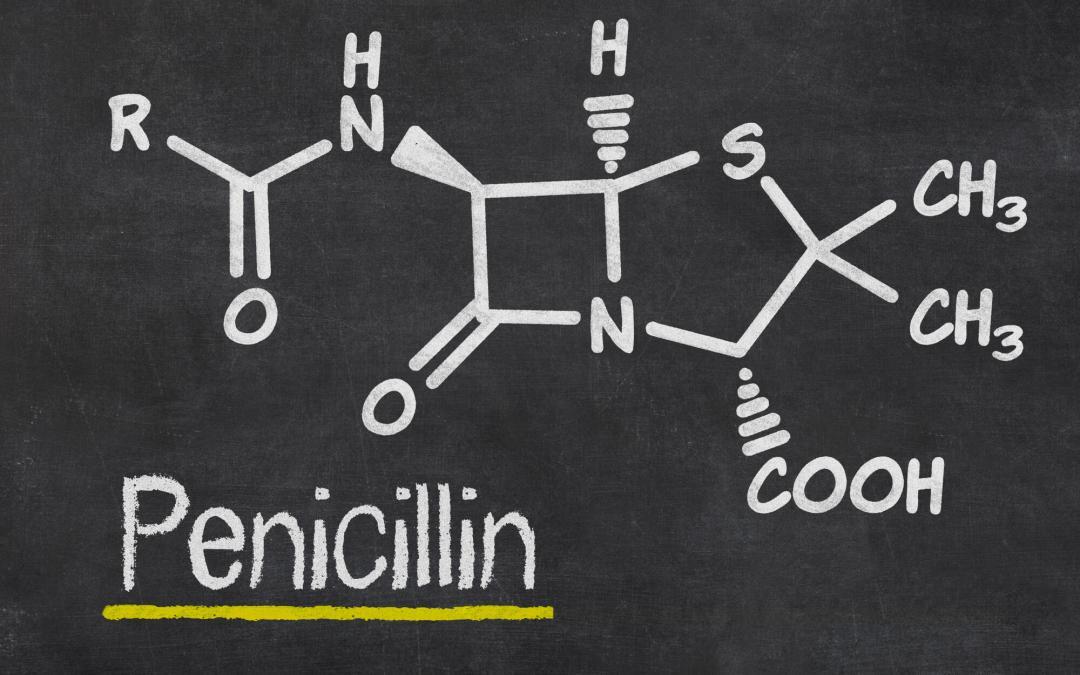
Knowing how to make penicillin at home could be one of your greatest assets in a survival situation, especially when the need for antibiotics arises without easy accessibility.
Penicillin is a wonder drug discovered by Sir Alexander Fleming. It has been used to treat bacterial infections such as streptococci and staphylococci, making it an important medication to have in a SHTF scenario.
Having the knowledge to make penicillin is an essential prepper skill to add to your tool belt. However, it’s not as easy as you might think as it requires precise steps and attention to detail.
Within this guide, we’ll not only discuss the procedure but also the ethical, safety, and historical facets intertwined with this life-saving antibiotic.
Making penicillin at home requires following specific safety protocols to ensure the purity and effectiveness of the final product.
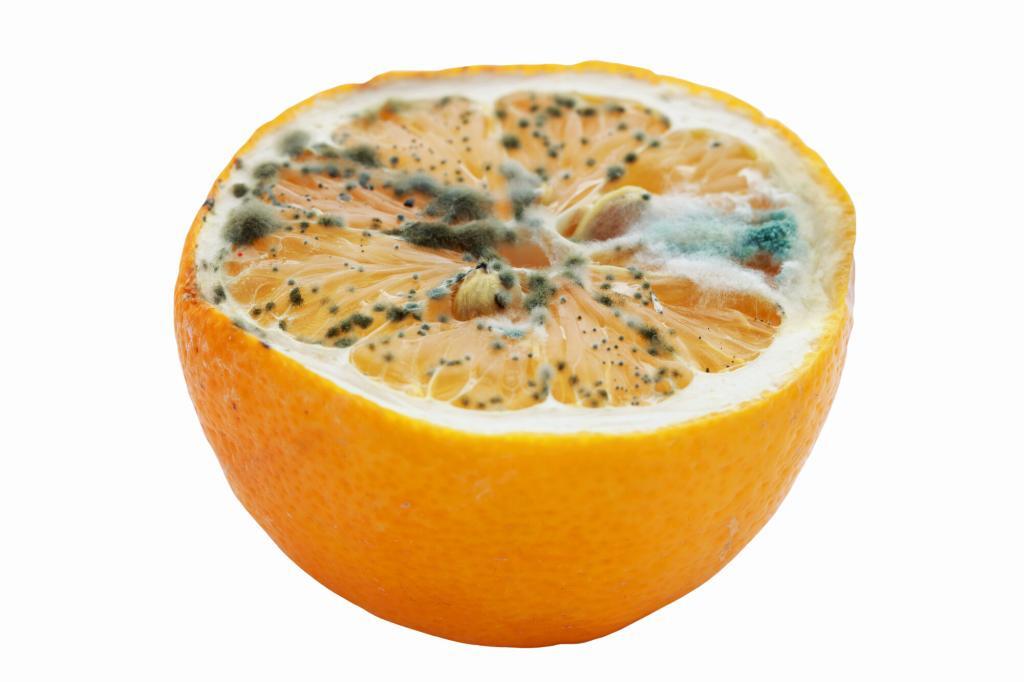
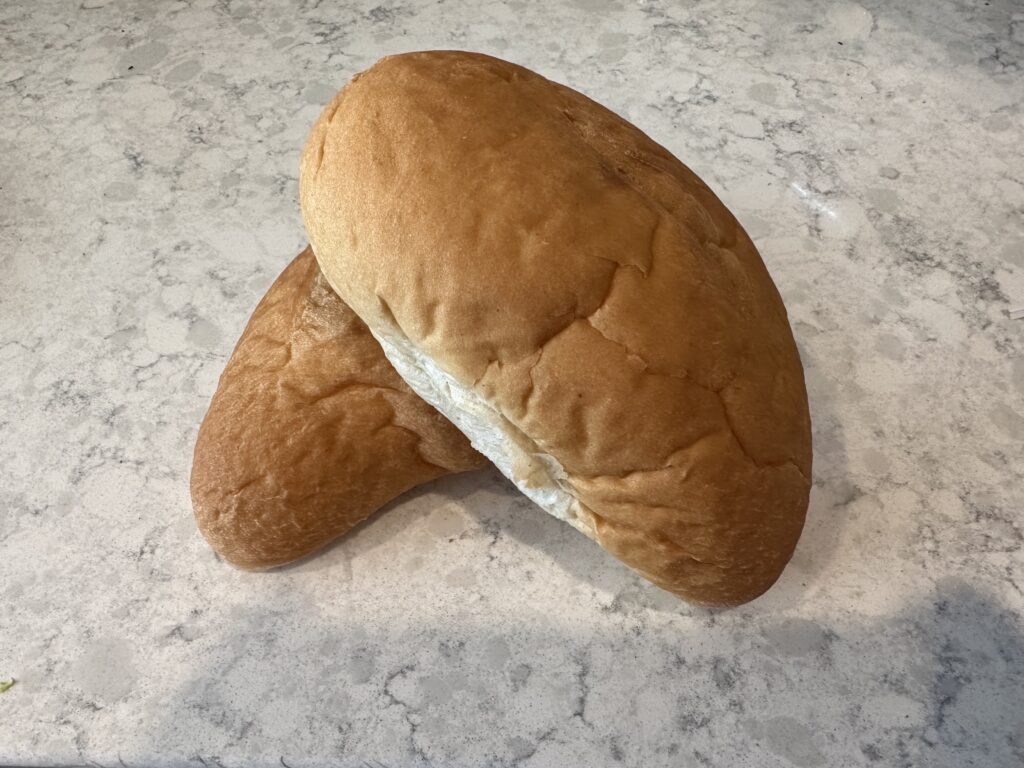
To make the penicillin at home, you must isolate Penicillium mold from sources like bread or citrus fruit. Grow it in a sterilized container with nutrient-rich agar, then extract and purify the penicillin compounds from the mold’s liquid filtrate.
Making penicillin is all about cultivating the right mold. With the right environment and materials, even a home scientist can reproduce this world-changing antibiotic.
However, producing penicillin at home is risky. So obtaining it from a licensed pharmacy is still the best option.
Safety Protocols for DIY Penicillin
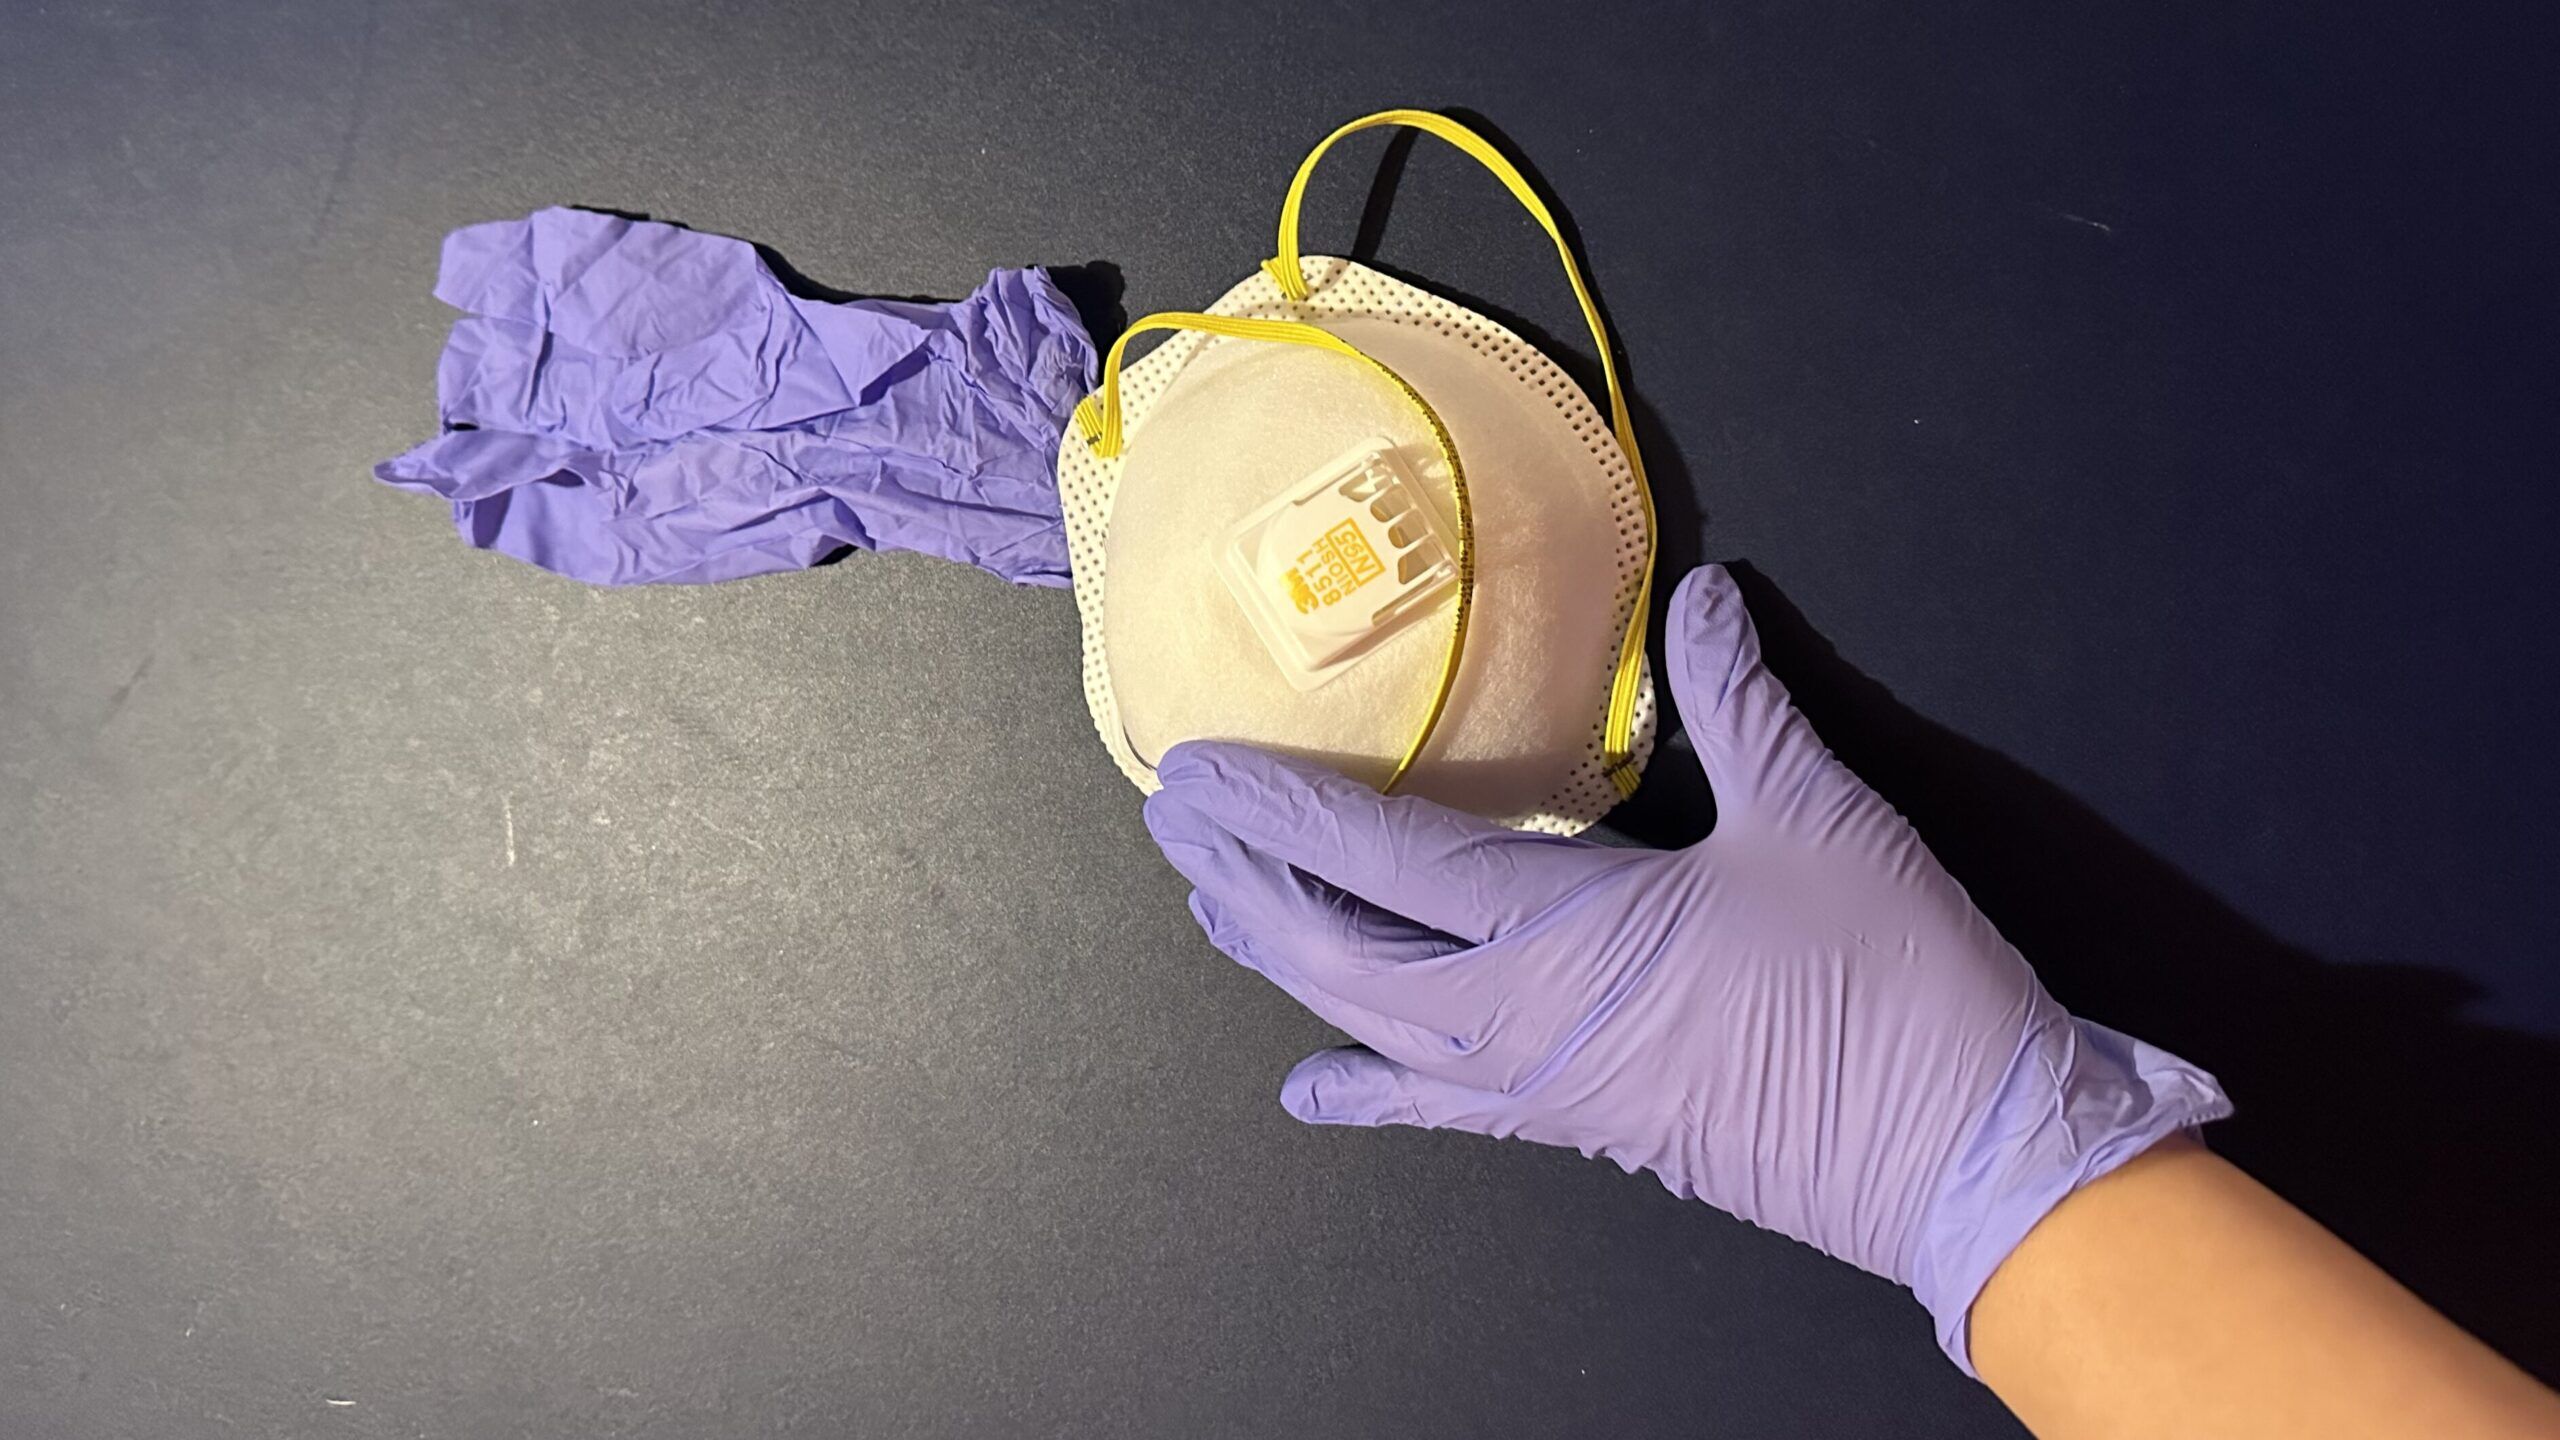
When producing your own penicillin, it is crucial to prioritize safety. This includes wearing protective clothing, working in a clean and sterile environment, and using proper disinfection techniques.
Before making your own penicillin, it’s important to be aware of the dangers and ethics surrounding homemade antibiotics. So keep these precautions in mind:
Always sterilize all materials before use,
Work in a clean and sterile environment,
Wear gloves and a mask to protect yourself from mold spores, and
Wash your hands before and after handling the culture.
Challenges and Limitations of Homemade Penicillin
While making penicillin at home can be a rewarding endeavor, it is essential to acknowledge its challenges and limitations. These include the need for specialized equipment, strict sterilization procedures, and potential risks associated with improper use.
From contamination risks to efficacy concerns, homemade penicillin, unlike its pharmaceutical counterpart, brings a unique set of limitations to the table.
Additionally, self-diagnosing and self-medicating with homemade antibiotics can be dangerous. So when learning how to make antibiotics, make sure you’re serious about it. Otherwise, just stick to fish antibiotics or other homeopathic alternatives.
Ethical Considerations in Producing Your Own Antibiotics
Producing antibiotics, including penicillin, at home raises ethical considerations. These include ensuring adequate knowledge and responsibility in using antibiotics, avoiding the creation of drug-resistant bacteria, and seeking professional medical advice when necessary.
Beyond the science, there’s a responsibility to make sure it’s used correctly and safely, especially considering the bigger picture of making medicine at home.
Remember that penicillin is not a cure-all. It won’t treat UTI and tooth infections. So don’t always count on penicillin to treat everything. Some conditions don’t even need using antibiotics. Using antibiotics when they’re not needed can lead to antibiotic resistance, making infections harder to treat in the future.
Step-By-Step Guide on How to Make Penicillin: Gathering Materials and Preparing the Workspace
Much like in microbiology labs, gathering the right ingredients and setting up an effective workspace is foundational for penicillin creation. It is important to gather the necessary materials and prepare a clean and organized workspace.
Essential Ingredients and Equipment for Homemade Penicillin
Emulating the practices of the pharmaceutical industry, identifying the correct ingredients and tools is essential for successful penicillin production.
Proper understanding of microbial troubleshooting, an inherent part of drug development, is vital when challenges arise in DIY penicillin production. These are the specific materials and tools you need to make homemade penicillin:
Sterilized glass jar with a lid
Sterilized water
Sterilized spoon or spatula
Sterilized cotton swab
A piece of bread or fruit
Penicillium mold (obtained from moldy bread or citrus fruits)
Glass container
Nutrient-rich agar or sugar solution
Organizing Your Materials for DIY Penicillin
Proper organization of materials is key to a successful homemade penicillin production. Ensure that all items are clean, labeled, and easily accessible before starting the process. Sterilize all materials to prevent contamination.
To sterilize the glass jar and utensils, boil them in water for 10 minutes or place them in an oven at 350°F for 30 minutes. Allow the materials to cool completely before using them.
A well-ventilated area is also necessary to avoid inhaling potentially harmful fumes.
How to Make Penicillin: Step-By-Step Guide
Now that you have gathered the necessary materials and organized your workspace, follow this step-by-step guide to create your own penicillin at home.
Step 1: Cultivating the Penicillin Mold
In laboratories, you only need to inoculate a culture medium with penicillium chrysogenum spores to allow the mold to grow and produce the penicillin necessary for the antibiotic. But for DIY Penicillin, you’ll obtain it through mold from bread or a citrus fruit.
Break the bread or citrus fruit into small pieces and place them in the sterilized jar.
Add enough sterilized water to cover the bread or fruit.
Close the lid of the jar loosely, and place it in a warm, dark location. Allow the mold to grow and cover the surface. The ideal temperature for penicillin mold growth is between 70°F and 80°F.
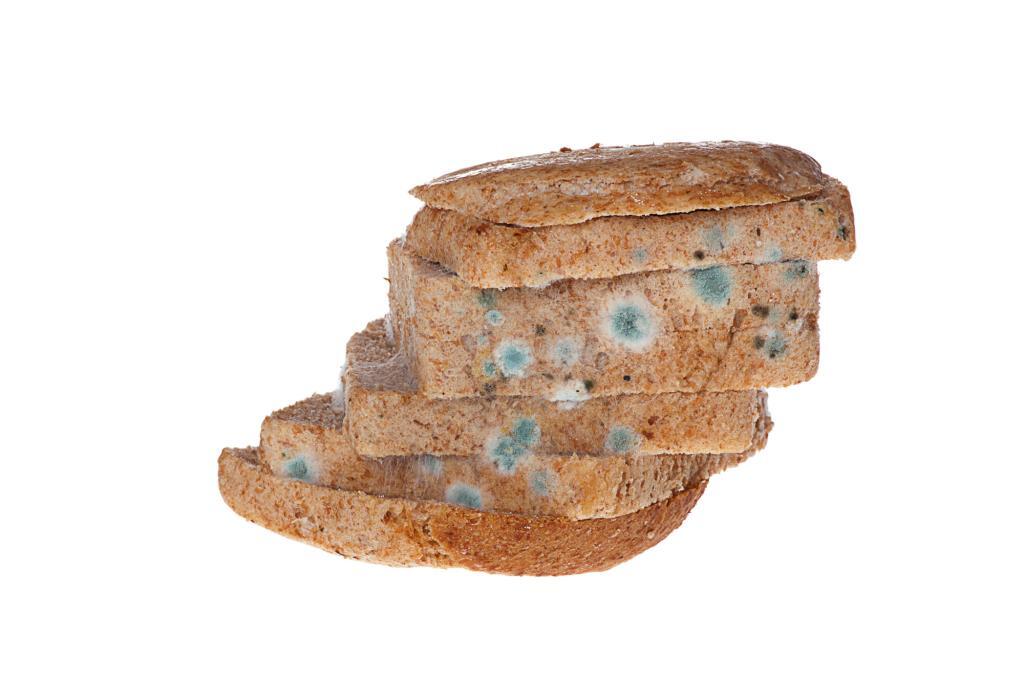
Step 2: Incubating the Culture
After 3-5 days, you should see a blue-green mold growing on the surface of the bread or fruit. This is the penicillin mold, and it is ready to be harvested.
Step 3: Harvesting Penicillin
To harvest the mold, you will need the following tools and steps:
Sterilize a spoon or spatula.
Carefully scoop out the mold and transfer it to a sterilized plate.
Use a sterilized cotton swab to transfer the mold to a new jar filled with sterilized water.
Swirl the cotton swab in the jar to distribute the mold spores evenly.
Incubate the new jar for 5-7 days at room temperature, stirring occasionally.
After a week, transfer the mold to the fermentation vessel containing a sugar solution or nutrient-rich agar. This step is crucial for producing penicillin as the mold feeds on the sugar.
Maintain a temperature of around 70°F and monitor the pH levels. The ideal pH for penicillin production is between 6.0 and 6.5.
Adjust the pH levels accordingly with weak acids or bases if necessary. Allow the mold to ferment for about a week.
Step 4: Extracting and Purifying the Penicillin
Once the fermentation process is complete, it’s time to extract and purify the penicillin.
First, filter the mixture to separate the liquid from the mold.
Next, use a solvent like an ethyl acetate or butyl acetate to dissolve the penicillin from the liquid.
Carefully evaporate the solvent to obtain a yellowish powder, which is crude penicillin.
To further purify the penicillin, dissolve the crude penicillin in water and filter it to remove any remaining impurities.
Step 5: Storing the Penicillin
Storing penicillin is just as important as the process of creating the antibiotic because you do not want to contaminate it store it incorrectly. Here’s how to store it properly:
Strain the culture through a sterilized cheesecloth or coffee filter to remove any solid particles. Transfer the liquid to a sterilized container and store it in the refrigerator for up to a few weeks.
You may also use crystallization to obtain pure penicillin crystals and then store them in a cool, dark place.
Troubleshooting
Troubleshooting, an inherent part of drug development, is vital when challenges arise in DIY penicillin production. Common challenges include contamination, low yields, or ineffective penicillin production.
If your penicillin culture does not grow, it may be due to contamination or improper incubation conditions. So make sure all materials are sterilized, and avoid opening the jar during incubation.
If mold growth is slow, try increasing the temperature or adding more mold spores.
History and Application of Penicillin
Tracing back to Alexander Fleming’s discovery, the history of penicillin offers a rich tapestry of medicinal breakthroughs. Penicillin is an antibiotic derived from the Penicillium fungi.
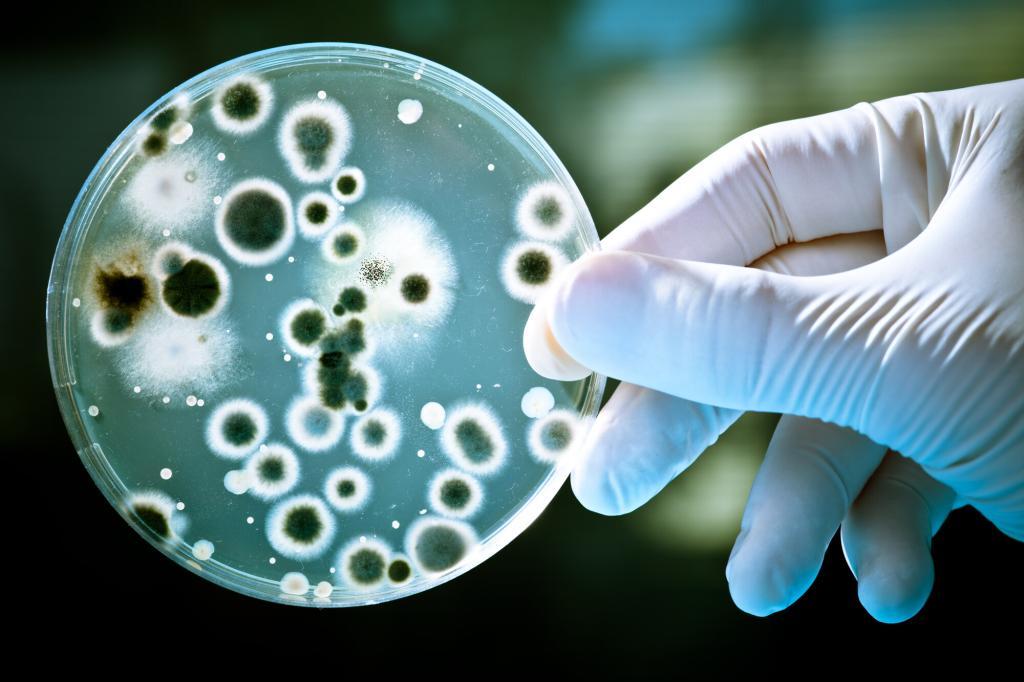
In 1928, Sir Alexander Fleming accidentally discovered penicillin when he noticed a mold, Penicillium notatum, killing bacteria on a petri dish.
He isolated the mold, identifying its bacteria-fighting substance, and named it penicillin.
Penicillin is used primarily as an antibiotic to treat a wide range of bacterial infections caused by pathogens like Staphylococcus aureus and Streptococcus pneumoniae.. It targets gram-positive bacteria and is effective against conditions like strep throat, syphilis, pneumonia, and certain forms of meningitis.
Florey and Chain’s work during World War II further established penicillin as a crucial weapon against infections, paving the way for modern antibiotic therapies.
With the rise of antibiotic-resistant bacteria, its use is closely monitored. Additionally, while penicillin-based antibiotics like amoxicillin and ampicillin remain popular, the discovery of penicillin paved the way for the development of other classes of antibiotics to address diverse infections.
FAQs About How To Make Penicillin At Home
Is homemade penicillin safe to use?
Homemade penicillin mold may not be as potent or pure as commercially produced penicillin antibiotics. So you shouldn’t use it to treat severe infections without consulting a healthcare professional.
How should you apply penicillin?
Penicillin is an antibiotic that should be used strictly as prescribed by a medical professional.
Typically, it is administered orally in tablet or liquid form, but can also be given intravenously or as an injection, depending on the type and severity of the infection.
It’s vital to complete the full course, even if symptoms improve, to prevent bacterial resistance. Its dosing and duration depend on the specific infection, patient’s age, weight, and health conditions.
Always take it at evenly spaced intervals to maintain consistent levels in the bloodstream and follow any dietary restrictions provided.
Note: Some people are allergic to penicillin, so inform your healthcare provider of any allergies or reactions to ensure safe administration.
What does penicillin mold look like?
Penicillin mold looks blue-green in color and has a fluffy texture. It starts as small, circular spots on the surface of the bread or fruit and grows over time.
The mold may produce a musty or earthy smell. It is important to confirm the identity of the mold before attempting to harvest it for penicillin production.
Can everyone take penicillin?
No, some people are allergic to penicillin and may experience severe reactions. You must inform your doctor of any allergies before taking antibiotics.
Can I use penicillin to treat viral infections?
No. Penicillin and other antibiotics are ineffective against viral infections, such as the common cold and flu. Don’t use antibiotics for viral infections. These may lead to antibiotic resistance and can cause unnecessary side effects.
How to make penicillin taste better?
One option is to mix the penicillin with a small amount of sugar or honey to mask the bitter taste. Mix it with juice or another flavored beverage to make it more palatable.
How long does it take for penicillin to work?
The duration for penicillin to take effect varies depending on the infection and the individual. You may notice improvement within a few days. But it’s crucial to complete the full course of treatment.
Are there any side effects associated with penicillin?
Like all medications, penicillin can cause side effects, such as nausea, diarrhea, rash, or allergic reactions.
Wrap Up on How to Make Penicillin
As we reflect on this journey, reminiscent of the milestones in drugd iscovery, DIY penicillin production proves both enlightening and challenging.
Penicillin treats bacterial infections, such as strep throat, pneumonia, and skin infections. And while it’s fascinating to learn how penicillin is made, making antibiotics at home is risky and not advisable.
Remember to take safety precautions and consult a healthcare professional before using homemade penicillin to treat infections.
Pro Tip: Although, having the knowledge to make penicillin on your own is a resourceful skill to have if SHTF.
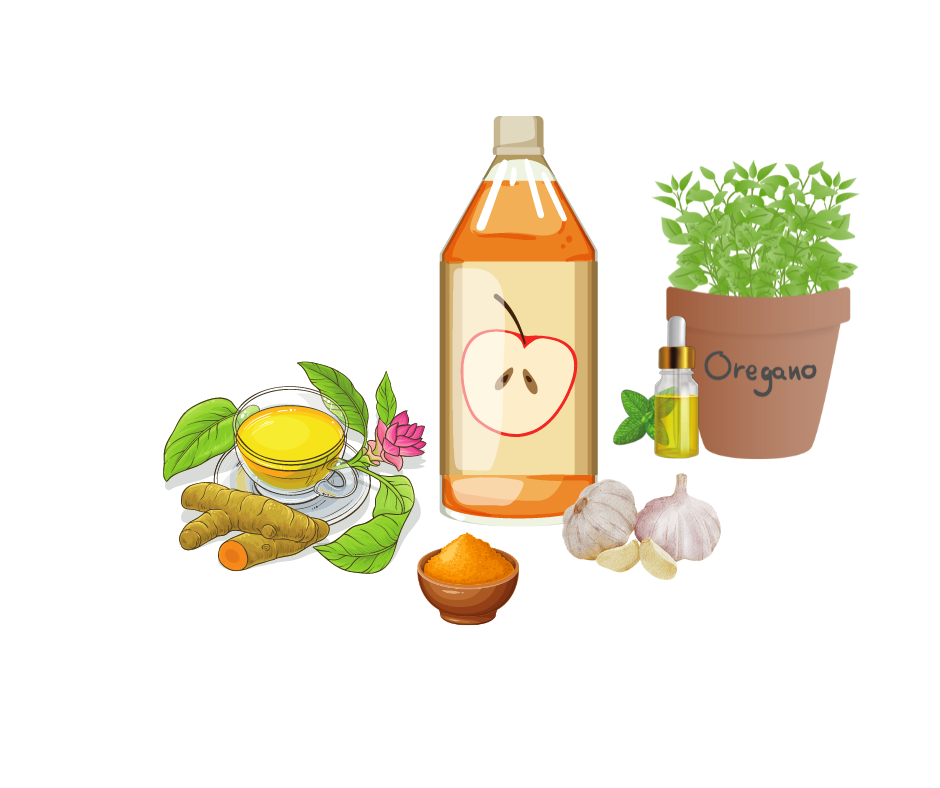
My wife and I prefer to stock up on homeopathic alternatives like oregano oil, apple cider vinegar, turmeric or garlic to add to our medical and first aid supplies. They are much more convenient and safe unless you have the expertise to make your own.
If you choose to make your own and you are using bread, it is best to use fresh bread because store bought brands may contain preservatives that slow the growth of mold.
Have you ever tried to make your own penicillin? If so, let us know your tips down below in the comments.
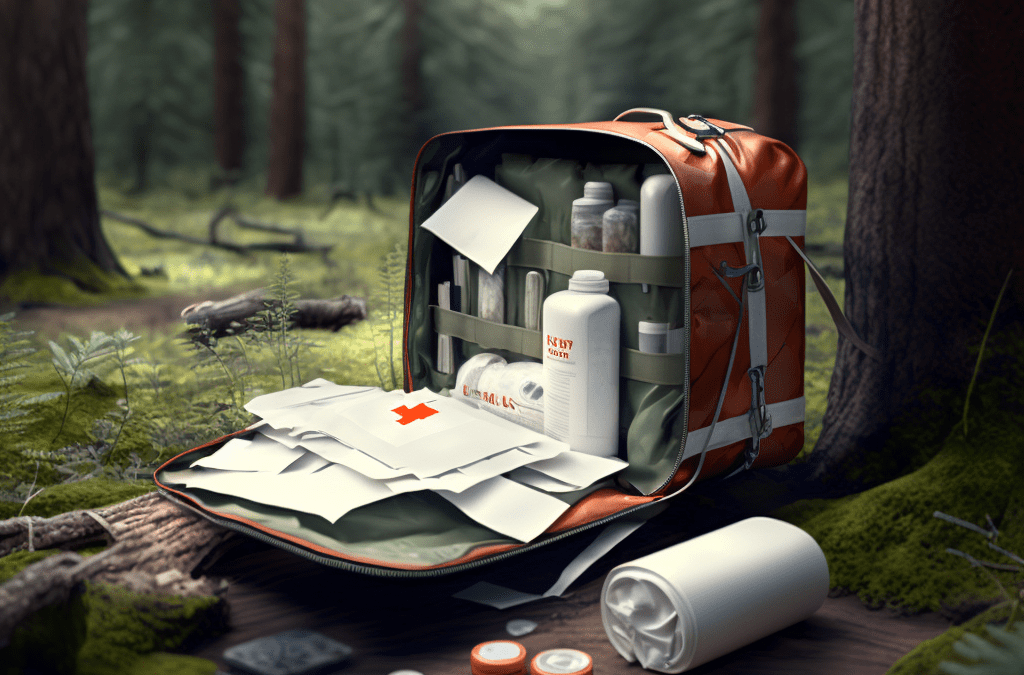
Prepping for the worst-case scenario can make all the difference in an emergency. Food and water are essential items for emergencies. But having a first aid and trauma kit could save you or someone else’s life.
You can assemble a set of supplies that will help you manage any emergency. Here’s a list of first aid and trauma kits to get started.
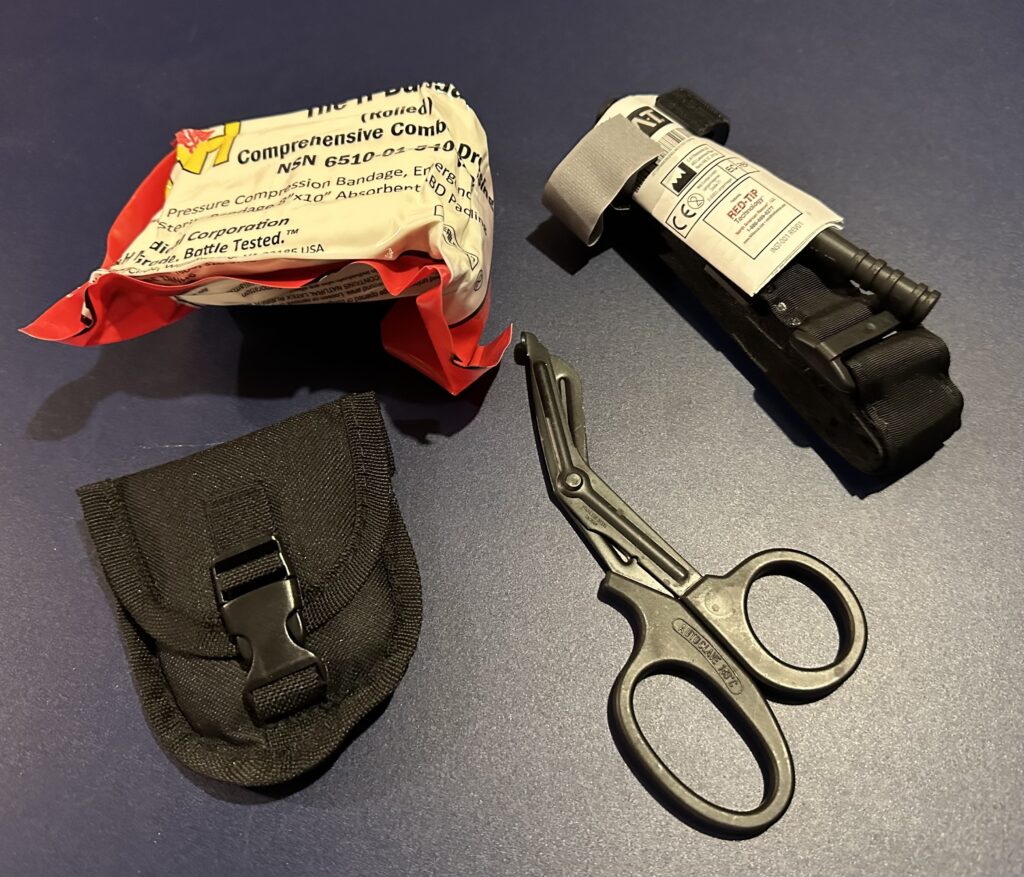
What is a Trauma Kit?
A trauma kit is also known as a bleeding kit. It is a supply of equipment and medications designed for life-threatening injuries. You will use it for gunshot or knife wounds and amputations. It’s used for any major bleeding that might result in death in minutes if treatment is not provided.
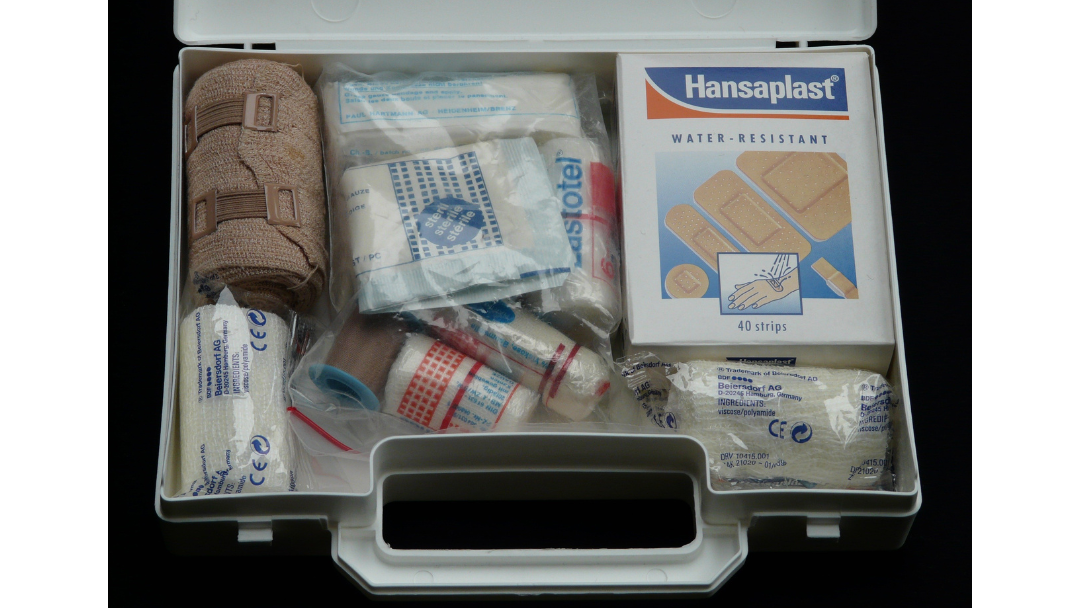
What is the Difference Between a Trauma Kit and First Aid Kit?
First aid kits can help treat minor injuries like scrapes and cuts. But trauma kits contain supplies and equipment necessary to stop serious bleeding.
To summarize, first-aid kits help treat minor injuries, and trauma kits help save lives.
Emergency Kit Items List
You must include these basic first aid supplies in any emergency preparedness kit. Keep the kits in a secure, accessible location, such as your car or home. Also, ensure that all supplies are up-to-date with fresh items. Learn how to use them, so you know what to do in an emergency.
Top 10 Items in A First Aid Kit
If you plan to design a small first aid kit for yourself and your family, here is a list of 10 essential items to include:
1. Antiseptic wipes or solutions to clean wounds.
2. Adhesive bandages in a variety of sizes.
3. Gauze pads and roller gauze to dress wounds.
4. Scissors, tweezers, and safety pins to aid in dressing wounds.
5. Disposable gloves to protect against infection and contamination.
6. Instant cold press for minor sprains and strains.
7. Antibiotic ointment to prevent infection.
8. Hydrocortisone cream to reduce itching and inflammation.
9. Pain relievers to manage pain and discomfort.
10. A first aid manual to help guide you through treating minor injuries.
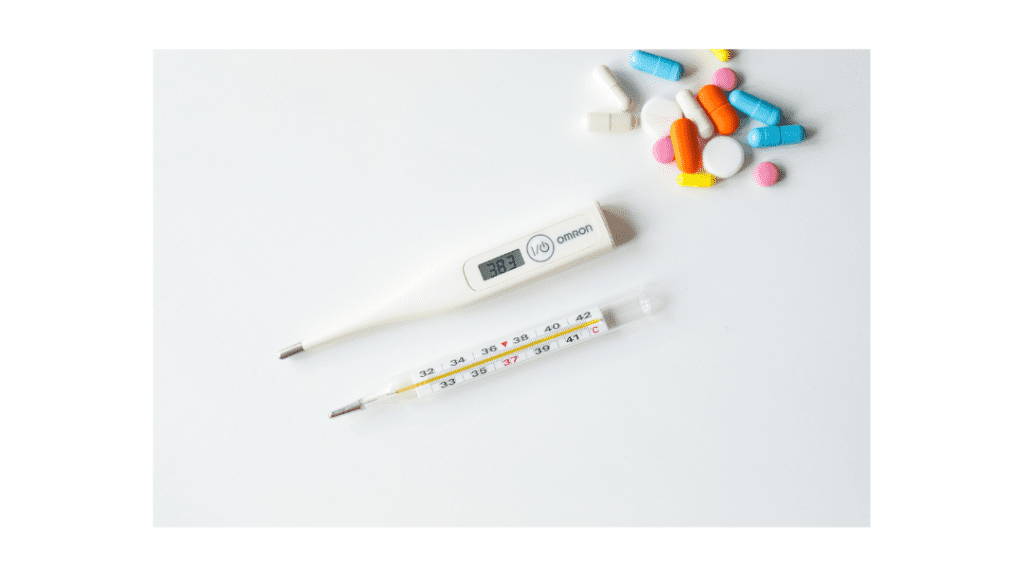
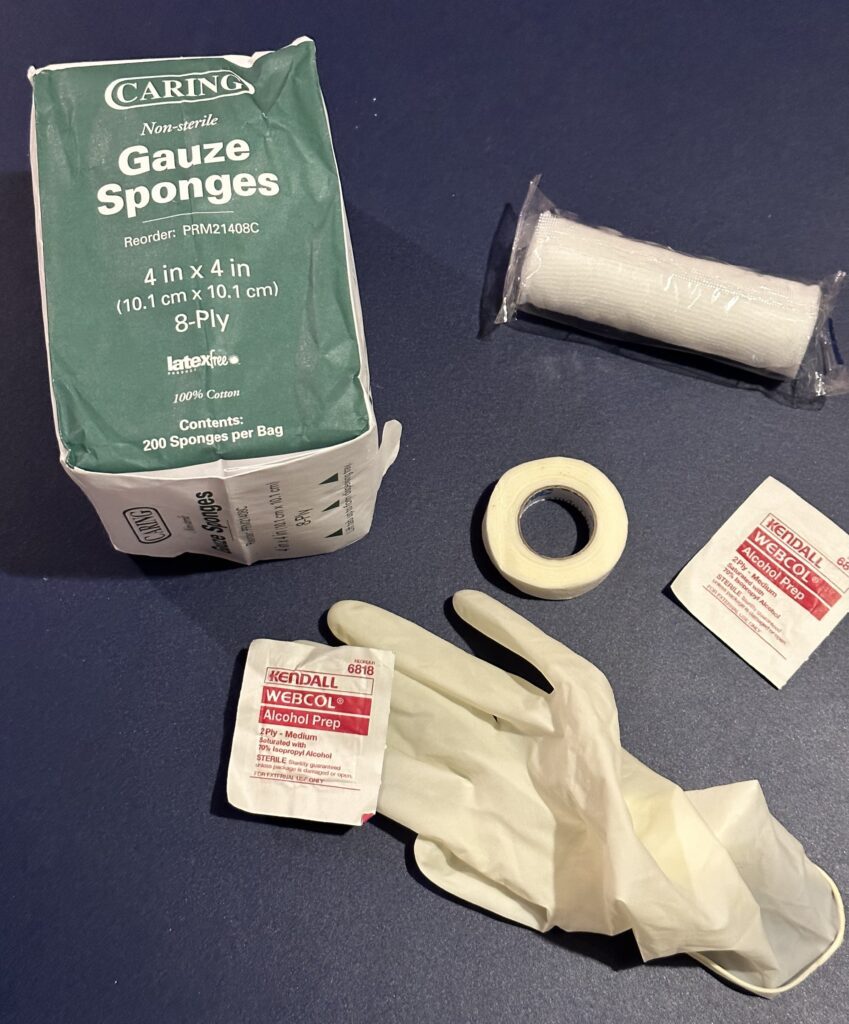
Top 20 Items In a First Aid Kit
If you want a complete first aid kit, here is a list of 20 essential items to include:
Sterile gauze pads to apply direct pressure on wounds.
Adhesive and roller bandages to cover minor wounds and secure gauze pads in place.
Triangle bandages to create a sling when tying off limbs.
Adhesive bandages to cover minor wounds.
Safety pins of different sizes for securing bandages or clothing.
Antiseptic wipes, saline solution, or hydrogen peroxide to clean wounds and prevent infection.
Cotton balls or iodized cotton swabs to apply antiseptic to wounds.
Tweezers to remove splinters, thorns, and other debris from wounds.
Antibiotic ointment to prevent infection and help wounds heal.
Hydrocortisone cream to help relieve itching and reduce inflammation.
Instant cold press to reduce swelling and help relieve pain.
Pain relievers such as ibuprofen or acetaminophen to reduce pain and discomfort.
Medical scissors to cut bandages, tape, and clothing in an emergency.
Emergency blanket to keep the patient warm and protect from the elements.
Breathing barrier (with one-way valve) to prevent contamination during CPR.
Disposable gloves to help protect against contamination.
Digital thermometer to check a patient’s temperature in case of fever or other illness.
Emergency whistle to alert rescuers in case of emergency.
Flashlight to provide light in the dark and in emergencies.
First aid manual to help guide you through treating common injuries and illnesses.
Military Trauma Kit Contents
The trauma kit requires more advanced supplies than the first aid kit due to the nature of combat. Here is a trauma kit supplies list for military use:
Patient Assessment Tools
Without these instruments, you can’t test, visualize, and quantify important processes. Some examples of tools to include are:
Assorted standard dressings ranging from 4x4s and 5x9s to ABD
Airway/ Breathing Management Tools
These tools assist a patient’s airway, breathing, and ventilation.
Oral and nasal airways
Pocket mask
Manual suction device
Chest decompression supplies
Collapsible bag valve mask
Invasive airway control devices, like endotracheal intubation
Materials for Minor Trauma
Aside from trauma supplies, it’s important to include materials for minor wounds. Having different sizes of trauma dressings and gauze is essential. These are some of the items to include:
Antiseptic solution or wipes
Saline flush
Gauze pads
Tape
Adhesive bandages
Instant cold press
Antibiotic ointment
Hydrocortisone cream
Pain relievers
Forceps
Tweezers
Scissors
Ortho Supplies
Orthopedic trauma supplies help stabilize fractures and other injuries. These are some of the items to include:
Cold packs (These have come in handy on a number of occasions. We keep these stocked in our car and kids sports bags.)
Compression wraps
Sam splints
Cervical collars
Casts
Slings
Ortho traction devices
Routine Medicines
Having routine medicines for common illnesses and injuries is important. OTC medications like ibuprofen, acetaminophen, and antihistamines are useful. You should have an assortment of common OTC drugs, such as:
Pain relievers
Cough and cold medicines
Antihistamines
Laxatives
Antacids
Decongestants
Antidiarrheal medicines
Eye drops
Various vitamins and minerals
Transport System/ Team
Trauma kits should include supplies to assist medical personnel in transporting a patient. Some of the items to include are:
Stretchers
Carrying bags
Spine boards with straps
Collapsible gurneys
Neck collars
Blankets
Head immobilizers
Other Emergency Items or Supplies
You should also have a list of the contact numbers of doctors, hospitals, and clinics in an emergency.
Also, having a portable phone charger is important in case you need to call for help.
Do You Need Training to Use a Trauma Kit?
Although a trauma kit is not a substitute for medical training, it has the tools to help save lives. It’s important to know how to use the tools and supplies in your kit and understand when you need to use them.
Those who want to prepare can enroll in First Aid for Severe Trauma (FAST). It’s a nationwide STOP THE BLEED® course where you may learn bleeding control techniques.
Also, training on using an AED and anaphylaxis injections and asthma may be helpful, should the need arise.
Conclusion: Trauma Kit Supplies List
Having a trauma kit with the necessary supplies is essential to prevent injuries from getting worse. Training to use them can save lives in an emergency.
Gather your supplies and design your trauma kits. Then, place them in accessible areas. Don’t wait until it’s too late — equip yourself with the proper tools and prepare for any situation.