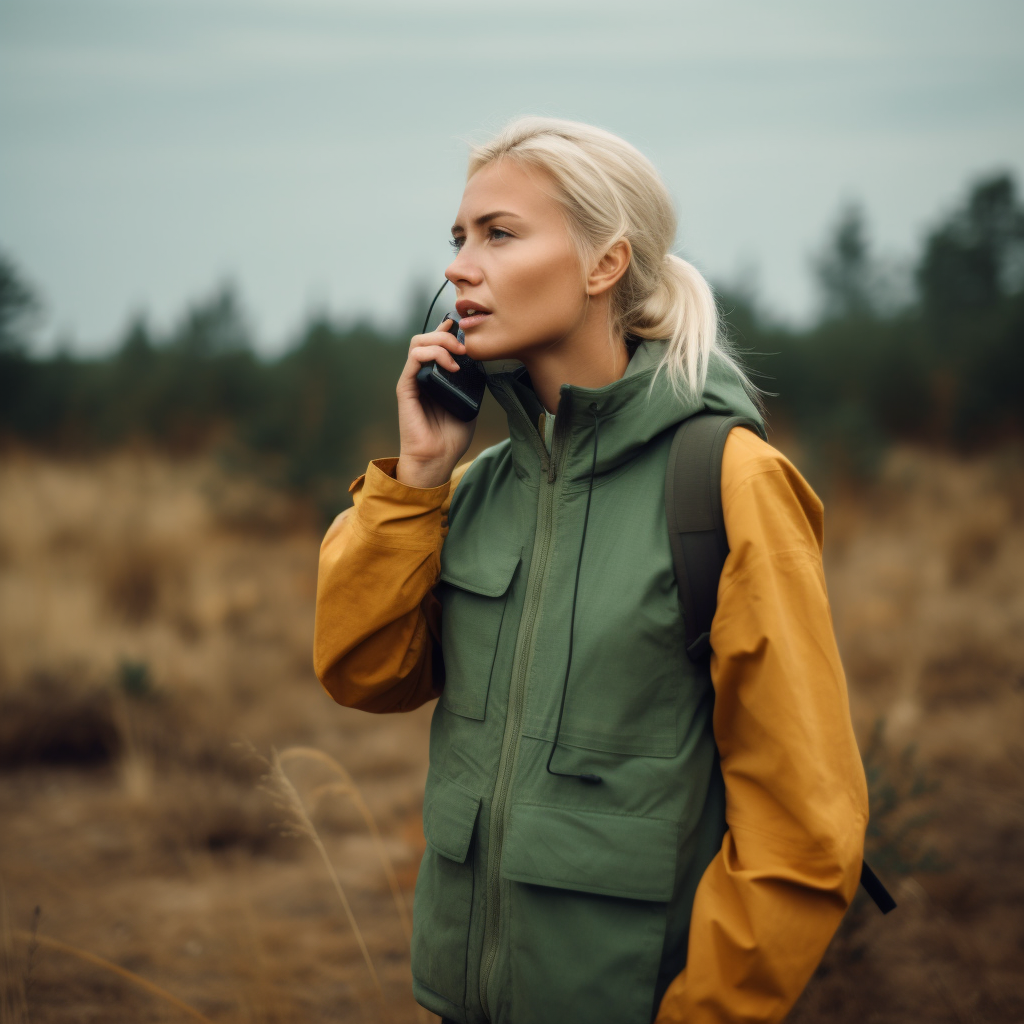
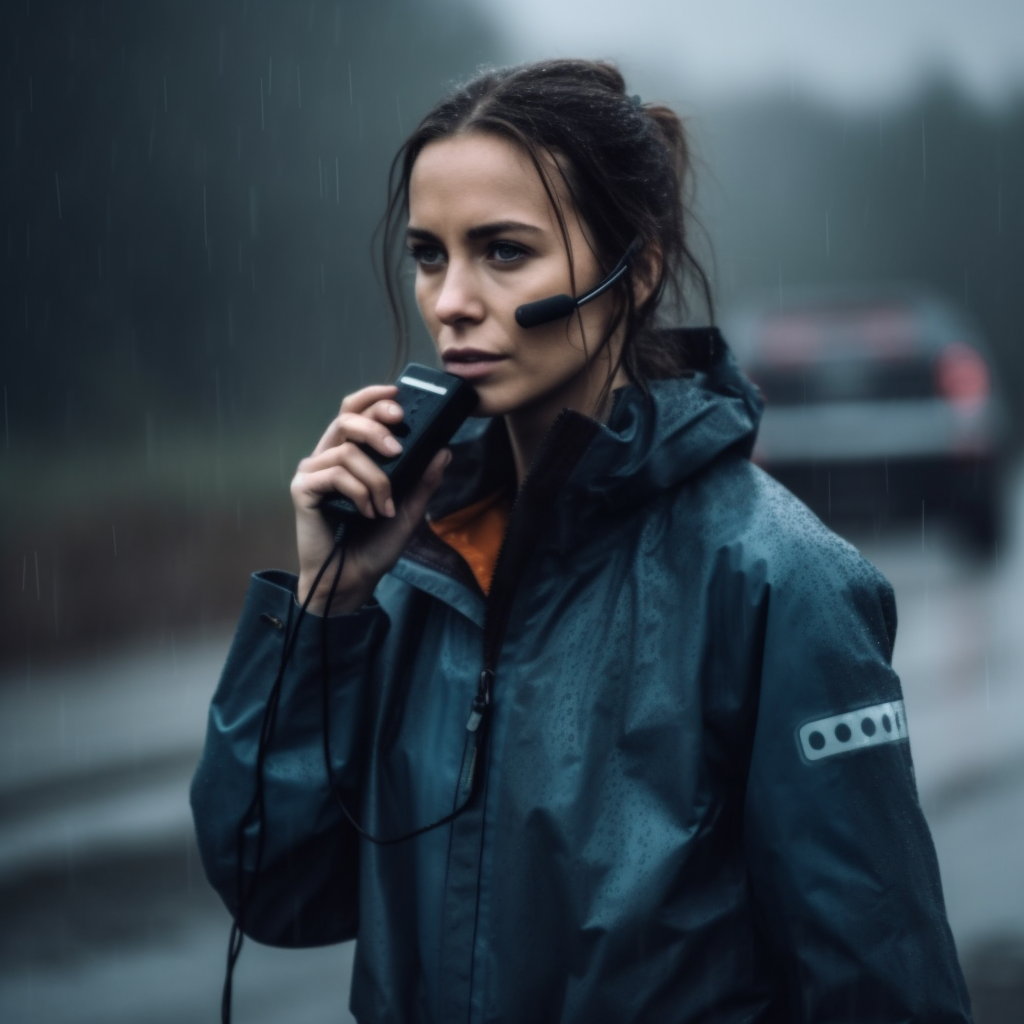
Picture yourself deep in the wilderness, miles away from civilization, and suddenly find yourself in a life-or-death situation. Your heart races as you realize your phone has no signal.
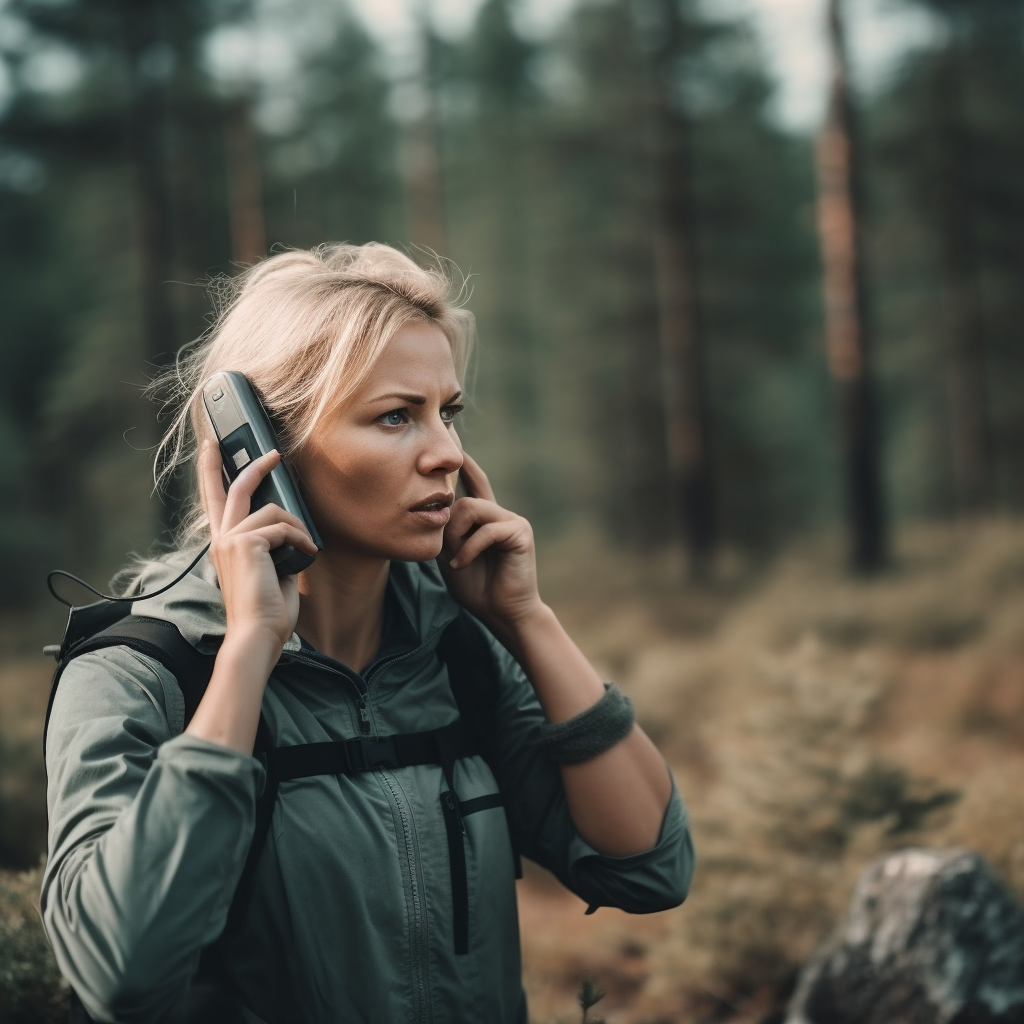
These situations make you wish you had a survival walkie-talkie on hand.
A reliable walkie-talkie is a non-negotiable addition to your survival kit. Professional guides and experienced adventurers know all too well the value of a good walkie-talkie.
They also provide access to vital weather updates and a lifeline to emergency services when you need them most.
In a world of uncertainty, having a reliable survival walkie-talkie by your side can make all the difference in staying connected and safe during emergencies.
But with so many options available, how do you choose which is right for you?
Fear not! We’ve done the research and compiled a list of the top 10 walkie-talkies that will keep you connected with your group when it matters most.
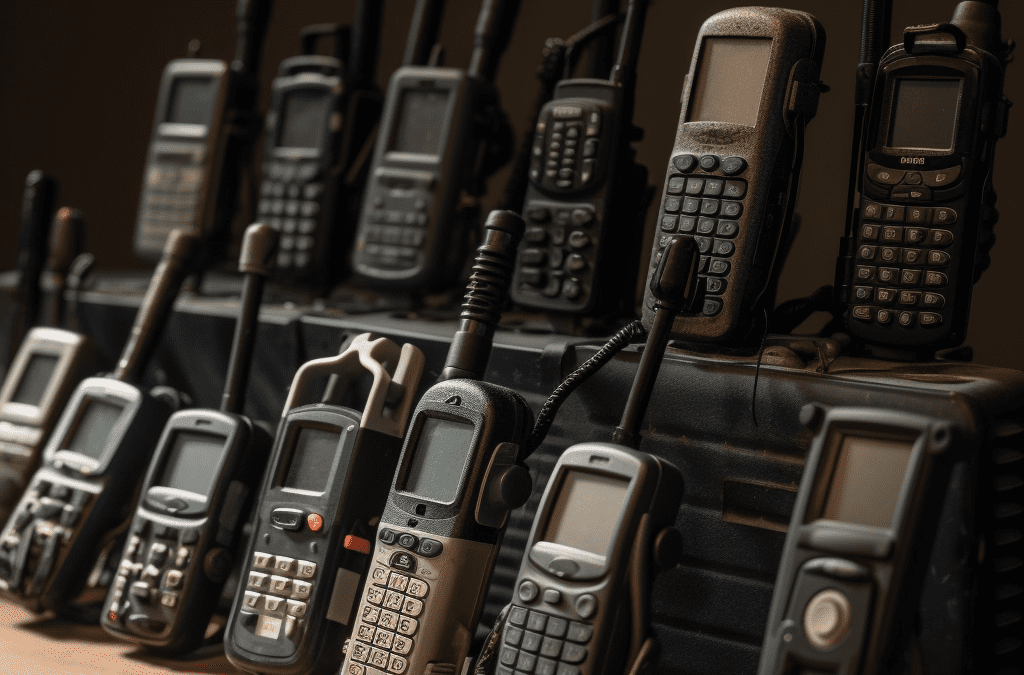
Our Top Picks For The Best Survival Walkie Talkies For Preppers
Topsung M880 walkie talkies are built to keep you connected when it matters most. Boasting 22 main channels and 121 privacy codes, these walkie talkies offer an impressive range of up to 1/4/16 miles so you’re never out of touch.
With a standby time of 3-4 days on just 3 AA batteries, these lightweight, palm-sized devices (2.9 oz) are packed with advanced features.
It has hands-free function (VOX), keypad lock, LCD screen with backlight, belt clip, earpiece jack, adjustable power, and volume, and durable, eco-friendly materials (ABS).
As icing on the cake, it also comes with the latest FCC certification and a 30-day replacement guarantee — a lot of bang for your buck.
When it comes to cheap yet quality handheld amateur radios, Baofeng is a household name. This Baofeng walkie talkie is designed for reliability and convenience.
Featuring a 1500mAh rechargeable battery, you can continuously use it for all day, with 2-4 days of regular operation and 5-7 days of standby time. You can also charge it easily with options like power banks, PC chargers, or car chargers.
With 16 pre-programmed channels, each offering 50 CTCSS and 105 DCS tunes for private communication, these walkie talkies are perfect for any situation, even in challenging terrains.
The lightweight, slim design is ready to use right out of the box, and the package includes all the accessories you’ll need. Although the quality might not rival high-end models, you’ll get more than what you paid for at just $30.
Rest assured, these walkie talkies have passed the FCC certification and come with a 30-day money-back guarantee, a 12-month warranty, and 24/7 email support.
If you’re looking for a pocket-sized walkie talkie with a lightweight build at an affordable price point, consider these on for size. It’s as thin as a cellphone, making it easy to carry, perfect for long adventures.
It has a unique belt clip design for quick removal and installation. The VOX hands-free function keeps your hands available for other tasks.
There’s also USB charging, fast charging, automatic power-saving, and low battery reminders.
Ideal for commercial events and outdoor activities, the RT22 is a practical addition to your emergency kit, taking up minimal space while leaving room for other essential items.
Their size takes up very little space in your emergency kits, leaving more room for other important items you might otherwise not be able to take with you.
This is an affordable, full-featured radio that provides excellent sound quality and range. It’s definitely not a toy, but it won’t break the bank either.
If you’re on a budget but still need a walkie talkie that delivers, this is the one for you. You’ll be surprised by its price and array of features in this little device.
The MOICO Long Range Walkie Talkie has an amazing 5-mile range in open fields and a decent 1.2-mile maximum range in urban areas. That should be enough to talk to your friends and family if you’re not looking to stray too far apart.
What sets this walkie talkie apart is its 22 FRS channels and 99 sets of CTCSS tones, providing a whopping 2,178 combinations to ensure your conversations remain private. That’s a lot of privacy for such an affordable device!
There’s also a one-to-one or one-to-more communication function that allows multiple walkie talkies to communicate on the same channel. It also comes with VOX-Hands Free Function, with three sensitivity levels for hands-free operation.
The T460 walkie talkie boasts an impressive 35-mile mountain-to-valley and an impressive 2-mile urban neighborhood range.
Real-life ranges will depend on how much obstruction or interference is around, but it’s nice to have that three-mile potential.
The real-time weather updates via the weather channel and weather alerts are great at preparing you for all weather scenarios. It also has 22 channels and 121 privacy codes, so finding an available channel should be a breeze.
The iVOX/VOX function serves as a speakerphone, allowing hands-free communication in any scenario. Powered by NiMH rechargeable batteries, you can enjoy around 8.5 hours of use or simply pop in 3 AA batteries for up to 21 hours on the move.
The built-in LED flashlight is a thoughtful addition, coming in handy when navigating in the dark.
With 22 channels, 121 privacy codes, and 2,662 combinations, you’ll easily find an available channel for clear communication. This walkie talkie features a communication range of up to 35 miles. But that depends on terrain and conditions.
The weatherproof IP54 rating and built-in flashlight ensure peace of mind during evening adventures, emergencies, or power outages.
Stay updated as this radio provides 11 weather channels, including seven NOAA channels. Additional features include 20 call tones, a keypad lock, a talk confirmation tone, a low battery alert, and an eco-smart design for less power consumption.
It’s also compatible with other FRS/ GMRS (General Mobile Radio Service) radios and powered by dual power options.
If you’re looking for a radio that lets you access all 40 CB radio channels, stay informed about road conditions, and receive NOAA weather alerts with crystal-clear communication, this is the one for you.
You can get improved CB radio transmission and reception with the Soundtracker System, which filters through 90% of noise and optimizes signal transfer.
It also features a built-in NOAA Weather Radio Channel that helps you stay prepared with 24-hour updates on weather, emergencies, and hazards.
You can also monitor two pre-selected channels simultaneously with its Dual Watch feature. And with just one press, you can enjoy full coverage, accessing up to 40 CB radio channels.
The easy-to-use, illuminated multifunctional display ensures visibility in any lighting condition, while the handheld design makes it perfect for on-the-go adventures.
This walkie talkie is your lifeline, providing license-free communication up to 28 miles away. With 22 FRS channels, 38 privacy codes, and crystal-clear sound quality, you’ll know your messages are heard and understood, no matter the situation.
The 38 CTCSS privacy codes offer up to 836 channel options, blocking unwanted eavesdroppers and ensuring your private conversations remain just that – private.
It also ensures long-range communication with minimal obstructions, so you can stay connected and feel secure.
The package comes with belt clips, rechargeable battery packs, a desktop charger, and a micro USB charging cable – everything you need for easy transport and charging on the go or during daily use.
And with compatibility across all Midland FRS walkie-talkies and accessories, this walkie talkie is a versatile choice for any communication scenario.
I only wish that it could last longer. It only has a 10-hour battery life which is unsuitable for emergencies.
If you’re ever out on a marine adventure and your trusty radio happens to slip out of your hands and into the depths below, don’t worry—this one’s made to float and is here to save the day!
With its vibrant orange core, it’s easy to spot and retrieve, averting potential disaster. And with an impressive 6 watts of power, you’ll experience extended range communications, ensuring you can stay connected even in the most remote locations.
It has full access to NOAA weather channels, emergency alarms, and a JIS7/IPX7-rated submersible design. The noise-canceling microphone cuts through background noise, providing crystal-clear conversations.
Plus, this radio has you covered, whether navigating the waters of the USA, Canada, or international seas, providing maximum coverage to keep you connected and secure.
In a bustling hotel, retail store, or restaurant, where efficient communication is key to success, this radio emerges as the ultimate tool to keep your team connected and coordinated. It’s ideal for use in these demanding on-site applications.
It offers an impressive 25-floor range, with 22 preset channels with privacy codes for minimal interference.
Built tough, the DXFRS800 is shock-resistant and can withstand a 2-meter drop. Its anti-slip design guarantees secure handling, while the LCD keeps you informed of the radio’s status so you’re always in control.
With 18 hours of run-time, these radios are ready to keep up. The hands-free VOX operation allows your team to stay productive, while vibration alerts and auto squelch ensure that you won’t miss any crucial messages amidst the hustle and bustle.
With storage for an astounding 4,000 channels, 10,000 talk groups, and 200,000 contacts, you’ll never feel lost or disconnected.
The DMR-6X2’s built-in GPS, audio recorder, and backward compatibility with BTECH and Nagoya SMA-Female antennas and previous BTECH accessories make it a versatile and reliable tool for any task.
With this walkie talkie, you can stay ahead with upgradeable firmware and radio that supports various channel configurations. The ‘Digital Monitor’ feature even allows you to keep an eye on all available DMR traffic on your current channel.
Additional highlights like simple text messaging, imperial GPS display, and easy talk group access further enhance your communication capabilities. Plus, the radio’s support for various analog modes makes it adaptable to a wide range of situations.
And with a battery life of up to 35 hours on a single charge, you can trust this walkie talkie to be there for you through the most demanding circumstances.
This high-power, long-range walkie talkie is built precisely for working in a demanding environment like construction sites or large-scale events.
With an impressive battery life of over 24 hours, you can count on this walkie talkie to last throughout your adventure. Its VOX-ready, emergency alarms and 50 non-standard CTCSS and 232 DCS codes ensure your team stays connected and protected.
Rain or shine, the IP67 waterproof speaker mic delivers clear and loud audio, while the rugged and durable body can withstand shocks, vibrations, and multiple 2-meter drops.
The IP67 waterproof speaker mic ensures clear and loud audio even in harsh weather conditions, while the rugged and durable body can withstand shocks, vibrations, and multiple two-meter drops.
These radios are specifically designed for large commercial environments and may not directly connect to other radio brands. However, if needed, you can contact the company for firmware assistance to ensure seamless integration.
I Already Have A Smartphone…
When phone signals fail, such as natural disasters, terror attacks, or nuclear fallout, your phone is as good as a paperweight. This is where survival walkie-talkies become indispensable.
Smartphones may be convenient, but their reliability can falter in extreme situations. As a survivalist, it’s important to have a backup communication method like a walkie-talkie.
Their radio signal-based operation doesn’t depend on mobile networks. This should give you uninterrupted communication in the most challenging circumstances.
With a frequency range reaching up to 12 km or more and the ability to connect to over 22 channels, survival walkie-talkies are perfect for emergencies.
Don’t leave your safety to chance — invest in a reliable walkie-talkie for your survival tool kit.
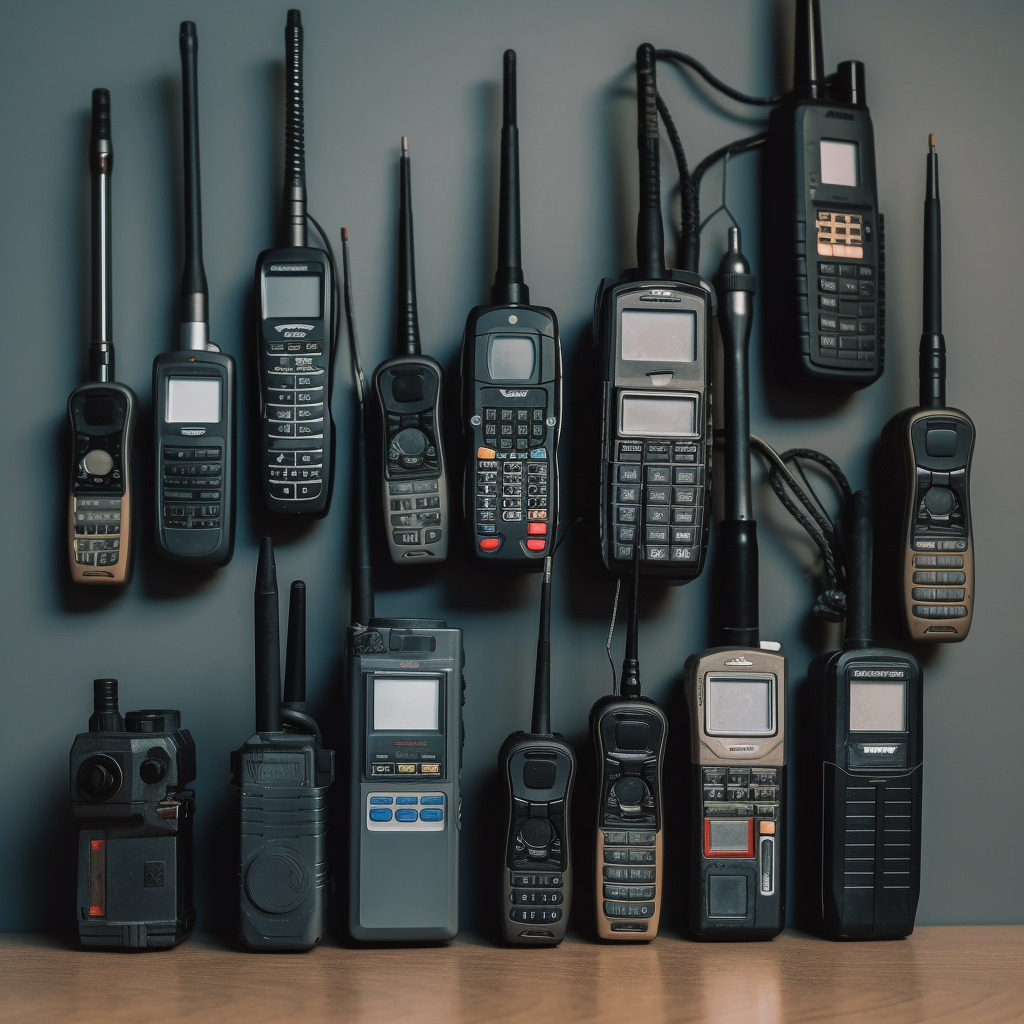
What Is A Walkie Talkie?
A walkie-talkie, also known as a two-way radio, is a handheld communication device that allows you to talk to others over radio frequencies without relying on cell networks.
It’s a push-to-talk device, meaning you can’t speak and listen simultaneously. Walkie-talkies have been around for decades, we used to use them all the time as toys when we were kids.
But they’ve become popular among outdoor enthusiasts, event organizers, and emergency responders due to their simplicity and reliability.
Benefits Of Having A Walkie Talkie
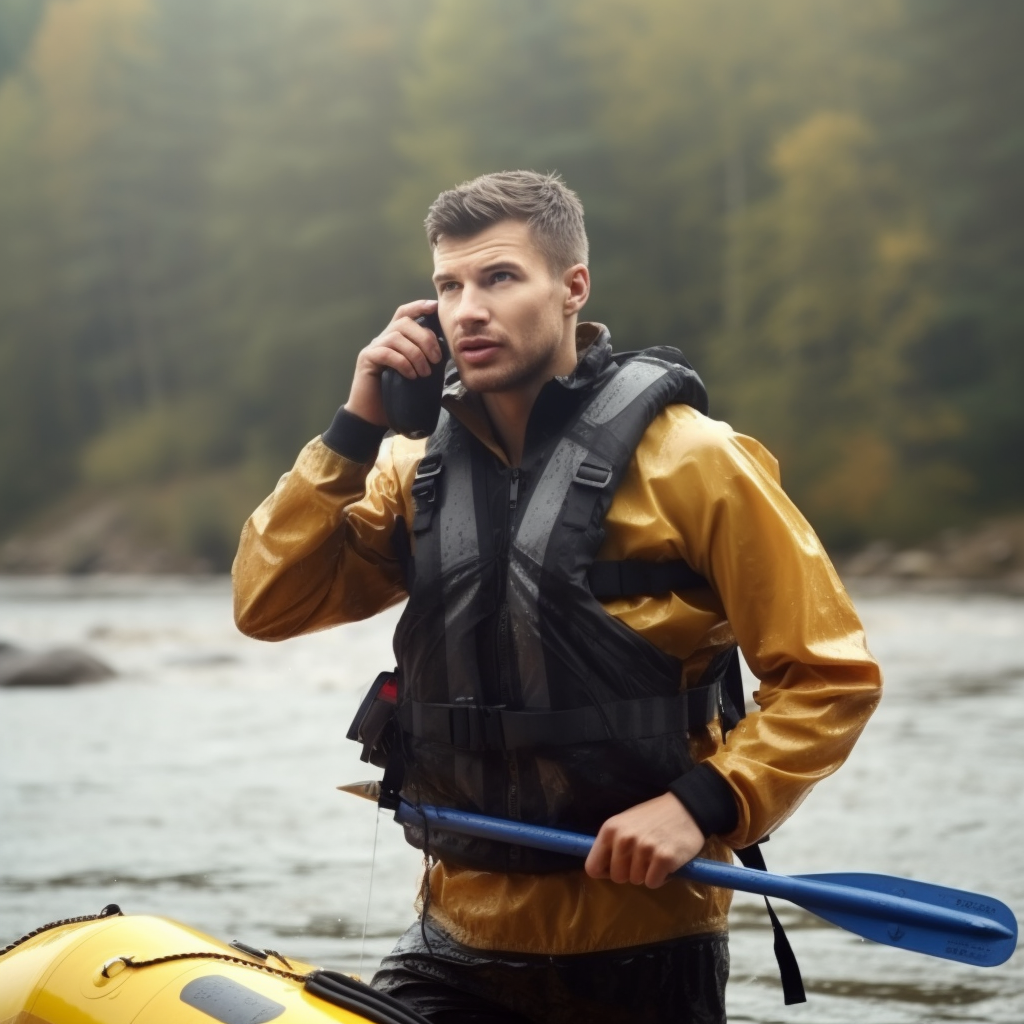
Reliable communication: In areas with limited or no cell service, walkie-talkies provide a dependable way to stay connected with your group. This can be crucial during camping trips, hiking adventures, and indispensable in survival scenarios.
Cost-effective: There are no monthly fees or contracts associated with walkie-talkies. Once you purchase the device, you can use it without incurring additional costs.
Easy to use: With their push-to-talk feature and straightforward controls, walkie-talkies are user-friendly and accessible to people of all ages.
Enhanced safety: In emergencies, walkie-talkies can help you maintain communication with your group or connect with emergency channels.
What To Look For In Buying A Good Two Way Radio
Range
In a true SHTF scenario, communication is vital. Look for a walkie-talkie with an impressive range, ideally one that can reach up to 20 miles or more.
Battery Type
One of the most crucial aspects of any walkie-talkie is its battery life. After all, a dead walkie-talkie is about as useful as a two tin cans attached to opposite ends of a string.
You may not always have access to batteries or power sources. So you’ll want a device with long-lasting battery life or one that uses rechargeable or replaceable batteries.
You can also opt for solar-powered walkie talkies. These can harness the power of the sun to recharge their batteries.
Remember that choosing a walkie talkie with a reliable battery ensures you stay connected, even during extended emergencies or off-grid adventures.
Durability and Weather Resistance
A rugged, water-resistant design is a must for any survival walkie-talkie. You need a device that can take a beating and keep on ticking, regardless of the conditions.
Channels and Privacy Codes
More channels and privacy codes mean less interference and clearer communication. In survival situations, you NEED to minimize confusion and maintain secure lines of contact. Secure channels are even more important if you’re up against enemies.
Emergency Features
It’d be good to look for a survival walkie talkie with additional features like weather alerts, SOS signals, or built-in flashlights to keep you informed and prepared during emergencies.
Hands-Free Operation
Look for a walkie-talkie with hands-free options like a headset or voice-activated transmission. This allows you to communicate while keeping your hands free to focus on other tasks.
How To Use A Walkie Talkie
1. Power up: Charge or insert fresh batteries and turn on your walkie-talkie.
2. Choose a channel: Select a communication channel for you and your partner(s).
3. Adjust volume: Set a comfortable listening level using the volume control.
4. Talk: Hold the “talk” button, speak clearly into the walkie-talkie, and release the button when done.
5. Listen: Keep the device near your ear to hear responses, and ensure your partner(s) are on the same channel.
6. Use etiquette: Say “over” when you finish speaking and avoid interrupting others.
7. Check the battery: Monitor battery life and recharge or replace as needed.
Walkie Talkie Lingos
To ensure clear and concise communication, users often use specific lingo or phrases. Here’s a list of common walkie talkie lingos and their meanings:
1. Affirmative: Used to confirm or agree with a statement or request. It means “yes.”
2. Breaker/Break: A term used to interrupt or request to join an ongoing conversation, usually followed by the channel number or user’s identifier.
3. Copy: Acknowledgment that a message has been received and understood.
4. Goahead: Permission to proceed with a message or action.
5. Negative: Used to disagree or indicate “no” in response to a question or request.
6. Over: Indicates the end of a transmission and that the sender is awaiting a response.
7. Out: Signals the end of a conversation without expecting a response, meaning the channel is now free for others to use.
8. Roger: Another way to confirm that a message has been received and understood, similar to “copy.”
9. Standby: A request to wait for further instructions or information.
10. Wilco: Short for “will comply,” indicating that the sender will follow the instructions provided.
11. 10-codes: A set of standardized codes used to represent common phrases, such as “10-4” for “message received” or “10-20” for “location.” Note that the use of 10-codes varies between different agencies and organizations.
12. Repeat: A request to resend the last message, often used when the transmission was unclear.
13. Sayagain: Similar to “repeat,” it is a request to have the last message repeated.
14. Clear: Indicates that the user has finished their transmission and is leaving the channel open for other users.
FAQ About The Best Survival Walkie Talkies
Are walkie talkies good for SHTF?
Walkie-talkies are great for SHTF situations, as they enable short-range communication without depending on cell networks. They’re especially useful in emergencies when other communication methods might be down.
What radios do preppers use?
Preppers typically use HAM radios, CB radios, or GMRS/FRS radios, as these provide longer range communication and access to emergency channels. These radios can help you stay informed and connected with others during crisis situations.
Would an EMP affect walkie-talkies?
An EMP could potentially affect walkie-talkies, as it can damage electronic devices. However, if you store your walkie-talkies in a Faraday cage or other protective enclosures, they might remain functional after an EMP event.
Wrap Up of The Best Survival Walkie Talkies For Preppers
Don’t wait until it’s too late to realize the importance of reliable communication in critical situations. Equip yourself with a tool that keeps you connected and informed when it matters most.
Whether you’re an avid hiker, a dedicated prepper, or just someone who wants to be ready for life’s unexpected twists and turns, having the right walkie talkie can be a game-changer.
Explore your options, find the perfect two-way radio, and confidently face whatever challenges life throws your way, knowing you’re prepared for the unexpected.
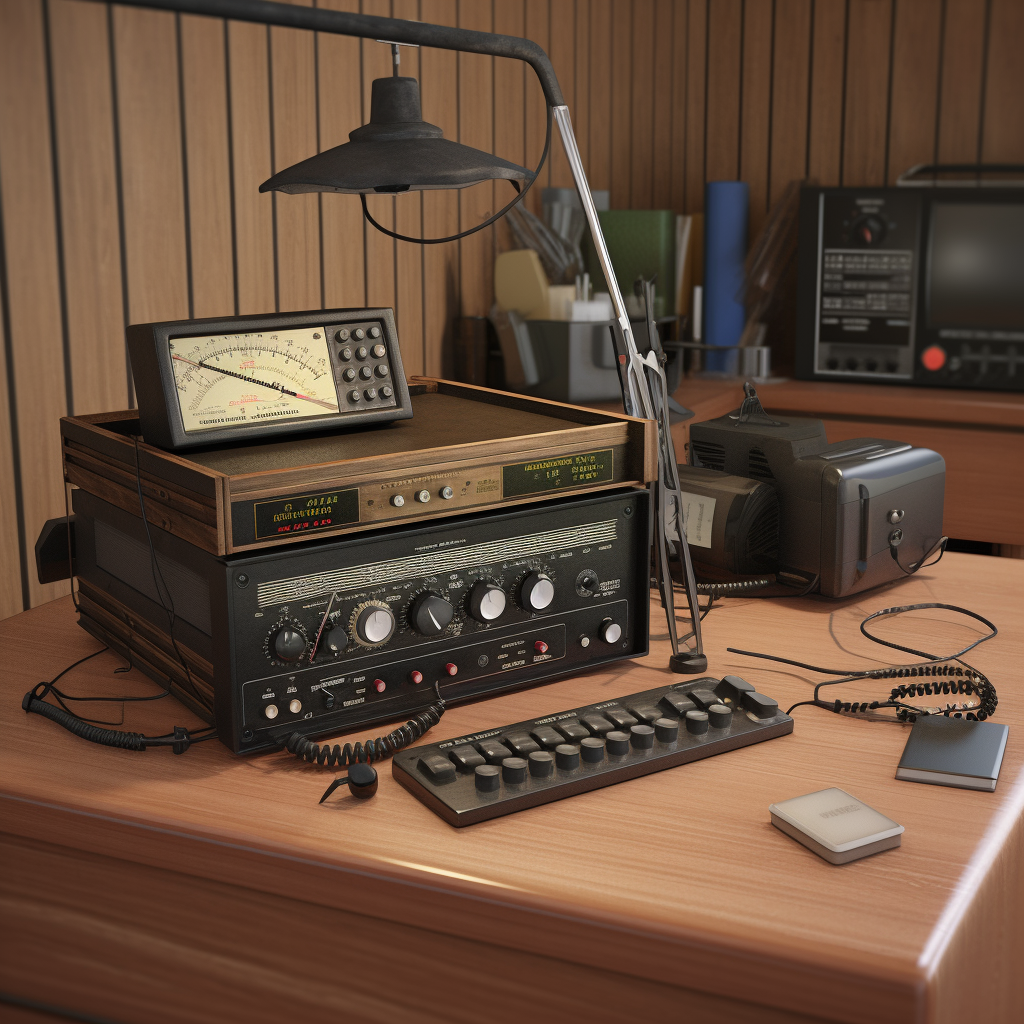
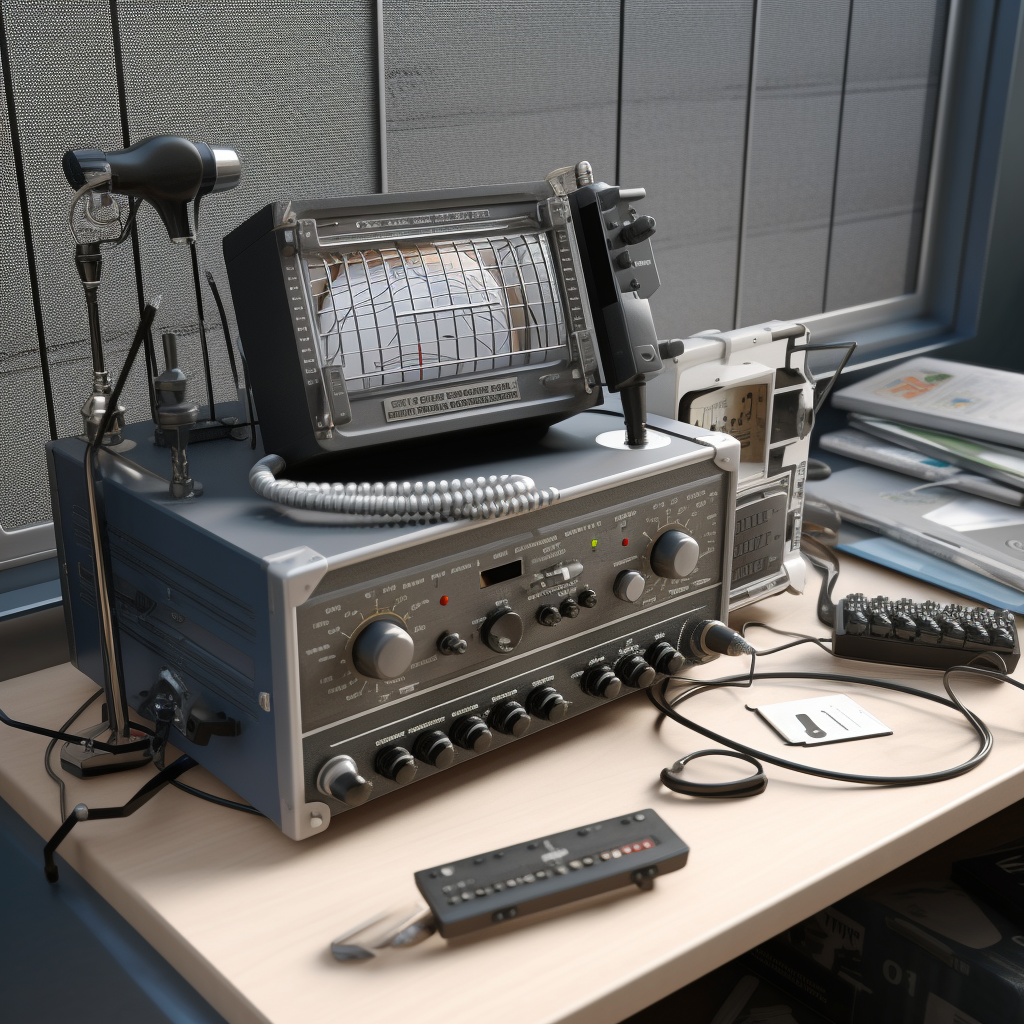
Learning how to set up a ham radio system is your gateway to secure, long-distance communication that doesn’t rely on conventional networks.
With a ham radio, you can communicate with other ham radio operators all across the globe. You can also build your radio channel and take part in emergency communications.
To set up a ham radio, choose a suitable transceiver, antenna, and power supply. Then, create a comfortable workspace with proper cable management, storage, and lighting. You should also familiarize yourself with local regulations and learn ham radio etiquette before operating your station.
If you are looking to set up your own radio station or backyard radio shack, you’re in luck, we’ve provided a comprehensive guide on how to do just that.
In this guide, we’ll take you through the basics of ham radio, from the equipment you’ll need to get started to the regulations you’ll need to follow.
A ham radio serves as a versatile device that is known for its flexibility, allowing you to tap into frequencies for personal communication, experimentation, and even emergency services.
People use ham radios for emergency communications, long-distance chats, and local and international contests.
The Significance of Ham Radio Communication
Ham radio’s form of communication bypasses conventional networks, making it an invaluable resource during natural disasters.
There are several reasons ham radios remain popular:
Emergency communication. Ham radio operators help emergency agencies communicate during natural disasters and power shortages.
Community-building. There is a diverse and welcoming ham radio community. They offer opportunities to exchange ideas, and collaborate on projects locally and globally.
Skilldevelopment. You need to learn about radio technology, electronics, and communication protocols to use a ham radio. This will help you develop important technical and problem-solving skills.
Internationalconnections. Ham radio allows operators to connect with people worldwide. It fosters a sense of global unity among enthusiasts from various cultures and backgrounds.
Frequencyexploration. Ham radio operators may experiment with speech, Morse code, and digital data over several frequencies.
Competitionsandawards. The ham radio community frequently hosts contests and award programs. It helps encourage skill development and personal goal achievement for community members.
Off-the-grid communication. Ham radio allows communication in distant locations, such as camping or trekking.
Public service. Ham radio operators often volunteer their skills and equipment for public events. It benefits the community and allows operators a chance at real-world practice.
Types of Ham Radios
Whether you choose handheld, mobile, or base station models, understanding your needs is key to finding the radio that suits you.
Here are the three main types of ham radios:
Handheld Radios – Small, portable radios called Handie- talkies or HT’s (aka walkie-talkies) for outdoor activities and short-range communication.
Mobile Radios – Vehicle-installed radios with increased range and power need external antenna and power.
Base Station Radios – Fixed-location radios offer the most range and power. These require extra equipment like antennas and power supplies.
Choosing the Right Ham Radio Equipment
Learn how to build a ham radio station by selecting the right components, such as transceivers, antennas, and power supplies for your needs. These greatly influence your communication range and clarity. Here are some factors to consider when selecting your equipment:
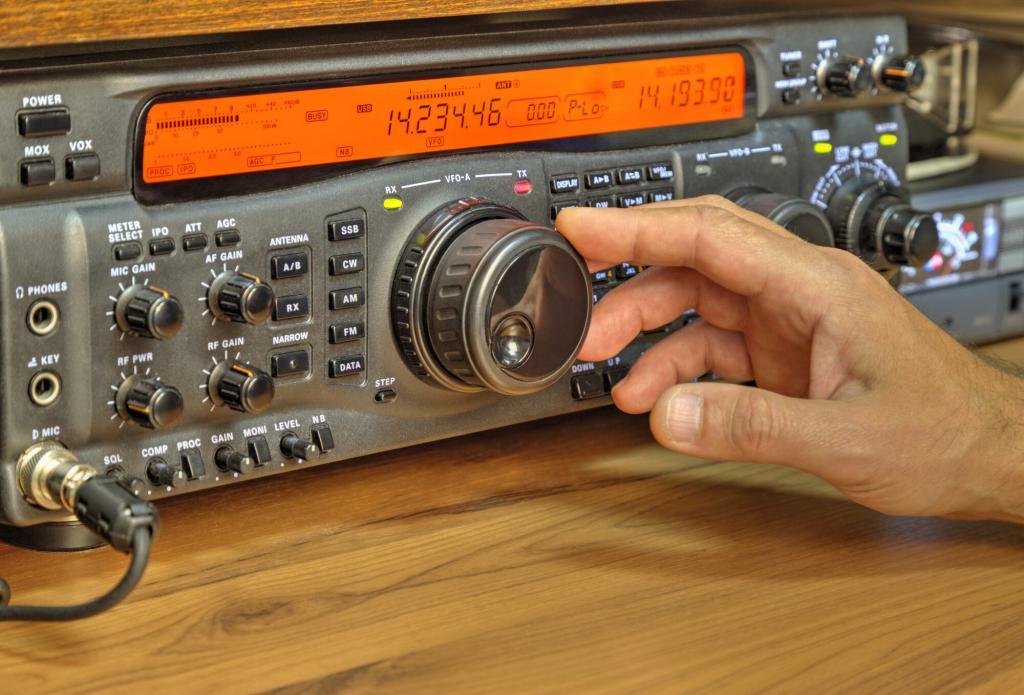
Transceiver
The transceiver is the heart of any ham radio station setup. From transmitting to receiving signals, its features dictate your system’s capabilities. There are many types of transceivers on the market. They vary from basic portable devices to complex versions with digital signal processing.
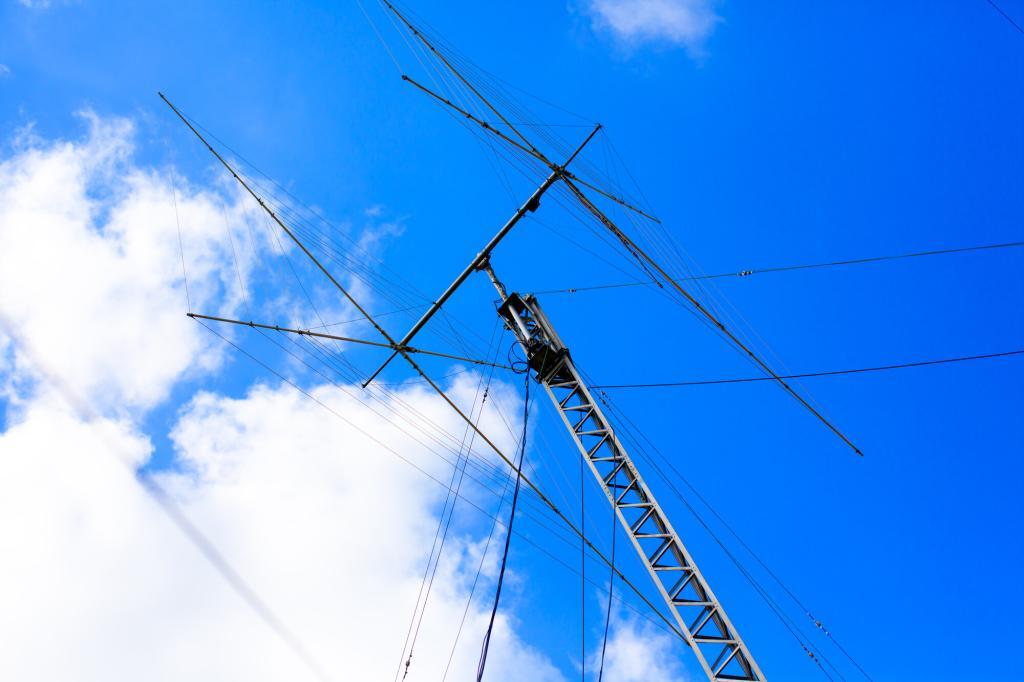
Antennas
Your antenna plays a crucial role in signal transmission. Whether directional or omnidirectional, your antenna type affects the quality and reach of your communication. It’s used to transmit and receive radio signals and affects your signal’s strength and range.
There are several antenna options. Choose from wire antennas, vertical antennas, and directional antennas.
Each type of antenna has its strengths and weaknesses. It depends on the signal you want to transmit and receive. The radio antenna you choose will depend on your radio type and communication needs.
Installing your antenna properly is critical for maximum performance. Here are some tips to ensure that your antenna is installed correctly:
The greater the antenna’s height, the farther its signal will travel.
Adjust your antenna to face the broadcasting facilities you want to contact.
Good grounding is essential for both safety and minimizing interference.
Power Supply
An adequate power supply ensures your ham radio functions without hiccups. Be it battery or direct AC, the choice is dictated by your setup location.
Mobile and base station radios need a power supply connected to an electrical outlet or vehicle battery while handheld radios typically use rechargeable batteries.
A reliable power supply ensures a consistent source of energy for your transceiver. Consider your chosen transceiver’s power requirements and select a power supply accordingly.
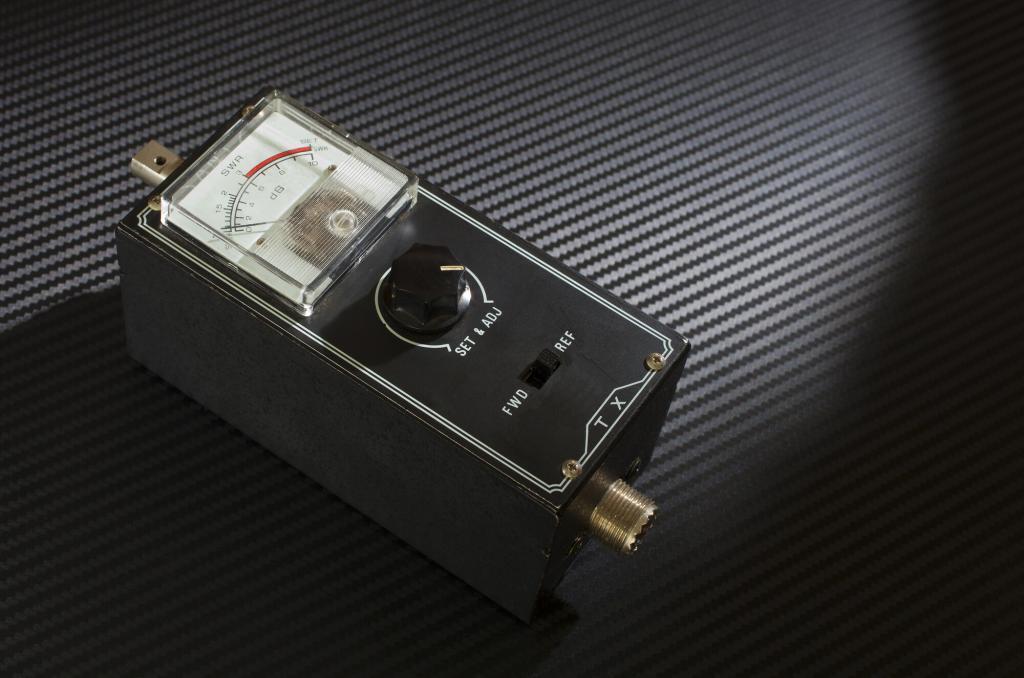
SWR Meter
An SWR (Standing Wave Ratio) meter measures the efficacy of your antenna setup. This measurement is critical to properly tune the antenna to the frequency used. It helps you fine-tune your system for maximum signal strength.
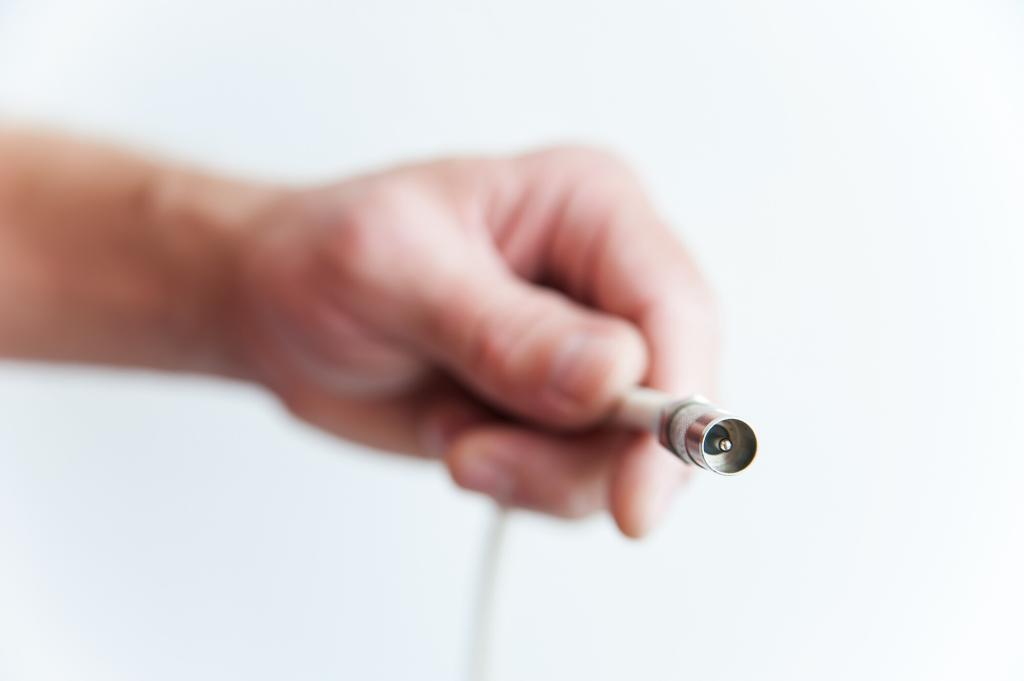
Coaxial Cable
Coaxial cables connect your transceiver and antenna. Cable quality influences signal clarity, so it is essential to choose high-quality, low-loss coaxial cable to ensure there is minimal signal loss.
Grounding Equipment
Grounding equipment protects your setup by minimizing electrical hazards and interference, protecting your ham radio from lightning strikes and other electrical surges. It is important to have a good grounding system in place to ensure your equipment is well protected.
Microphone and Speaker
Your microphone and speaker define audio quality and are necessary for voice communication. Many transceivers come with a microphone, however, poor audio can lead to miscommunications. So it’s best to invest in a higher-quality one for better audio performance. A speaker or headphones will also boost your listening experience.
Accessories and Tools
Additional tools make your setup versatile. You’ll also need tools like a soldering iron, tuners, amplifiers, wire strippers, and wrenches for assembly and maintenance.
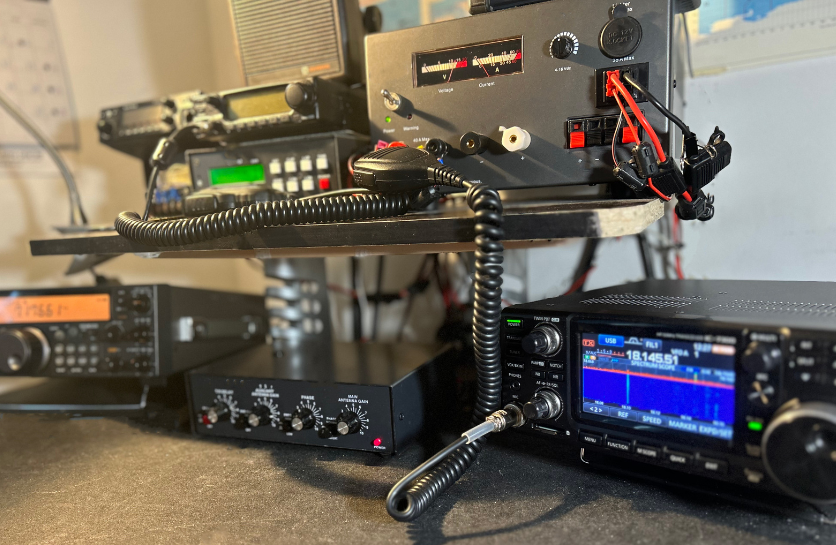
Setting Up Your Ham Radio Station
Setting up your ham radio station is a step-by-step process that needs proper assembly to ensure operational efficiency. Once you have your equipment, you can start setting up your ham radio.
Choose a Location
The location you choose affects your ham radio’s performance. Altitude and obstructions should be considered. Choose one with minimal electrical interference and enough space for you and your equipment.
Assembling Your Equipment
Start by gathering all the necessary equipment and tools, and set up a dedicated workspace for your radio station. Get a clean, organized area with enough room to lay out your components and tools.
Connect the power supply to the transceiver and plug it into an electrical outlet. Attach the microphone and speaker or headphones to the appropriate jacks on the transceiver.
Connecting the Antenna
Connecting the antenna correctly is vital for signal strength and the type of antenna you use matters. Install your antenna according to the manufacturer’s guidelines. Make sure it’s positioned for optimal reception and transmission. Then, connect the antenna to your transceiver using the coaxial cable.
For best results, mount your antenna as high as possible, either on a rooftop or a tall mast. Ensure it’s properly grounded to protect your equipment from lightning and electrical surges.
Power Up and Configure Your Transceiver
Once your ham radio is powered up, you should configure your transceiver settings. Calibration is essential for optimal performance, so make sure to follow the transceiver’s manual to configure settings such as frequency, mode, and bandwidth.
For handheld radios, charge the battery according to the manufacturer’s instructions.
For mobile and base station radios, connect the power supply to an electrical outlet or your vehicle’s battery. Make sure you have the correct voltage and amperage for your radio.
Be sure to use a surge protector to safeguard your equipment from voltage fluctuations and power surges.
How To Build a Portable Ham Radio Setup
Building a portable ham radio setup can be an empowering experience, offering you the ability to communicate over long distances without relying on traditional networks.
To guide you through this process, we’ll delve into the essential components such as antennas and power sources, ensuring you have all the knowledge you need to create a functional system.
Choose a transceiver. Pick a compact handheld transceiver (HT) with desired frequency bands and features like dual-band, GPS, or weather alerts.
Select an antenna. Invest in a portable antenna for your frequency range and ensure compatibility with your transceiver or use an adapter.
Pick a power source. Use compatible rechargeable batteries, external battery packs, or solar panels for portable power.
Gather accessories. Include a backup microphone, headphones, programming cable, SWR meter, and contact log.
Protect your gear. Use a durable carrying case or backpack with compartments to organize your equipment and keep it safe.
Prepare for outdoor use. Choose weather-resistant or waterproof equipment for outdoor operation.
By following these steps, you’ll create a portable ham radio setup for on-the-go communication.
H/T to @edwhitney1862 for this video: Build A “GO ANYWHERE” Box For Your Ham Radio
How To Set Up a Ham Radio Repeater
Setting up a ham radio repeater enhances your communication range using a transceiver and antenna. This guide will walk you through the straightforward process to get your repeater station up and running:
Research and planning. Familiarize yourself with local regulations, frequency allocations, and licensing requirements. Determine the coverage area you want to achieve and select an appropriate location for your repeater.
Choose the right equipment. You’ll need a receiver, transmitter, duplexer, and power supply. Ensure that the receiver and transmitter can operate on the desired frequency bands and are compatible with each other.
Select an antenna. Choose an antenna that suits the frequency range of your repeater and offers optimal coverage. Consider factors like gain, polarization, and radiation pattern.
Install the equipment. Mount your repeater equipment in a weatherproof enclosure, such as a cabinet or rack. Ensure proper ventilation to prevent overheating. Securely mount the antenna at the highest possible point to maximize coverage.
Configure the repeater. Program the repeater with the appropriate input and output frequencies. You can use CTCSS (Continuous Tone-Coded Squelch System) tones or DCS (Digital Coded Squelch) codes, and time-out settings. This ensures that only authorized users can access your repeater.
Test the system. Perform thorough tests to verify the performance of your repeater. Check the coverage, signal strength, and audio quality. Adjust the settings or equipment as needed to optimize performance.
Maintain your repeater. Regularly monitor your repeater’s performance. Also, schedule routine maintenance to ensure its continued reliability.
Following these steps, you can successfully set up a ham radio repeater. You can also enhance the range and effectiveness of your amateur radio communication.
Testing and Troubleshooting
Testing and troubleshooting are vital for a reliable setup. Once everything is connected, turn on your radio and check for any issues. Regular checks can prevent potential issues, so always test the transmit and receive functions, and use an SWR meter to ensure your antenna is properly tuned.
If you encounter any problems, consult the user manual or seek help from experienced ham radio operators.
How To Operate a Ham Radio
To get started with setting up your ham radio, the first thing you’ll need is a licensed frequency and a compatible transceiver. Once you have your equipment and license, it’s time to start.
There are many ways to use your radio, from chatting with other operators to participating in contests and events. One popular activity is called “DXing.” It involves trying to make contact with operators in as many different countries as possible.
Essential Tips for Novice Ham Radio Users
Setting up a ham radio can be a daunting task for novice users, but understanding the essentials can make the process significantly easier. From selecting the right equipment to understanding radio frequencies, these tips will guide you through the initial stages of your ham radio journey.
Start with a basic setup. If you are new to ham radios, start with a simple setup. All you need is a handheld transceiver and a basic antenna to get started.
Join a local club. Joining a local ham radio club is an excellent way to learn more about the hobby and meet other enthusiasts. You can also get advice on equipment and techniques from more experienced hams.
Learn about the different modes. Ham radios offer many different modes of communication, including voice, digital, and Morse code. Learning about the different modes will help you find one that best suits your interests and needs.
Take a licensing course. To legally operate a ham radio station, you must obtain a license. There are many online courses available that can help you prepare for the licensing exam.
Ham Radio Setup Cost
A good ham radio setup might cost between $800 and $1,200. However, budgeting correctly can save you from unnecessary costs.
Typically, you’ll only need $100 for a basic ham radio setup. This will buy you a simple, low-power radio for short distances and pay for your ham radio license exam and study books. At this point, it’s perfect to buy used equipment.
Getting Licensed and Ham Radio Certification
Operating a ham radio requires a license in most countries. However, regulations vary by jurisdiction. The Federal Communications Commission (FCC) regulates amateur radio licensing in the United States.
H/T to @SurvivalDispatch for this video: Getting Into Ham Radio For Beginners.
Categories of Ham Radio Licenses
There are three classes of ham radio licenses in the United States. Each offers a unique set of operating privileges:
Technician – Entry-level license granting access to VHF and UHF frequencies.
General – Intermediate level, providing access to additional HF frequencies.
Amateur Extra – Advanced level, allowing access to all amateur radio frequencies.
Preparing for Your Certification Test
Preparing for your test involves studying regulations and technical aspects. Mock exams can be highly beneficial.
To obtain your license, you must pass a written exam. Many resources are available to help you prepare, including online courses, textbooks, and study guides.
You can also join a local ham radio club for guidance and support from experienced operators.
Taking the Ham Radio Examination
Taking the exam certifies your ham radio knowledge. The format of the exam and its content may vary. But once you feel ready, find a nearby exam location and schedule your test.
Exams are administered by Volunteer Examiner Coordinators (VECs) and usually cost a small fee. After passing the exam, you’ll receive your call sign and can legally operate your ham radio.
Joining the Ham Radio Community
Local Clubs and Organizations
Local clubs provide social and technical support. Ham radio clubs are a great way to meet fellow enthusiasts, learn new skills, and stay updated on the latest technology and regulations.
Membership often includes various benefits. Many clubs offer classes, workshops, and events, as well as opportunities to participate in emergency communication drills.
On-Air Etiquette and Best Practices
Proper on-air behavior is crucial in ham radio communication. Best practices include radio courtesy and specific jargons. Respect other operators’ conversations, and adhere to the established frequency band plans.
Additionally, be mindful of your transmit power and avoid causing interference to other users.
Ham Radio Regulations
Before you can start transmitting on your ham radio, you must understand the regulations governing amateur radio use. Compliance with ham radio laws is non-negotiable.
In the United States, these regulations are overseen by the Federal Communications Commission (FCC). The FCC requires all amateur radio operators to obtain a license before transmitting on the airwaves. To obtain a license, you’ll need to pass a written exam that tests your knowledge of radio regulations and operating procedures.
FAQs about Setting Up a Ham Radio
Do I need a license to listen to ham radio?
No, you don’t need a license to listen to ham radio transmissions. However, you do need a license to transmit on amateur radio frequencies.
How much does it cost to set up a ham radio station?
The cost of setting up a ham radio station can vary greatly depending on the type of radio, antenna, and accessories you choose. A basic handheld radio can cost around $30, while a high-end base station setup can cost several thousand dollars.
Can I use a ham radio during an emergency if I don’t have a license?
In life-threatening circumstances, you may operate a ham radio without a license. Nevertheless, it is strongly advised that you get a license and learn how to use the equipment and procedures before an emergency occurs.
What is the range of a typical ham radio?
The range of a ham radio depends on various factors, including the type of radio, antenna, frequency, and atmospheric conditions.
Handheld radios typically range a few miles.
Base station setups can reach hundreds or thousands of miles under optimal conditions.
How do I find other ham radio operators in my area?
You can find other ham radio operators in your area by joining local clubs. You may also participate in on-air nets or attend ham radio events like field days and conventions.
You can also use online resources, such as forums and social media groups, to connect with fellow enthusiasts.
What frequencies can I use with my ham radio?
The frequencies you can use depend on your country’s license class and the band allocations. Each license class grants access to different frequency bands and operating modes. Consult your country’s amateur radio regulations for more information.
Key Takeaways Of How To Set Up a Ham Radio System
Knowing how to setup a ham radio station can be a rewarding experience. It offers numerous benefits, from emergency communication to social connections.
By choosing the right equipment, assembling your station, getting licensed, and joining the ham radio community, you’ll be well on your way to enjoying this fascinating hobby.