Knowing how to make penicillin at home could be one of your greatest assets in a survival situation, especially when the need for antibiotics arises without easy accessibility.
Penicillin is a wonder drug discovered by Sir Alexander Fleming. It has been used to treat bacterial infections such as streptococci and staphylococci, making it an important medication to have in a SHTF scenario.
Having the knowledge to make penicillin is an essential prepper skill to add to your tool belt. However, it’s not as easy as you might think as it requires precise steps and attention to detail.
Within this guide, we’ll not only discuss the procedure but also the ethical, safety, and historical facets intertwined with this life-saving antibiotic.
In This Guide
How Do You Make Penicillin At Home?
Making penicillin at home requires following specific safety protocols to ensure the purity and effectiveness of the final product.
To make the penicillin at home, you must isolate Penicillium mold from sources like bread or citrus fruit. Grow it in a sterilized container with nutrient-rich agar, then extract and purify the penicillin compounds from the mold’s liquid filtrate.
Making penicillin is all about cultivating the right mold. With the right environment and materials, even a home scientist can reproduce this world-changing antibiotic.
However, producing penicillin at home is risky. So obtaining it from a licensed pharmacy is still the best option.
Safety Protocols for DIY Penicillin
When producing your own penicillin, it is crucial to prioritize safety. This includes wearing protective clothing, working in a clean and sterile environment, and using proper disinfection techniques.
Before making your own penicillin, it’s important to be aware of the dangers and ethics surrounding homemade antibiotics. So keep these precautions in mind:
- Always sterilize all materials before use,
- Work in a clean and sterile environment,
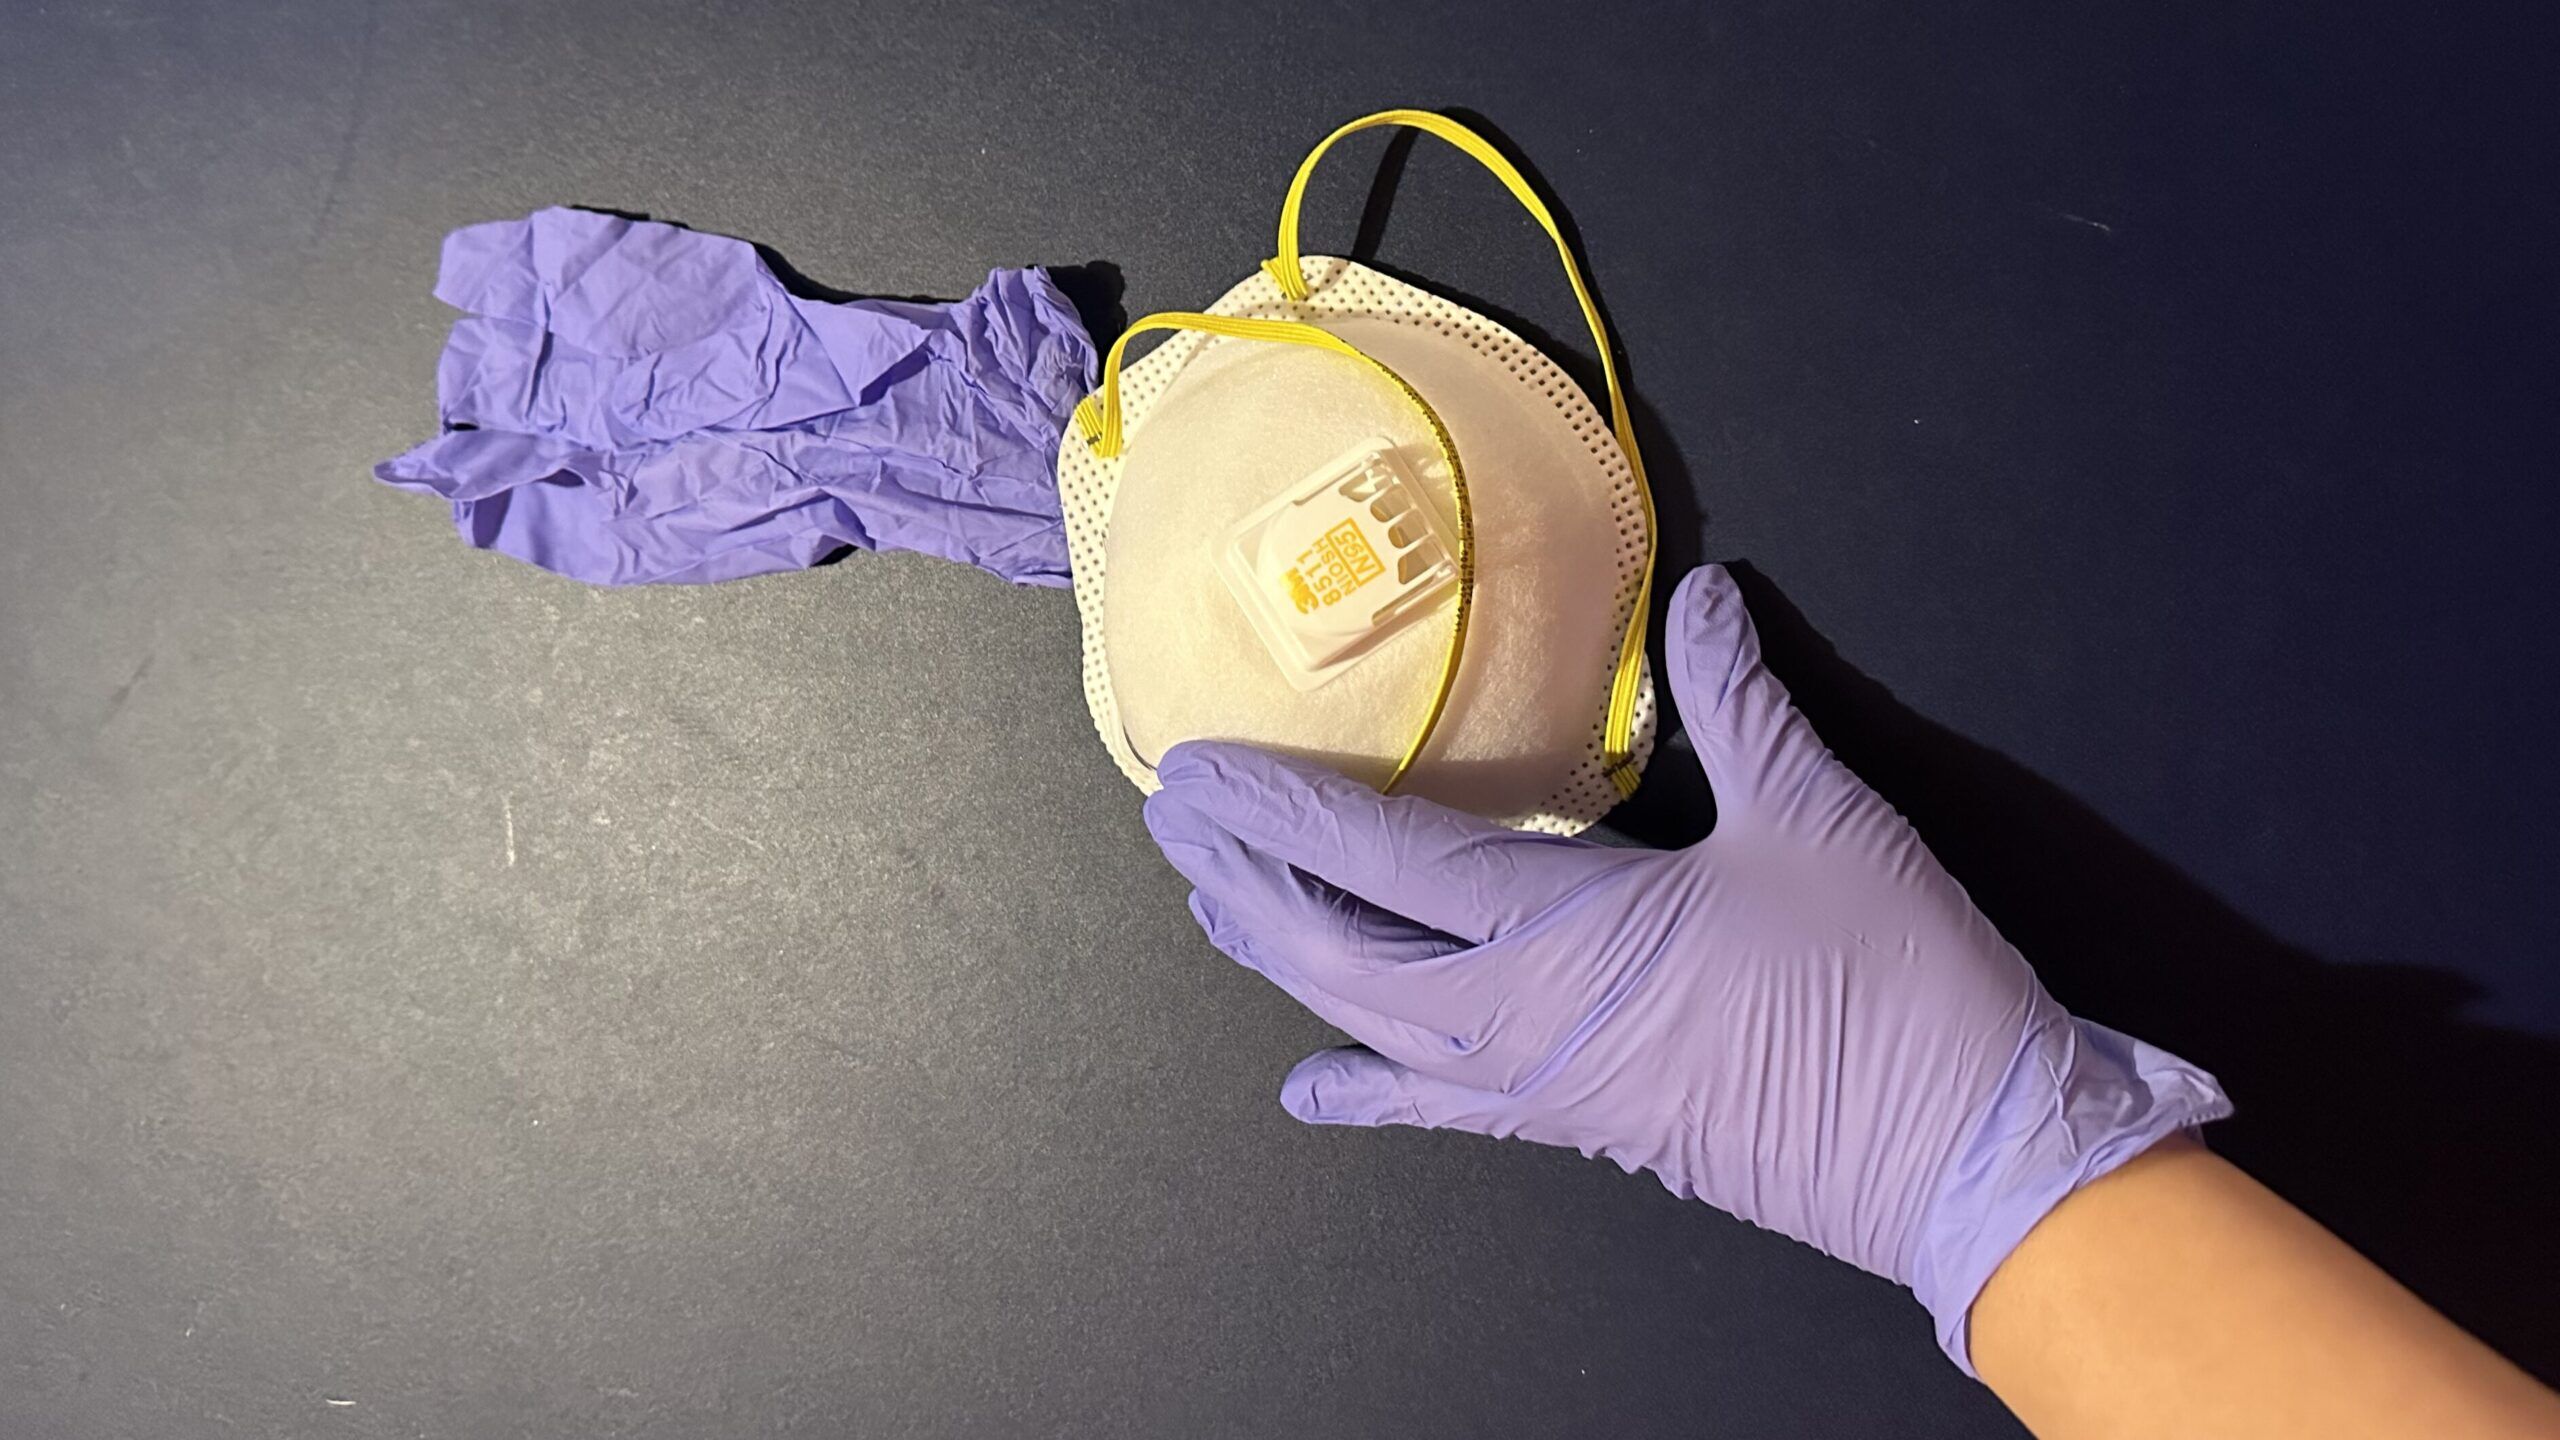
- Wear gloves and a mask to protect yourself from mold spores, and
- Wash your hands before and after handling the culture.
Challenges and Limitations of Homemade Penicillin
While making penicillin at home can be a rewarding endeavor, it is essential to acknowledge its challenges and limitations. These include the need for specialized equipment, strict sterilization procedures, and potential risks associated with improper use.
From contamination risks to efficacy concerns, homemade penicillin, unlike its pharmaceutical counterpart, brings a unique set of limitations to the table.
Additionally, self-diagnosing and self-medicating with homemade antibiotics can be dangerous. So when learning how to make antibiotics, make sure you’re serious about it. Otherwise, just stick to fish antibiotics or other homeopathic alternatives.
Ethical Considerations in Producing Your Own Antibiotics
Producing antibiotics, including penicillin, at home raises ethical considerations. These include ensuring adequate knowledge and responsibility in using antibiotics, avoiding the creation of drug-resistant bacteria, and seeking professional medical advice when necessary.
Beyond the science, there’s a responsibility to make sure it’s used correctly and safely, especially considering the bigger picture of making medicine at home.
Remember that penicillin is not a cure-all. It won’t treat UTI and tooth infections. So don’t always count on penicillin to treat everything. Some conditions don’t even need using antibiotics. Using antibiotics when they’re not needed can lead to antibiotic resistance, making infections harder to treat in the future.
Step-By-Step Guide on How to Make Penicillin: Gathering Materials and Preparing the Workspace
Much like in microbiology labs, gathering the right ingredients and setting up an effective workspace is foundational for penicillin creation. It is important to gather the necessary materials and prepare a clean and organized workspace.
Essential Ingredients and Equipment for Homemade Penicillin
Emulating the practices of the pharmaceutical industry, identifying the correct ingredients and tools is essential for successful penicillin production.
Proper understanding of microbial troubleshooting, an inherent part of drug development, is vital when challenges arise in DIY penicillin production. These are the specific materials and tools you need to make homemade penicillin:
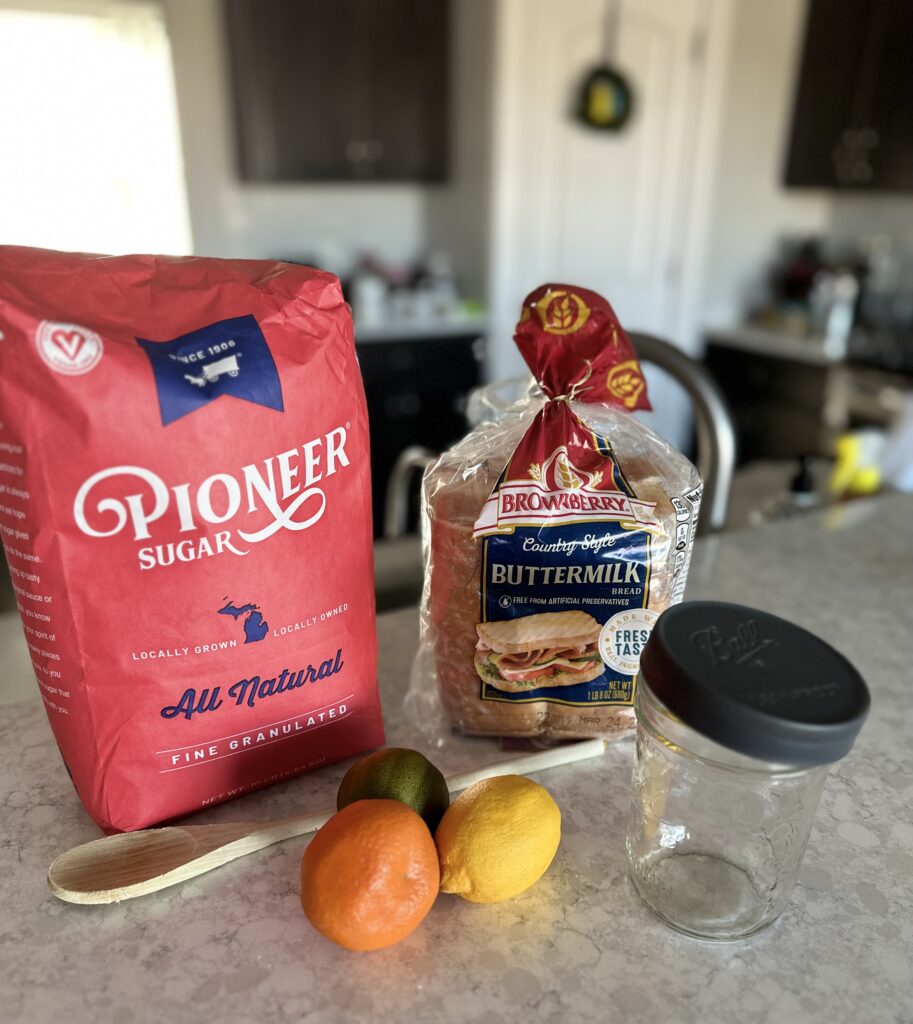
- Sterilized glass jar with a lid
- Sterilized water
- Sterilized spoon or spatula
- Sterilized cotton swab
- A piece of bread or fruit
- Penicillium mold (obtained from moldy bread or citrus fruits)
- Glass container
- Nutrient-rich agar or sugar solution
Organizing Your Materials for DIY Penicillin
Proper organization of materials is key to a successful homemade penicillin production. Ensure that all items are clean, labeled, and easily accessible before starting the process. Sterilize all materials to prevent contamination.
To sterilize the glass jar and utensils, boil them in water for 10 minutes or place them in an oven at 350°F for 30 minutes. Allow the materials to cool completely before using them.
A well-ventilated area is also necessary to avoid inhaling potentially harmful fumes.
How to Make Penicillin: Step-By-Step Guide
Now that you have gathered the necessary materials and organized your workspace, follow this step-by-step guide to create your own penicillin at home.
Step 1: Cultivating the Penicillin Mold
In laboratories, you only need to inoculate a culture medium with penicillium chrysogenum spores to allow the mold to grow and produce the penicillin necessary for the antibiotic. But for DIY Penicillin, you’ll obtain it through mold from bread or a citrus fruit.
- Break the bread or citrus fruit into small pieces and place them in the sterilized jar.
- Add enough sterilized water to cover the bread or fruit.
- Close the lid of the jar loosely, and place it in a warm, dark location. Allow the mold to grow and cover the surface. The ideal temperature for penicillin mold growth is between 70°F and 80°F.
Step 2: Incubating the Culture
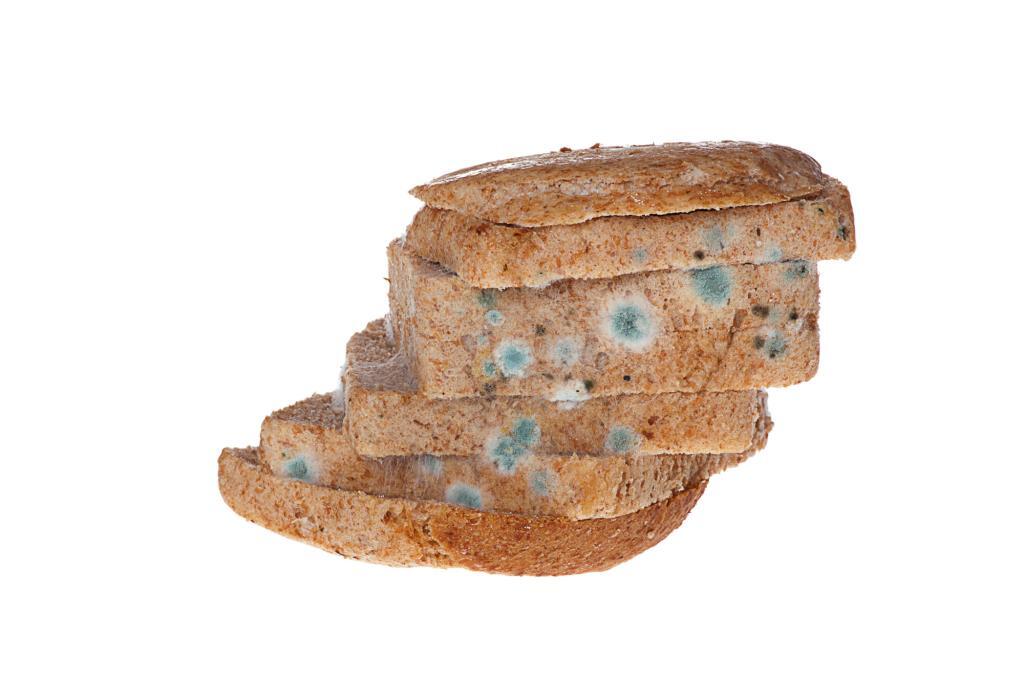
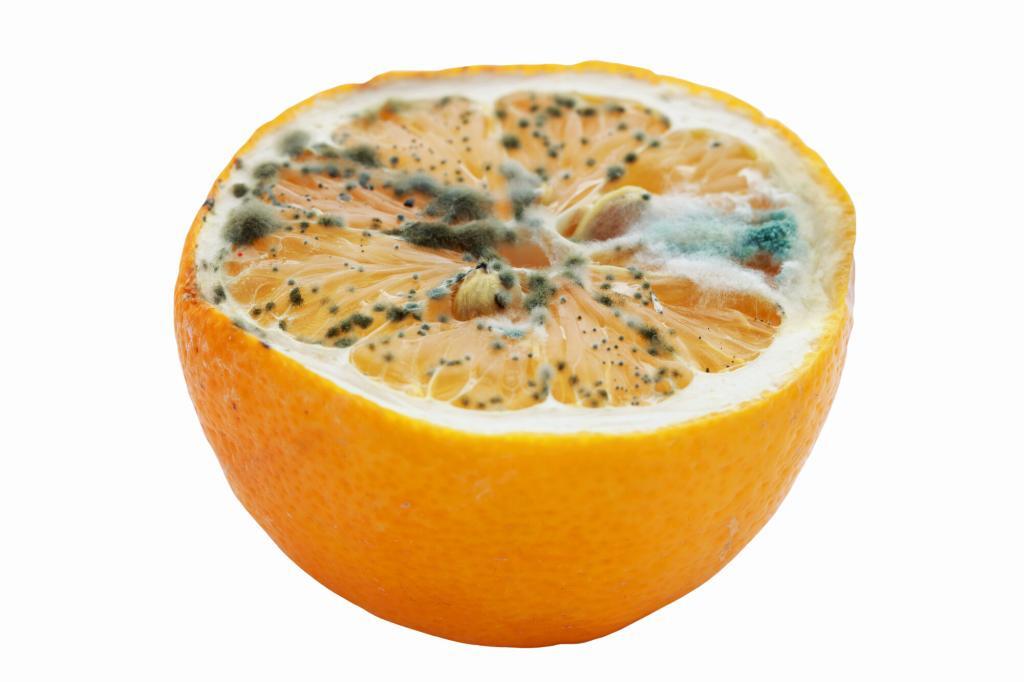
After 3-5 days, you should see a blue-green mold growing on the surface of the bread or fruit. This is the penicillin mold, and it is ready to be harvested.
Step 3: Harvesting Penicillin
To harvest the mold, you will need the following tools and steps:
- Sterilize a spoon or spatula.
- Carefully scoop out the mold and transfer it to a sterilized plate.
- Use a sterilized cotton swab to transfer the mold to a new jar filled with sterilized water.
- Swirl the cotton swab in the jar to distribute the mold spores evenly.
- Incubate the new jar for 5-7 days at room temperature, stirring occasionally.
- After a week, transfer the mold to the fermentation vessel containing a sugar solution or nutrient-rich agar. This step is crucial for producing penicillin as the mold feeds on the sugar.
- Maintain a temperature of around 70°F and monitor the pH levels. The ideal pH for penicillin production is between 6.0 and 6.5.
- Adjust the pH levels accordingly with weak acids or bases if necessary. Allow the mold to ferment for about a week.
Step 4: Extracting and Purifying the Penicillin
Once the fermentation process is complete, it’s time to extract and purify the penicillin.
- First, filter the mixture to separate the liquid from the mold.
- Next, use a solvent like an ethyl acetate or butyl acetate to dissolve the penicillin from the liquid.
- Carefully evaporate the solvent to obtain a yellowish powder, which is crude penicillin.
- To further purify the penicillin, dissolve the crude penicillin in water and filter it to remove any remaining impurities.
Step 5: Storing the Penicillin
Storing penicillin is just as important as the process of creating the antibiotic because you do not want to contaminate it store it incorrectly. Here’s how to store it properly:
- Strain the culture through a sterilized cheesecloth or coffee filter to remove any solid particles. Transfer the liquid to a sterilized container and store it in the refrigerator for up to a few weeks.
- You may also use crystallization to obtain pure penicillin crystals and then store them in a cool, dark place.
Troubleshooting
Troubleshooting, an inherent part of drug development, is vital when challenges arise in DIY penicillin production. Common challenges include contamination, low yields, or ineffective penicillin production.
If your penicillin culture does not grow, it may be due to contamination or improper incubation conditions. So make sure all materials are sterilized, and avoid opening the jar during incubation.
If mold growth is slow, try increasing the temperature or adding more mold spores.
History and Application of Penicillin
Tracing back to Alexander Fleming’s discovery, the history of penicillin offers a rich tapestry of medicinal breakthroughs. Penicillin is an antibiotic derived from the Penicillium fungi.
In 1928, Sir Alexander Fleming accidentally discovered penicillin when he noticed a mold, Penicillium notatum, killing bacteria on a petri dish.
He isolated the mold, identifying its bacteria-fighting substance, and named it penicillin.
Penicillin is used primarily as an antibiotic to treat a wide range of bacterial infections caused by pathogens like Staphylococcus aureus and Streptococcus pneumoniae.. It targets gram-positive bacteria and is effective against conditions like strep throat, syphilis, pneumonia, and certain forms of meningitis.
Florey and Chain’s work during World War II further established penicillin as a crucial weapon against infections, paving the way for modern antibiotic therapies.
With the rise of antibiotic-resistant bacteria, its use is closely monitored. Additionally, while penicillin-based antibiotics like amoxicillin and ampicillin remain popular, the discovery of penicillin paved the way for the development of other classes of antibiotics to address diverse infections.
FAQs About How To Make Penicillin At Home
Is homemade penicillin safe to use?
Homemade penicillin mold may not be as potent or pure as commercially produced penicillin antibiotics. So you shouldn’t use it to treat severe infections without consulting a healthcare professional.
How should you apply penicillin?
Penicillin is an antibiotic that should be used strictly as prescribed by a medical professional.
Typically, it is administered orally in tablet or liquid form, but can also be given intravenously or as an injection, depending on the type and severity of the infection.
It’s vital to complete the full course, even if symptoms improve, to prevent bacterial resistance. Its dosing and duration depend on the specific infection, patient’s age, weight, and health conditions.
Always take it at evenly spaced intervals to maintain consistent levels in the bloodstream and follow any dietary restrictions provided.
Note: Some people are allergic to penicillin, so inform your healthcare provider of any allergies or reactions to ensure safe administration.
What does penicillin mold look like?
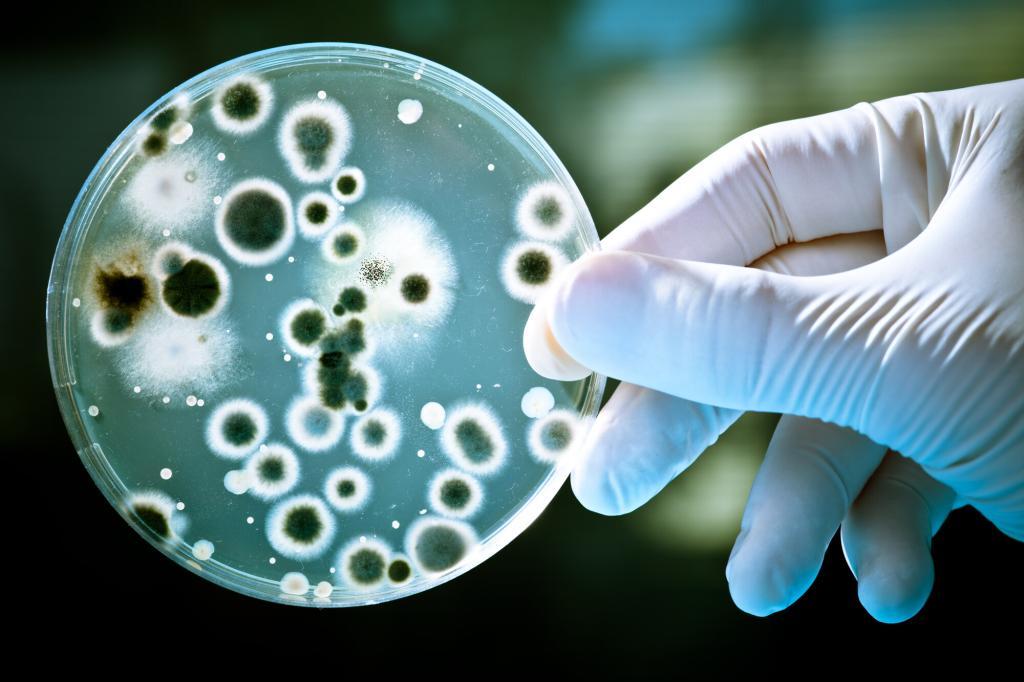
Penicillin mold looks blue-green in color and has a fluffy texture. It starts as small, circular spots on the surface of the bread or fruit and grows over time.
The mold may produce a musty or earthy smell. It is important to confirm the identity of the mold before attempting to harvest it for penicillin production.
Can everyone take penicillin?
No, some people are allergic to penicillin and may experience severe reactions. You must inform your doctor of any allergies before taking antibiotics.
Can I use penicillin to treat viral infections?
No. Penicillin and other antibiotics are ineffective against viral infections, such as the common cold and flu. Don’t use antibiotics for viral infections. These may lead to antibiotic resistance and can cause unnecessary side effects.
How to make penicillin taste better?
One option is to mix the penicillin with a small amount of sugar or honey to mask the bitter taste. Mix it with juice or another flavored beverage to make it more palatable.
How long does it take for penicillin to work?
The duration for penicillin to take effect varies depending on the infection and the individual. You may notice improvement within a few days. But it’s crucial to complete the full course of treatment.
Are there any side effects associated with penicillin?
Like all medications, penicillin can cause side effects, such as nausea, diarrhea, rash, or allergic reactions.
Wrap Up on How to Make Penicillin
As we reflect on this journey, reminiscent of the milestones in drugd iscovery, DIY penicillin production proves both enlightening and challenging.
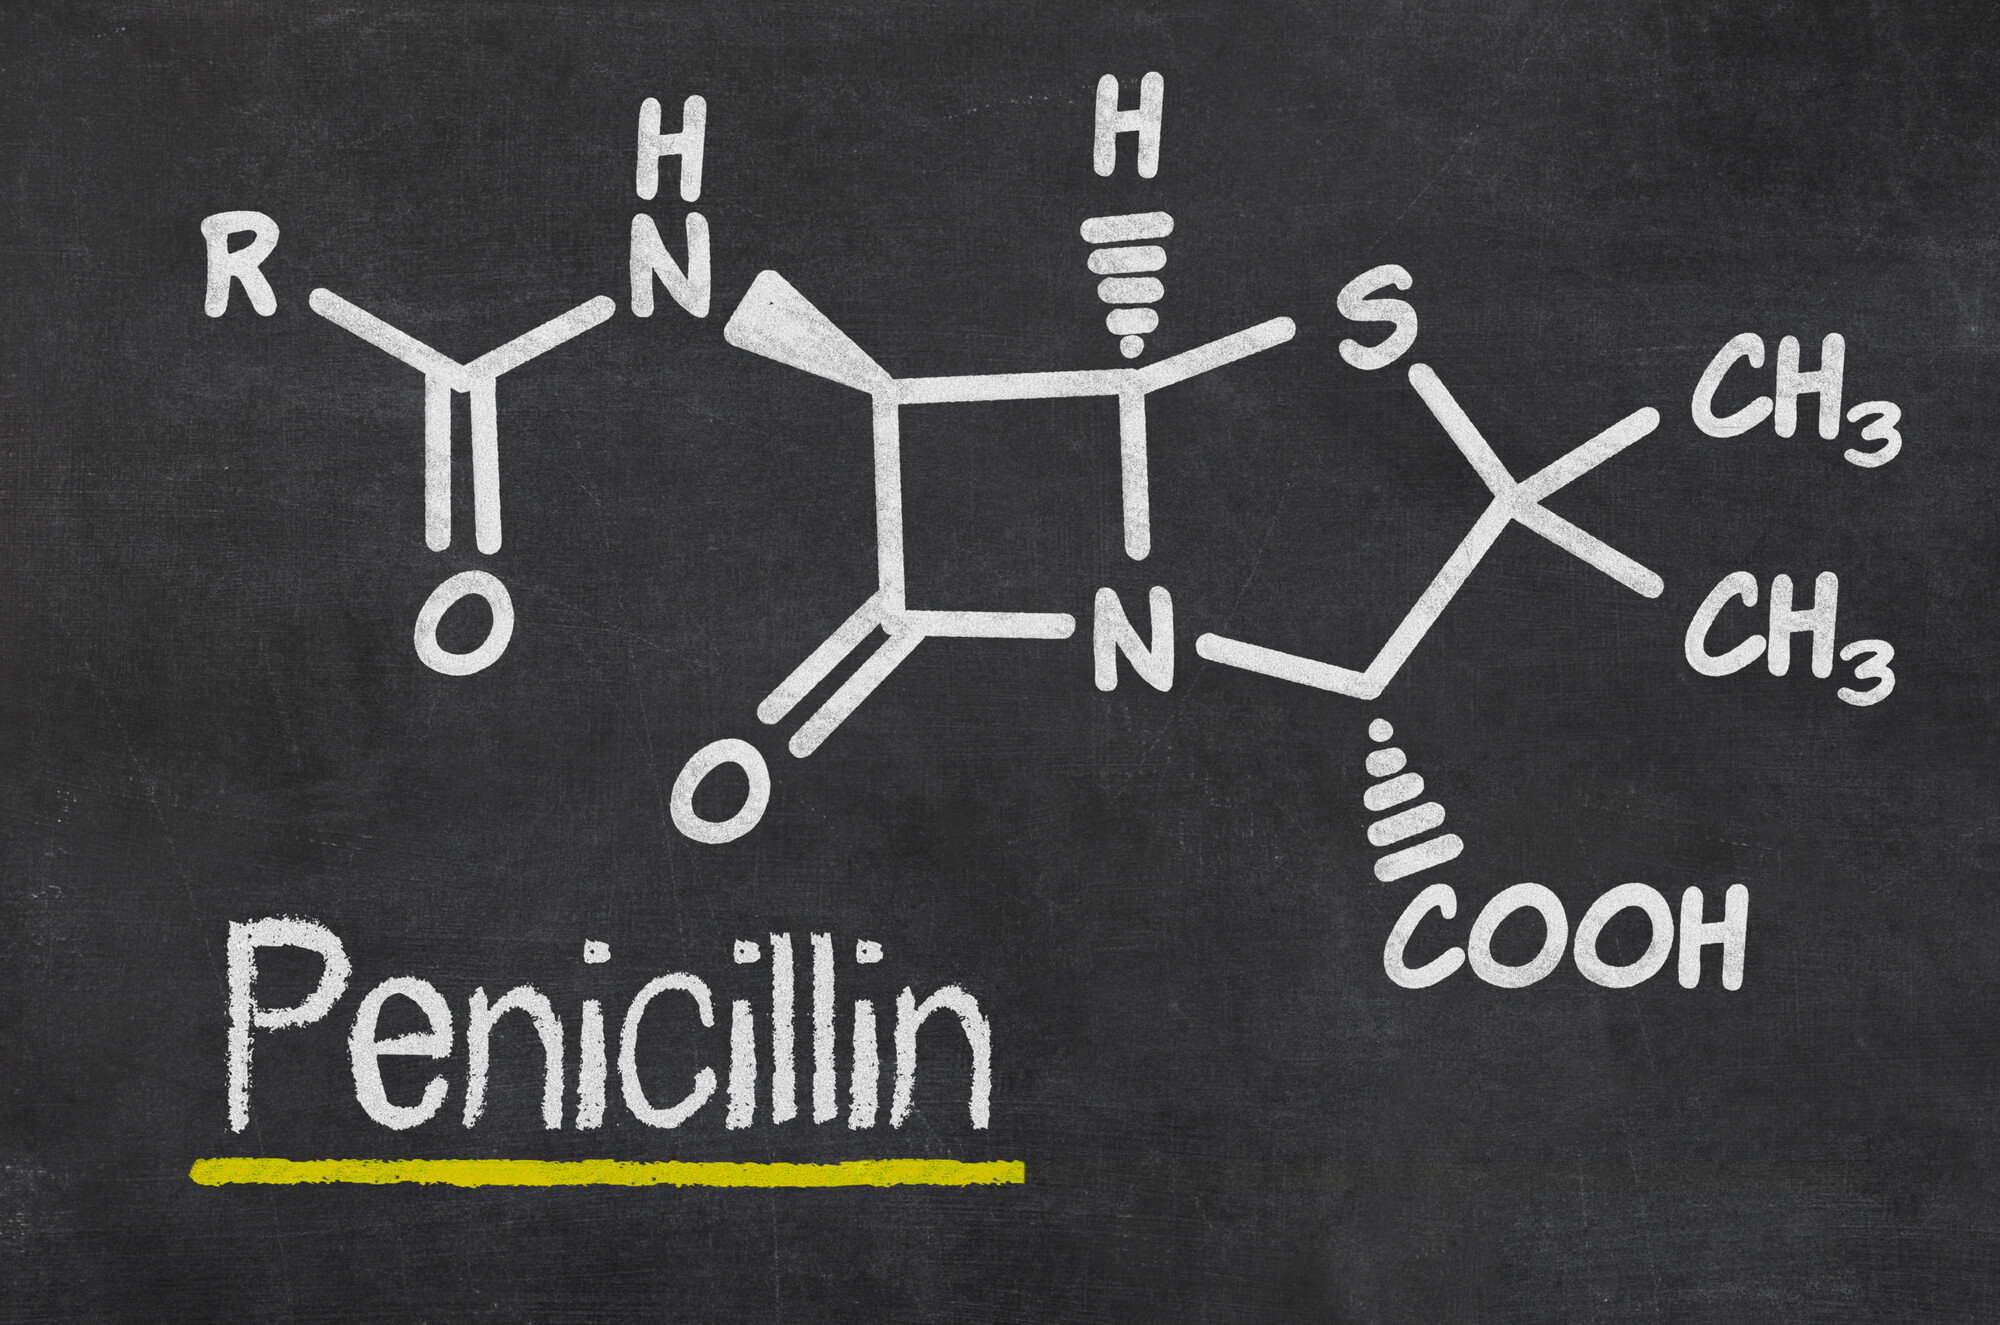
Penicillin treats bacterial infections, such as strep throat, pneumonia, and skin infections. And while it’s fascinating to learn how penicillin is made, making antibiotics at home is risky and not advisable.
Remember to take safety precautions and consult a healthcare professional before using homemade penicillin to treat infections.
Pro Tip: Although, having the knowledge to make penicillin on your own is a resourceful skill to have if SHTF.
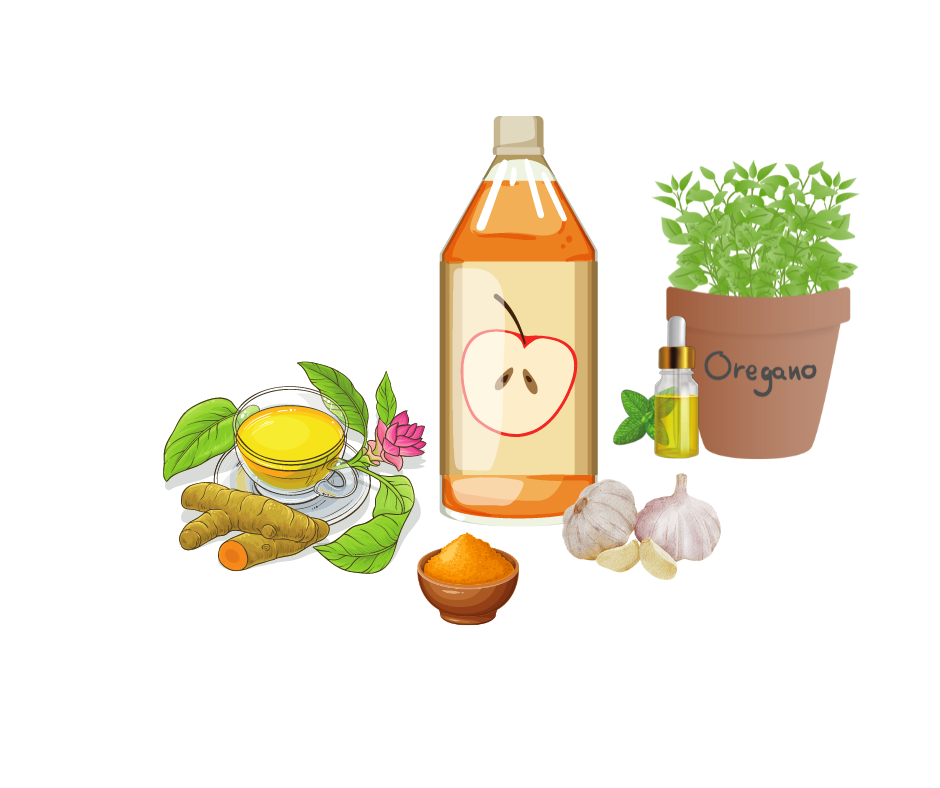
My wife and I prefer to stock up on homeopathic alternatives like oregano oil, apple cider vinegar, turmeric or garlic to add to our medical and first aid supplies. They are much more convenient and safe unless you have the expertise to make your own.
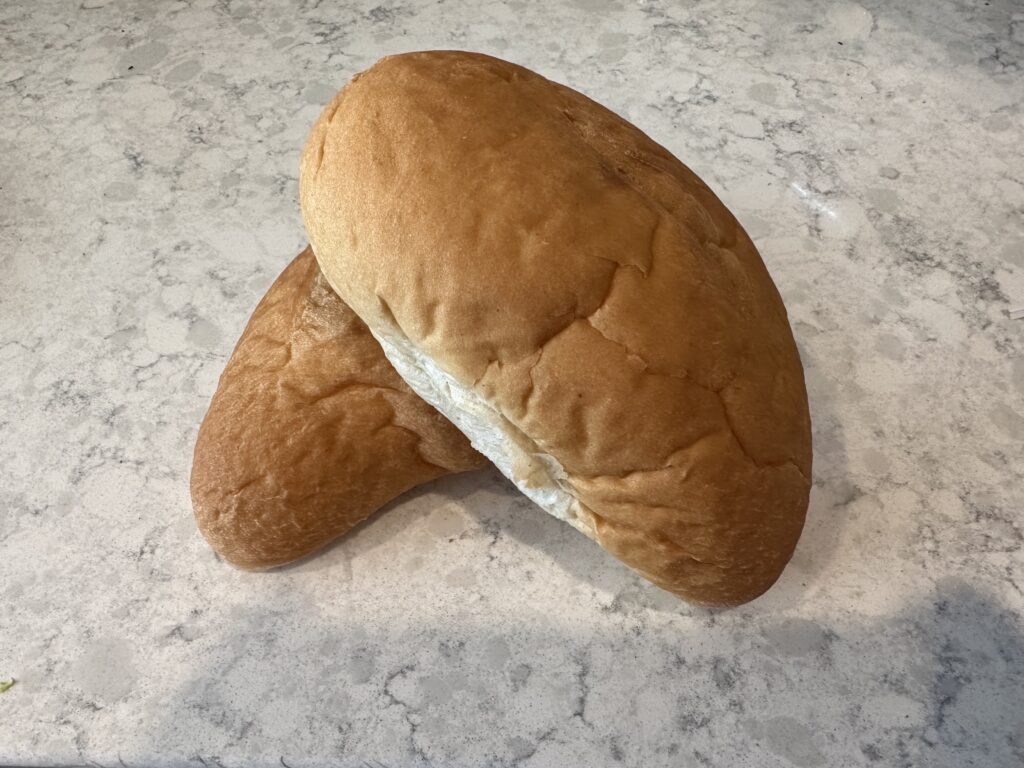
If you choose to make your own and you are using bread, it is best to use fresh bread because store bought brands may contain preservatives that slow the growth of mold.
Have you ever tried to make your own penicillin? If so, let us know your tips down below in the comments.
ABOUT THE AUTHOR
Bill Montgomery is the co-founder of Modern Day Prepping. He and his wife Angie have been dedicated to the self-reliant lifestyle since 2008. When he’s not working on the homestead, he enjoys tinkering with electronics and family movie nights with Angie and their two boys. To learn more about Bill, visit the About Us page.
If you want to know how to keep your family safe in the modern world, visit Privacy For Patriots, a sister site that Bill started to help fellow Patriots stay “off the radar” from bad actors and big tech.

0 Comments