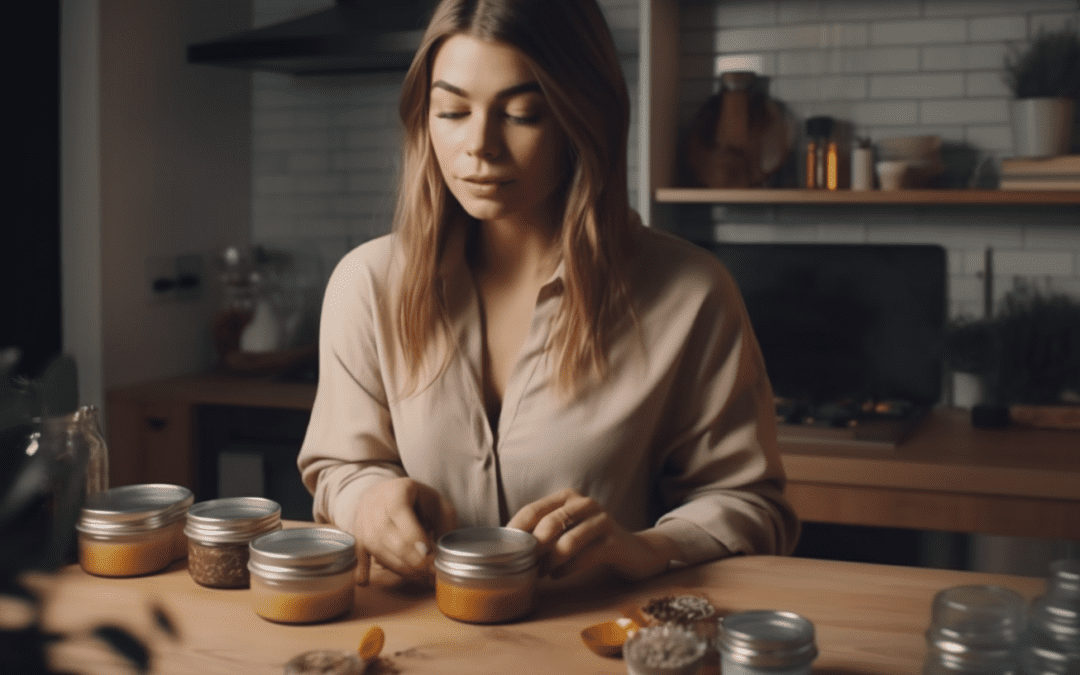
How Do You Make Healing Salve? DIY Healing Salves at Home
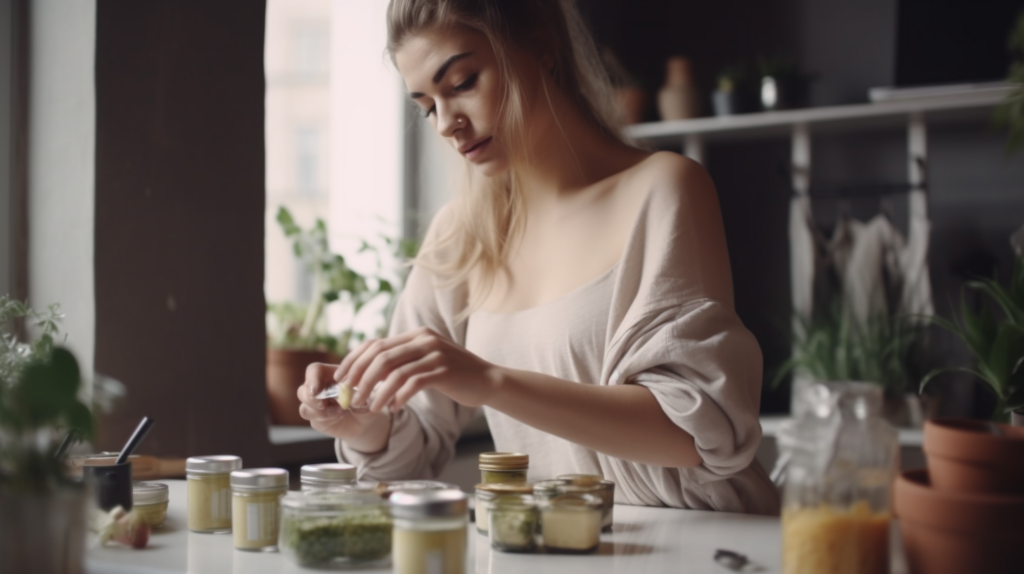
How do you make healing salve? It begins with understanding nature’s gifts, like essential oils and medicinal plants to create a potent remedy that offers a variety of skin benefits.
Healing salves serve as an excellent solution to manage occasional cuts, scrapes and skin irritations. Made with nature’s best ingredients, they soothe and speed up the healing process. Using beeswax, a widely recognized entity for its protective qualities, can further enhance your salve’s effectiveness.
This guide will walk you through the necessary steps and ingredients, ensuring you have all the information you need to craft your own therapeutic salve.
Ready to delve deeper? Keep reading as we unfold the step-by-step guide to creating and customizing your healing salve.
In This Guide
Essential Ingredients for Homemade Healing Salve
Starting the process of creating a healing salve requires gathering of necessary materials, including essential oils like lavender and eucalyptus oil, and carriers like beeswax or shea butter.
Herbs
Medicinal plants like calendula and comfrey are often utilized due to their healing properties. Pick herbs that are known for their healing properties and address your specific needs. It’s always best to go for high-quality fresh or dried herbs for effective salves.
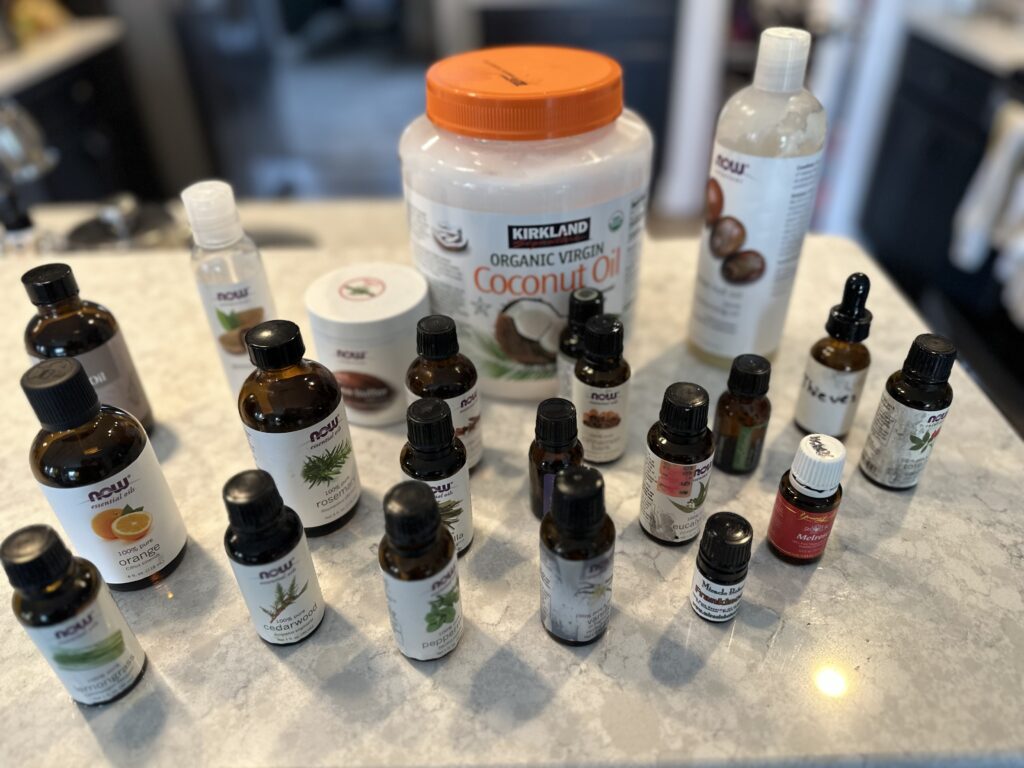
Carrier Oils
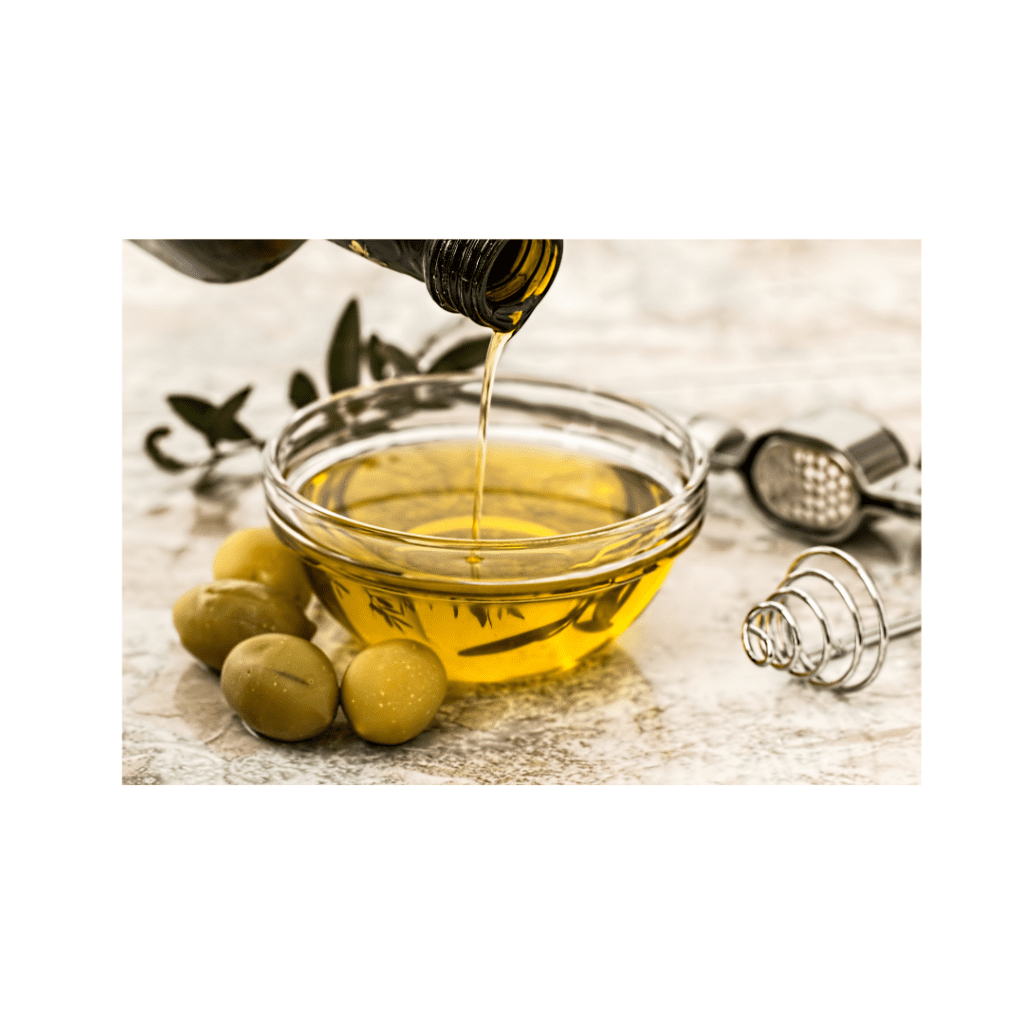
Carrier oils such as coconut oil and olive oil serve as the basis for your healing salve, ensuring effective application and absorption Carrier oils play a critical role in diluting potent essential oils, making them skin-friendly. These oils are used to infuse the herbs and create the base for your salve.
Olive oil and coconut oil are popular choices, each bringing its own set of therapeutic benefits. Other common options include olive oil, coconut oil, and jojoba oil. Consider the properties of each oil when selecting one for your salve.
Beeswax
Incorporate beeswax to provide the needed texture and firmness for your homemade remedy. Beeswax gives the salve its solid consistency. Generally, the ratio of liquid oil with beeswax is 1:3 or 1:5. You can adjust the amount of beeswax to create a softer or firmer texture.
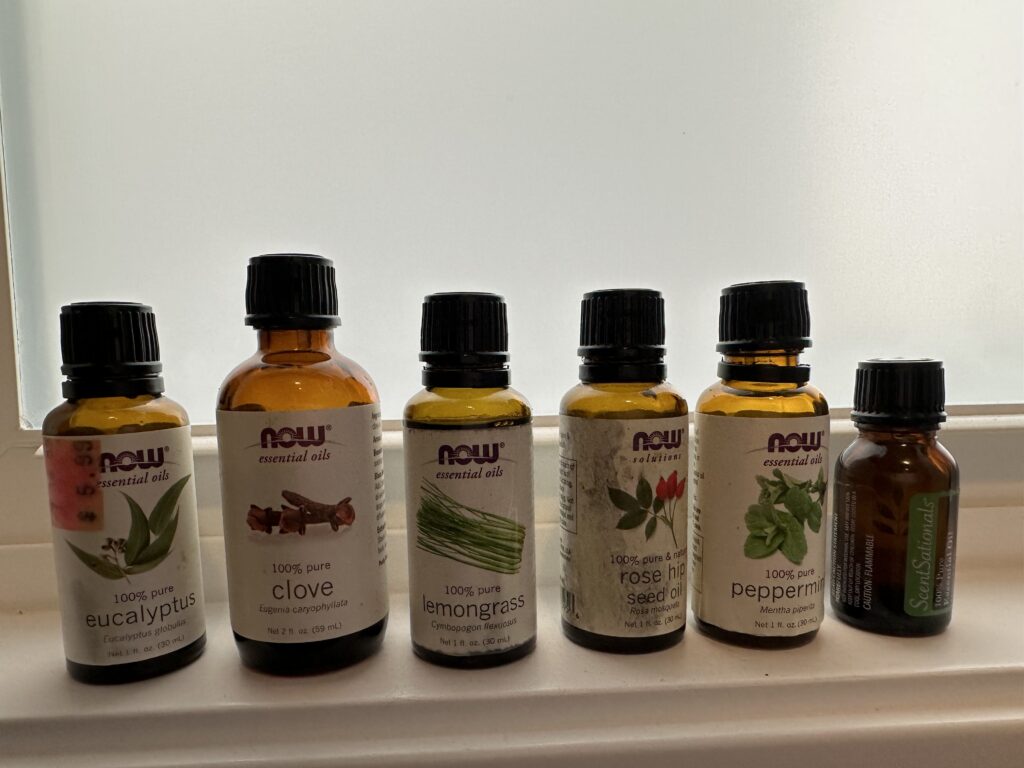
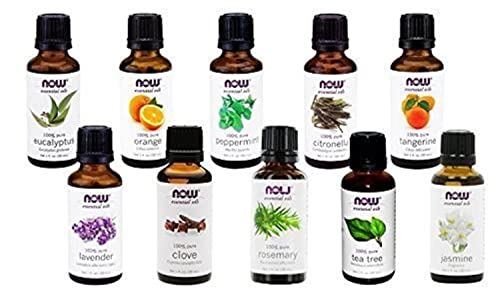
Essential Oils
Essential oils like lavender oil and eucalyptus oil enhance the therapeutic properties of your healing salve. Choose oils that complement the herbs in your salve. Make sure to consider any potential sensitivities or allergies.
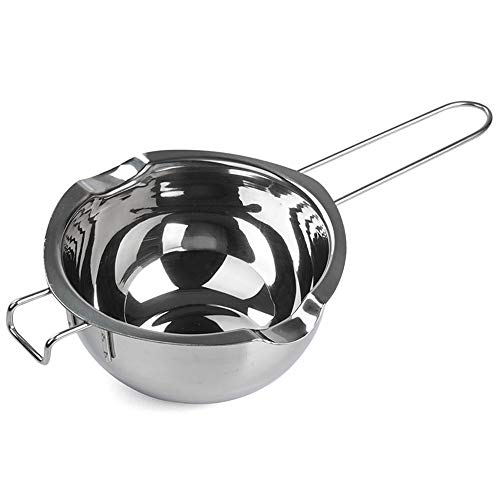
Double Boiler
A double boiler is used to gently melt the beeswax and combine it with the infused oil to prevent overheating and to ensure even melting. If you don’t have a double boiler you can use a mason jar and a pan.
Cheesecloth or Fine Mesh Strainer
You’ll need a cheesecloth or fine mesh strainer to separate the plant materials from the oil.
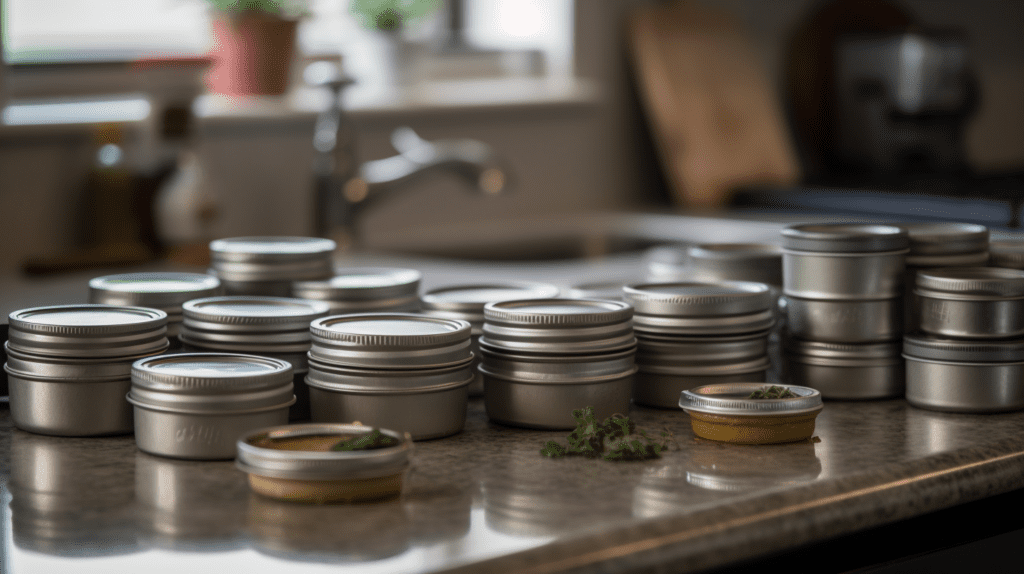
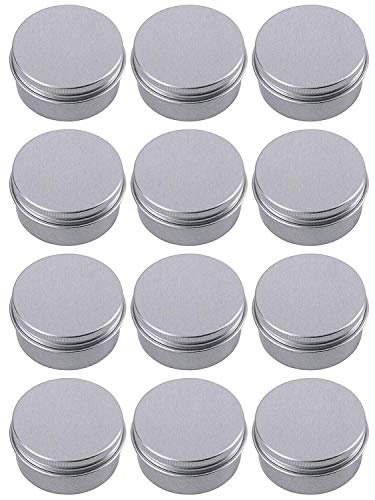
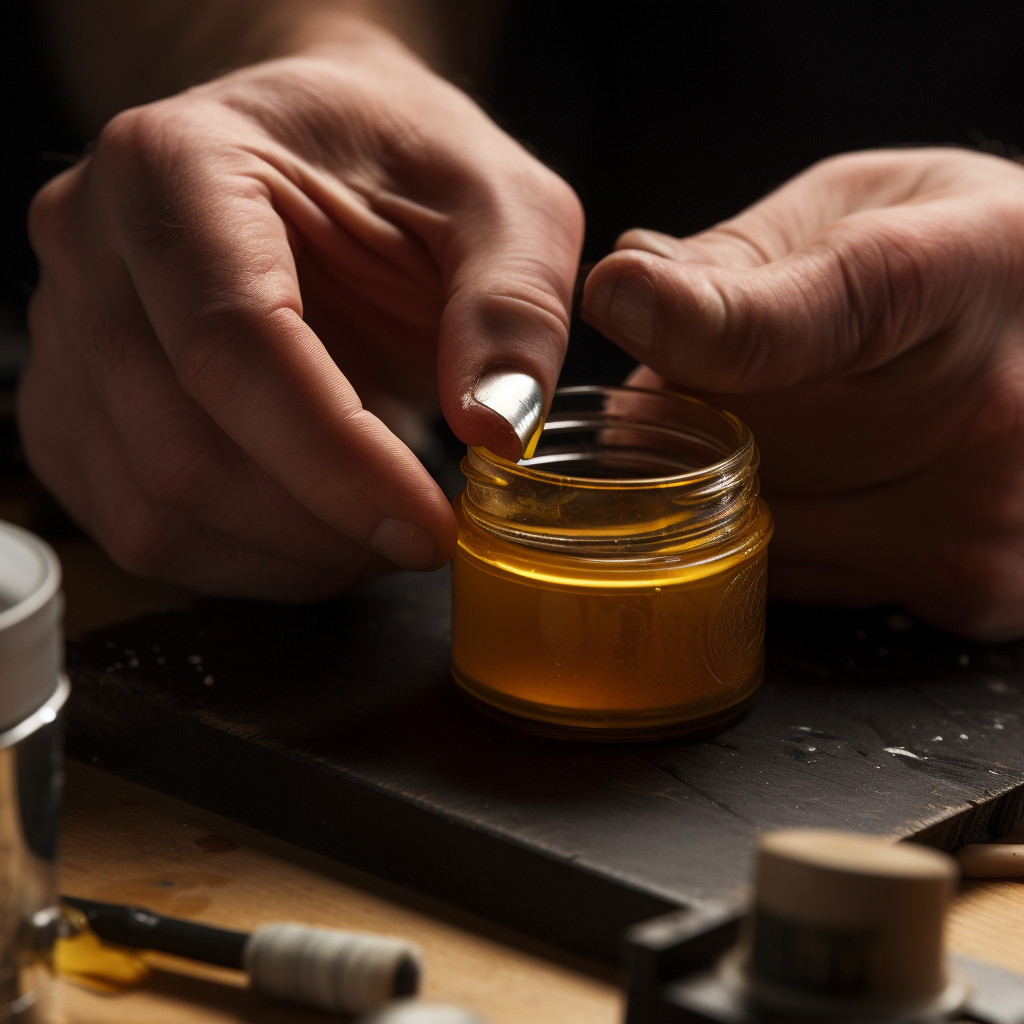
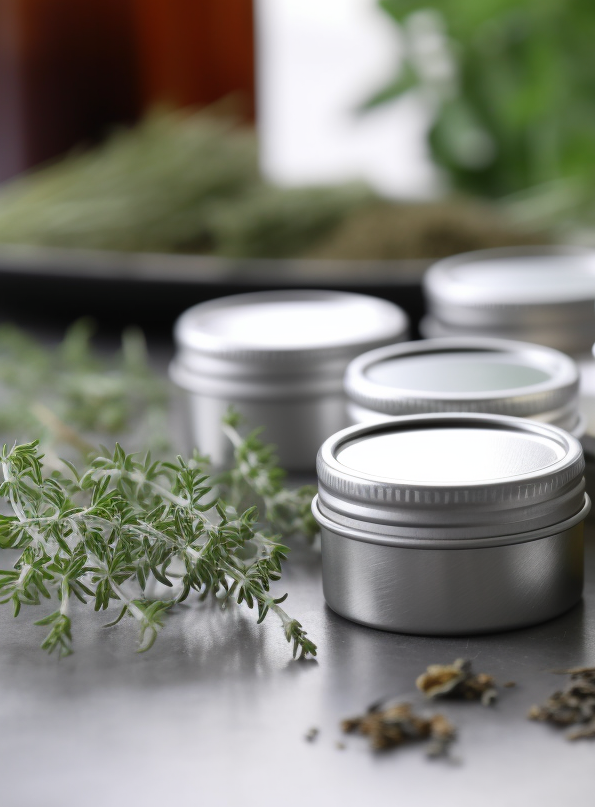
Glass Jars or Tins
This is where you’ll store your finished salves. Make sure they are clean and dry before filling them with your salve.
Labels
Be sure to label your salves with the ingredients, date of production, and instructions for use. This helps you keep track of your healing salves and ensures proper usage.
Spatula or Wooden Spoon
Use a spatula or wooden spoon to mix the ingredients and transfer finished salves into containers.
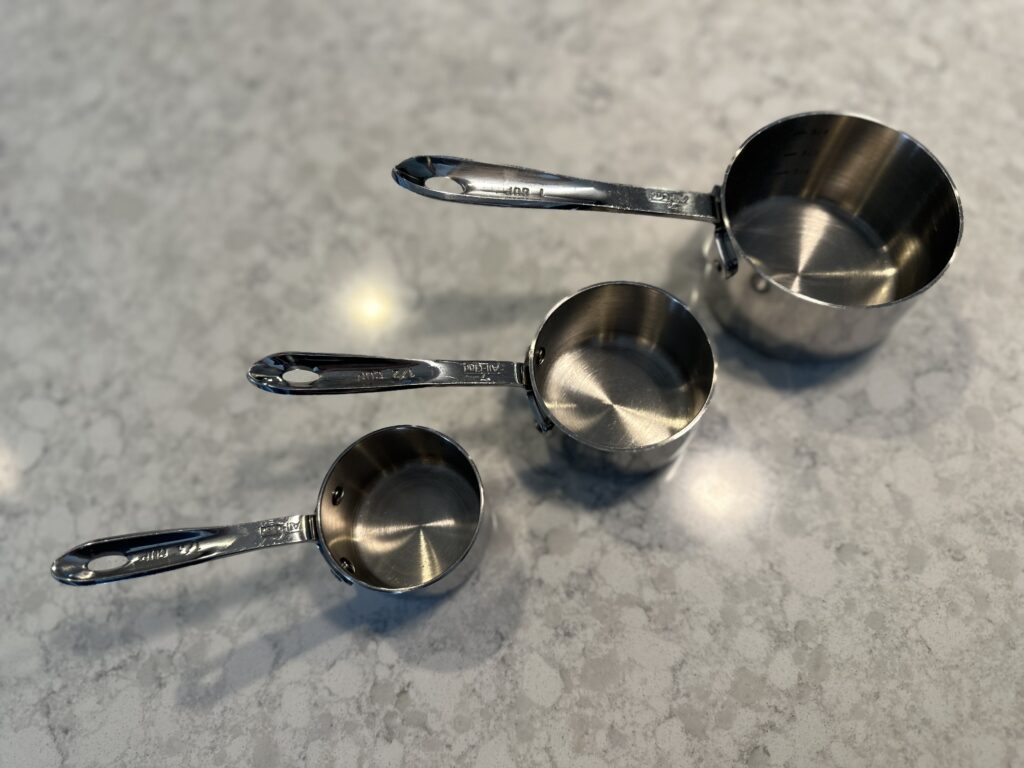
Measuring Cups and Spoons
Accurate measurements are crucial for creating consistent salves. Have a set of measuring cups and spoons handy to ensure the proper ratios of ingredients.


Importance Of Carrier Oils When You Make Healing Salve
A primary element in herbal medicine, carrier oils act as an infusion medium for herbs, diluter for essential oils, moisturizer for the skin, and enhance absorption.
Carrier oils play a crucial role in healing salves as they serve as the base for the salve. It delivers the herb and the oil’s therapeutic properties to the skin. Here are the reasons why carrier oils are an important ingredient in making your homemade salve:
- Infusion Medium: Carrier oils help infuse the beneficial properties of herbs. Soaking the herbs in the oil extracts the active compounds to create a potent infusion.
- Dilution of Essential Oils: Essential oils are potent and may irritate the skin if used undiluted. Carrier oils help to dilute essential oils, making them safe for topical application.
- Moisturizing and Nourishing Properties: Carrier oils possess moisturizing, nourishing, and soothing properties for the skin, which are enhanced when combined with herbs and essential oils for more healing effects.
- Enhances Absorption: Carrier oils aid in the absorption of active ingredients from herbs and essential oils into the skin. This concentrates the healing properties to the area they are needed most.
- Prolongs the Salve’s Shelf Life: Some carrier oils have natural antioxidants that prolong the salve’s shelf life. When you make healing salve, this is particularly important if you’re using fresh herbs or ingredients that quickly spoil.
Types Of Infusion Methods For When You Make Healing Salve
Different infusion methods, such as heat-based or time-based, affect the potency of your healing salve. The infusion method you choose can have a significant impact on how you make healing salve and the final product.
Heat-based methods are quicker but may compromise some benefits, whereas time-based infusions preserve all herbal qualities.
Infusion is the process of extracting the beneficial properties of herbs and plants into a carrier oil, which forms the base of your healing salve. Here are several infusion methods you can try:
Cold Infusion Method
- Suitable for heat-sensitive herbs and when a longer infusion time is acceptable.
- Preserves more of the herb’s delicate constituents, such as enzymes and volatile oils.
- Requires more time (4-6 weeks); requires less hands-on effort.
Instructions:
- Place the prepared herbs in a clean, dry jar.
2. Pour the carrier oil over the herbs, ensuring they are fully submerged.
3. Secure the jar with a lid and shake gently to mix the herbs and oil.
4. Store the jar in a cool, dark place for 4-6 weeks, shaking it every few days.
5. After the infusion period, strain the oil through a cheesecloth, discarding the herbs.
6. Pour the infused oil into a clean, airtight container and store it in a cool, dark place.

Hot Infusion Method
- Suitable for herbs that can withstand heat and when a quicker infusion is desired to make healing salve.
- Faster infusion time (4-8 hours); requires more hands-on effort and monitoring.
- Can potentially degrade some heat-sensitive constituents but still yields potent herbal oils.
Instructions:
- Combine the prepared herbs and carrier oil in a heat-safe container.
2. Place the container in a double boiler or slow cooker filled with water, ensuring that the water does not enter the oil.
3. Heat the mixture on low heat for 4-8 hours, ensuring the temperature remains between 100-120°F (38-49°C).
4. Periodically stir the mixture and check the water level in the double boiler or slow cooker.
5. After the infusion period, remove the container from heat and allow it to cool.
6. Strain the oil through a cheesecloth, discarding the herbs.
7. Pour the infused oil into a clean, airtight container and store it in a cool, dark place.
How To Make Herb-Infused Oils For DIY Healing Salves
Knowing the process of making herb-infused oils is an integral part of creating potent and effective DIY healing salve. Whether it’s a simple lavender salve or a complex blend involving multiple herbs, the possibilities are endless. Below is a step-by-step guide:
- Choose high-quality, organic, dried herbs that offer the desired therapeutic benefits. Some popular choices include calendula, lavender, chamomile, comfrey, plantain, and St. John’s wort.
- Pick a carrier oil that complements the chosen herbs and meets your skin’s needs. Some popular carrier oils for salves include olive oil, coconut oil, sweet almond oil, jojoba oil, and grapeseed oil.
- Gently crush or chop the dried herbs to increase their surface area and facilitate the infusion process.
- Select an appropriate infusion method that best fits your needs and the specific herbs you’re using.
Once you’ve made your herb-infused oil, you can use it as the base to make healing salves, combining it with other beneficial ingredients such as essential oils, beeswax, and additional carrier oils.

DIY Salve Recipes You Can Make at Home
You can customize your DIY healing salve by experimenting with blends of herbs, oils, and essences that cater to your personal or therapeutic needs. For instance, adding ginger, for instance, can enhance anti-inflammatory properties, while a dash of peppermint can provide a cooling effect.
To harness the benefits of healing salve, specific ingredients are essential. Here are various recipes tailored to meet your requirements.
1. Salve Recipe for Inflammation
This anti-inflammatory salve recipe combines the healing power of various herbs like arnica and St. John’s wort-infused oils and essential oils to soothe and reduce swelling in the skin.
Ingredients:
- Calendula, arnica, and St. John’s wort-infused oils
- Beeswax
- Lavender essential oil
- Peppermint essential oil
Instructions:
- Combine equal parts calendula, arnica, and St. John’s wort-infused oils with beeswax in a double boiler.
2. Melt the beeswax and oils together until fully combined.
3. Remove from heat, and add a few drops of lavender and peppermint essential oils for a soothing and cooling effect.
4. Pour the mixture into containers and let cool before using.
2. Olive Oil and Beeswax Salve Recipe
This simple olive oil and beeswax salve recipe is perfect for beginners and allows you to customize the salve with the essential oils of your choice.
Ingredients:
- 1 cup of olive oil
- 1/4 cup of beeswax
- Essential oil of your choice
Instructions:
- Heat 1 cup of olive oil and 1/4 cup of beeswax in a double boiler until the beeswax melts.
2. Remove from heat, and add 10-15 drops of essential oil of your choice.
3. Pour the mixture into containers and let cool before using.
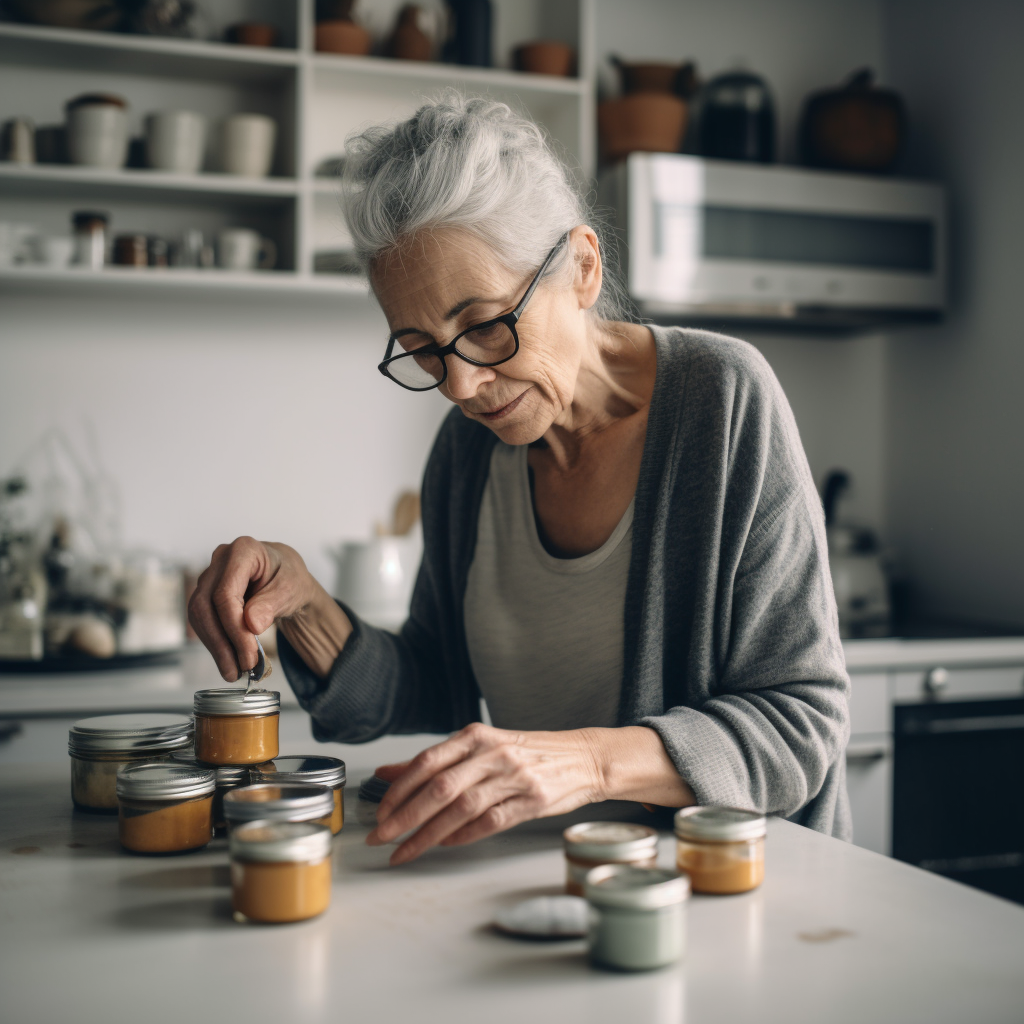
3. Grandma’s Salve Recipe
Inspired by traditional herbal remedies, this “Grandma” salve recipe uses a combination of dried herbs like calendula, comfrey and yarrow for a gentle and effective healing solution.
Ingredients:
- 1 cup of olive oil
- Dried herbs such as calendula, comfrey, plantain, and yarrow
- 1/4 cup of beeswax
Instructions:
- Infuse 1 cup of olive oil with a mixture of dried herbs such as calendula, comfrey, plantain, and yarrow.
2. Put 1/4 cup of beeswax into a double boiler and melt it.
3. Combine the infused oil with the melted beeswax.
4. Pour the mixture into containers and let cool before using.
4. Herbal Salve Recipe for Pain
This herbal healing salve recipe targets pain relief by incorporating warming and soothing essential oils with pain-relieving infused oils.
Ingredients:
- Infused oils of arnica, St. John’s wort, and ginger
- Beeswax
- Wintergreen essential oil
- Clove essential oil
Instructions:
- Combine equal parts infused oils of arnica, St. John’s wort, and ginger with beeswax in a double boiler.
2. Melt the beeswax and oils together until fully combined.
3. Remove from heat, and add a few drops of wintergreen and clove essential oils for a warming and pain-relieving effect.
4. Pour the mixture into containers and let cool before using.
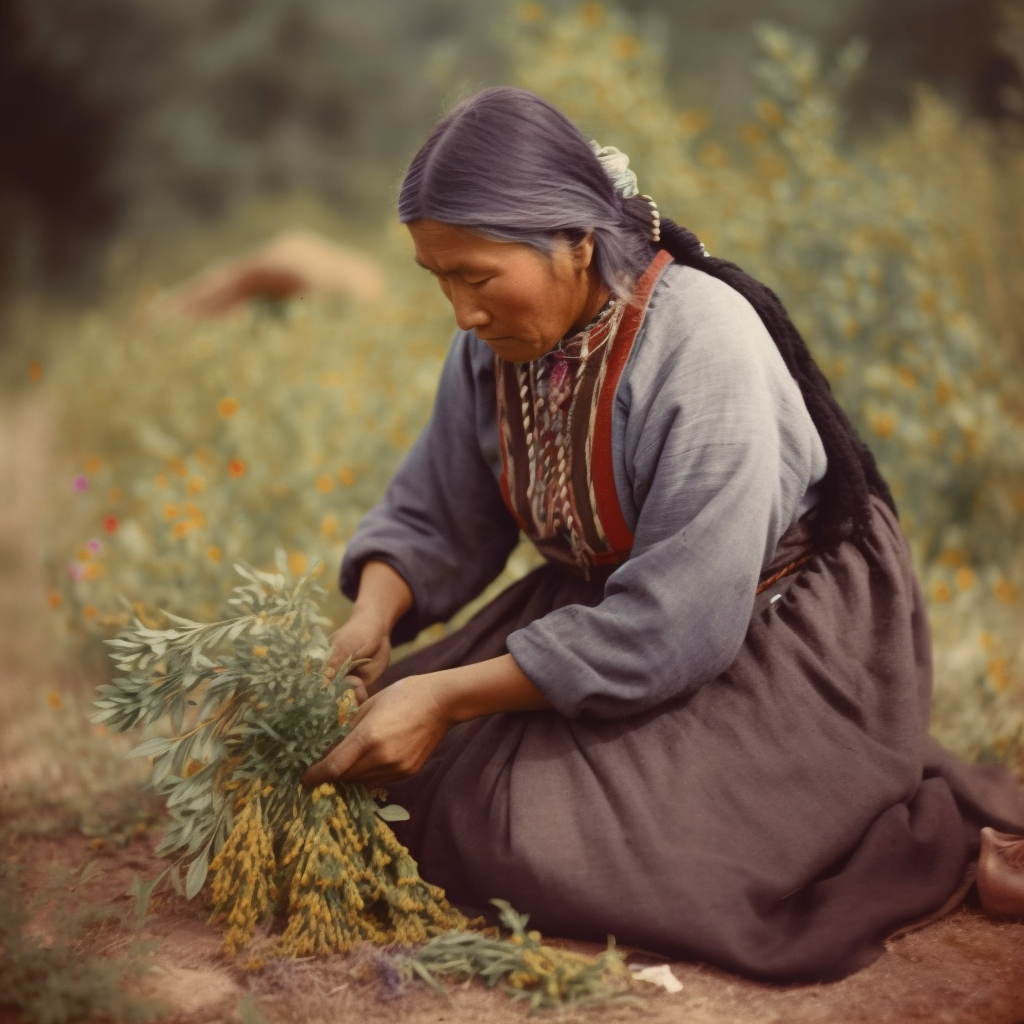
5. Native American Healing Salve Recipe
Drawing inspiration from traditional Native American herbal remedies, this healing salve recipe combines a variety of potent herbs for a unique and effective solution.
Ingredients:
- A combination of traditional Native American herbs such as yarrow, sage, and cedar
- Beeswax
- Essential oil of your choice
Instructions:
- Create an infused oil using a combination of traditional Native American herbs such as yarrow, sage, and cedar.
2. Melt an appropriate amount of beeswax in a double boiler.
3. Combine the infused oil with the melted beeswax.
4. Add a few drops of essential oil for added benefits and fragrance.
5. Pour the mixture into containers and let cool before using.
Customize How You Make Healing Salves
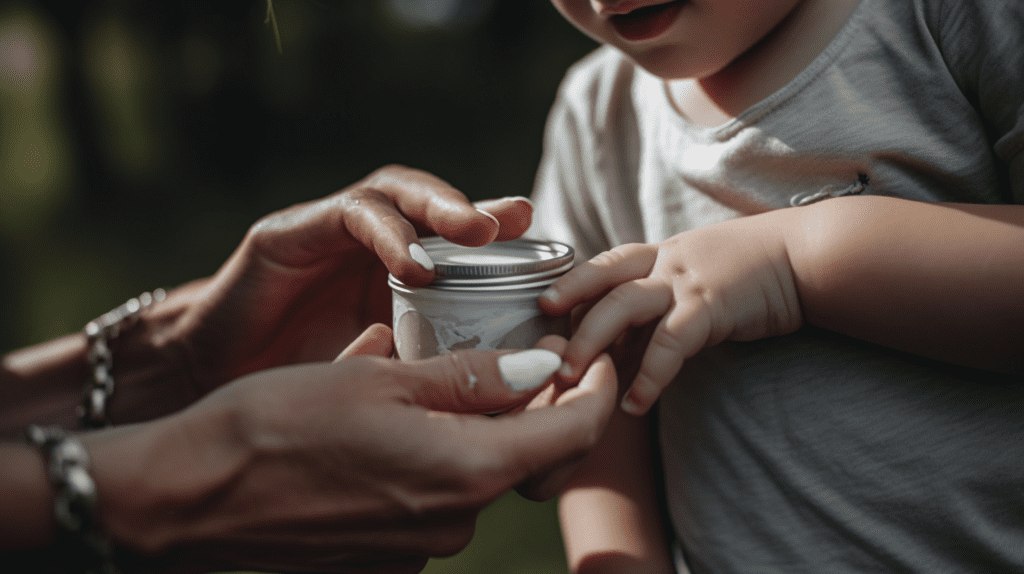
When making your healing salve, consider the specific needs and preferences of the person who will be using it in order to customize it to their ailments.
Experiment with different herbs, essential oils, and carrier oils to create a personalized blend that suits their requirements.
Also, adjust the consistency of your salve by altering the ratio of beeswax to carrier oil, and choose scents that are pleasing and comforting.
Tips for Making Herbal Salves
Knowing how to make healing salve is a timeless practice rooted in ancient traditions, offering a natural remedy for various skin issues. Consider these pro tips when making your DIY healing balm to ensure quality, potency, and shelf life.
- Choose high-quality, fresh herbs.
- Store herbs properly to maintain their potency and prevent them from becoming stale.
- Choose a carrier oil that complements the herbs and essential oils you are using.
- Ensure that the herbs are fully submerged in the carrier oil and allow them to steep long to fully extract their healing properties.
- Use a double boiler to melt beeswax gently and evenly, preventing overheating or scorching.
- Make sure your salve has the desired consistency by placing a small amount on a cold spoon and letting it cool.
- Experiment with different herbs, essential oils, and carrier oils to create a personalized blend that suits the needs and
preferences of the person who will be using it.
- Clean and sanitize the containers you use for storing your salve to prevent contamination.
- Give yourself time to learn and refine your techniques to achieve the best results. Making herbal salves is an art that requires practice and patience.
Shelf Life Of Healing Salves
The shelf life of your healing salve is influenced by the ingredients you use and the storage conditions. Glass jars and cool storage spaces can extend the longevity of your handcrafted salves.
Generally, when making healing salves homemade they can last anywhere from 1 to 2 years. Here are some factors that can affect the shelf life of your salve:
- Quality of Ingredients: Using fresh, high-quality ingredients to make healing salve will help extend the shelf life of your salve. Rancid oils or expired herbs can negatively affect the shelf life and potency of your product.
- Preservatives: Some natural preservatives, such as vitamin E or rosemary antioxidants, can help extend the shelf life of your salve. These preservatives can also provide additional skin benefits.
- Storage Conditions: Proper storage is crucial for maintaining the shelf life of your healing salve. Keep the salve in a cool, dark, and dry place, away from heat and direct sunlight. Also, use airtight, opaque, or amber-colored glass jars to protect the salve from light, air, and moisture, which can degrade the product over time.
FAQs About Making Healing Salve
What are the main ingredients used to make healing salve?
The main ingredients in a healing salve are carrier oils (like coconut or olive oil), herbs or essential oils, and a thickening agent (like beeswax or shea butter).
What oils are good for making a healing salve?
Coconut oil and olive oil are excellent choices for making a healing salve, as they both have natural moisturizing and nourishing properties.
These oils also have a long shelf life and are readily available, making them practical options for salve-making.
What is a two-ingredient salve?
A two-ingredient salve is a simple salve made using only two ingredients: carrier oil and beeswax.
This basic salve can be used as a moisturizer, lip balm, or base for adding other ingredients, such as herbs and essential oils, to create a more specialized healing salve.
What’s the difference between a healing balm and a healing salve?
A healing balm and a healing salve are often used interchangeably, as they both serve to soothe and promote healing for minor skin irritations.
The primary difference lies in their consistency: balms are generally thicker and more solid because of a higher concentration of thickening agent, while salves have a softer, more spreadable texture.
How do you thicken homemade salve recipes?
To thicken a homemade salve, you can increase the amount of beeswax in the recipe which helps solidify the salve, giving it a thicker, firmer consistency.
Experiment with different ratios of carrier oil to beeswax to achieve your desired thickness.
Key Takeaways on How To Make Healing Salve
Understanding the nuances of ingredients, infusion methods, and customization is crucial to mastering how to make healing salve.
Making your own healing salve not only equips you for emergencies and minor mishaps but it also opens the door to a world of personalized healthcare solutions.
Believe me, once you’ve dipped your toes into this DIY world, you’ll find it both intuitive and a thrilling creative outlet.
So give it a try and see how awesome it is to create your own salve at home.
Pro Tip: I don’t own a double boiler and I have made salve, chapstick and other tinctures without it. If you don’t own a double boiler, you can easily use a mason jar, aluminum foil and pot of water instead. I have even done this without aluminum foil and I have never had a problem. It works just fine.
You can check out the video below for directions.
Plus, I highly recommend using the beeswax pellets over a bar or block. The pellets melt down nicely, making it quicker and easier to work with. The bars or blocks of beeswax will work but, it will take a little longer to melt.
H/T to @BrilliantlyBland for this video on making a double boiler.