Select Page
How To Make Cooking Oil At Home From Scratch

How To Make Cooking Oil At Home From Scratch

Learning how to make cooking oil from scratch involves selecting a base ingredient and using the cold-press or hot-press method to extract the oil.

For cold-pressing, you can grind the ingredients into a paste and use a machine or crush them and squeeze out the oil. For hot pressing, heat the base ingredient and extract the oil using a mechanical press.


Creating cooking oil at home is not just a culinary experiment, but a journey into understanding the essence of our daily meals. It’s all about using clean ingredients, understanding the basic steps, and trying out different oils to see what works best.

In this article, we’ll guide you through making your cooking oils using different ingredients found in the wild or stockpiled in your survival kit.

So let’s get started!

Photo of jars of home made vegetable oil.

In This Guide


cooking oils

Why Make Your Own Cooking Oil?

Making your own oil gives you control over the ingredients and the skills to add to your survival tool belt. This means better flavor and no unexpected additives. Plus, during a disaster, store-bought oils may not be available so your only option is to make one yourself.

Cooking oils are basically fats that you use for frying, baking, and other culinary purposes. You can get them from plant-based sources like vegetables, nuts, and seeds. 

Oil can be used beyond its primary use for cooking. For instance, you can use it as a lubricant for squeaky hinges or tools that need a bit of smoothing.

If you’re exposed to harsh weather, oil can help protect your skin from drying out. Some oils, especially ones like tea tree, have antiseptic properties, making them useful for minor wounds.

Oil can also be a fuel source. It can power up lamps or even be used to create a temporary torch. And if communication is vital, oil can leave a mark or signal for help.

So next time you glance at that bottle, remember it’s more than just a cooking ingredient.

Avocados

Common Types of Cooking Oils

From the robust flavors of olive oil to the high-heat capabilities of avocado oil, each type serves a unique culinary and nutritional purpose. Here are the common types of cooking oils:

Vegetable Oils

Derived primarily from plants, vegetable oils are versatile and commonly used in cooking. They provide an essential base for many dishes and are known for their light flavors.

They can come from different plant-based sources, including soybeans, corn, palm, olive, canola, and sunflowers.
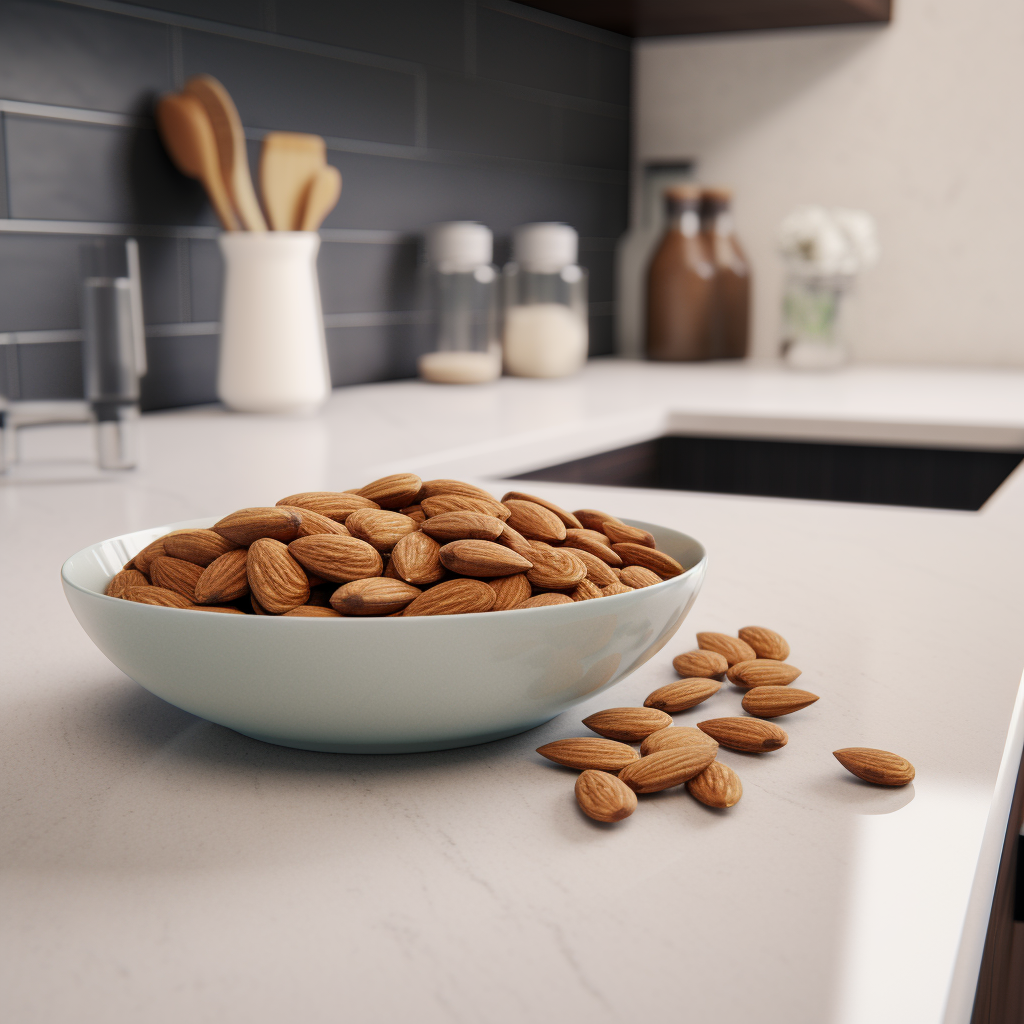
Nut Oils

Nut oils often have richer flavors that bring an exotic touch to the table. Extracted from the heart of various nuts, such as almonds, hazelnuts, and walnuts, they not only enhance culinary dishes but also offer unique health benefits.

Here’s a list of some common nuts and seeds and their average oil content:

20 Percent Oil Content:

  •   Tung nuts

30 Percent Oil Content:

  • Cottonseed

  • Safflower seed (can range up to 50 percent)’

  • Black oil sunflower (can range up to 55 percent)

Photo of a bowl of olives.

40 Percent Oil Content:

  •  Linseed

  •  Olive

  •  Rapeseed (used to produce canola oil)

  •  Pumpkin (can range up to 60 percent)

50 Percent Oil Content:

  •  Almond

  •  Peanut

  •  Poppy seed

  •  Sesame seed


The provided list offers a general overview, but it’s important to note that the oil content in seeds and nuts can vary due to factors like growing conditions, variety, and extraction methods.
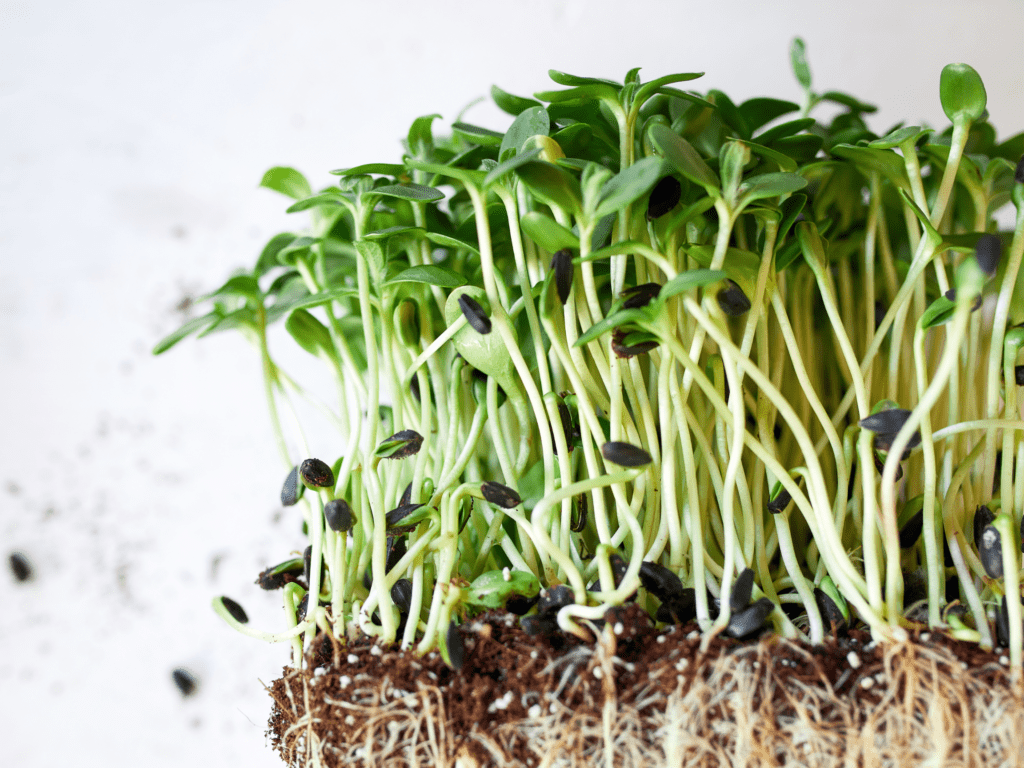
Seed Oils

Ranging from sunflower to sesame, seed oils have been in culinary use for centuries, praised for their delicate taste and nutritional content.

They are derived from various types of seeds, such as flaxseeds, pumpkin seeds, and sesame seeds. These oils are rich in omega-3 fatty acids, which are essential for maintaining good heart health.

Two Methods on How To Make Oil At Home: Cold-Pressing vs. Hot-Pressing

While there are multiple ways to extract oil, cold-pressing and hot-pressing stand out as the most traditional. Both methods have their merits, with distinct results in terms of flavor and nutritional value.

Cold-Pressing

The cold-pressing method is often seen as the purist’s choice as it retains most of the nutrients. By avoiding heat, it ensures that the oil remains in its most natural state.

Cold pressed oils are made by crushing seeds or nuts to release the oil, then pressing them using a hydraulic or screw press.


Cold-pressed oils keep more nutrients like antioxidants, vitamins, and minerals because they are not heated to high temperatures, which can destroy these important compounds. 

Hot-Pressing

Hot-pressing uses heat to extract the oil from foods. Although using this method can lose some nutrients, it’s a faster process and produces a different flavor profile.

Photo of cooking oil, avocados & almonds.


What You Need To Make Cooking Oil At Home

Making homemade cooking oil requires some essential tools and ingredients. From selecting the right seeds to using the correct equipment, preparation is crucial. Here are the things you need:

Oil Press: Choose between a manual or electric oil press based on your budget and quantity needs. This device extracts oil from seeds and nuts through pressing.

Strainer or Cheesecloth: This is used to filter out residues from the extracted oil, ensuring purity and clarity.

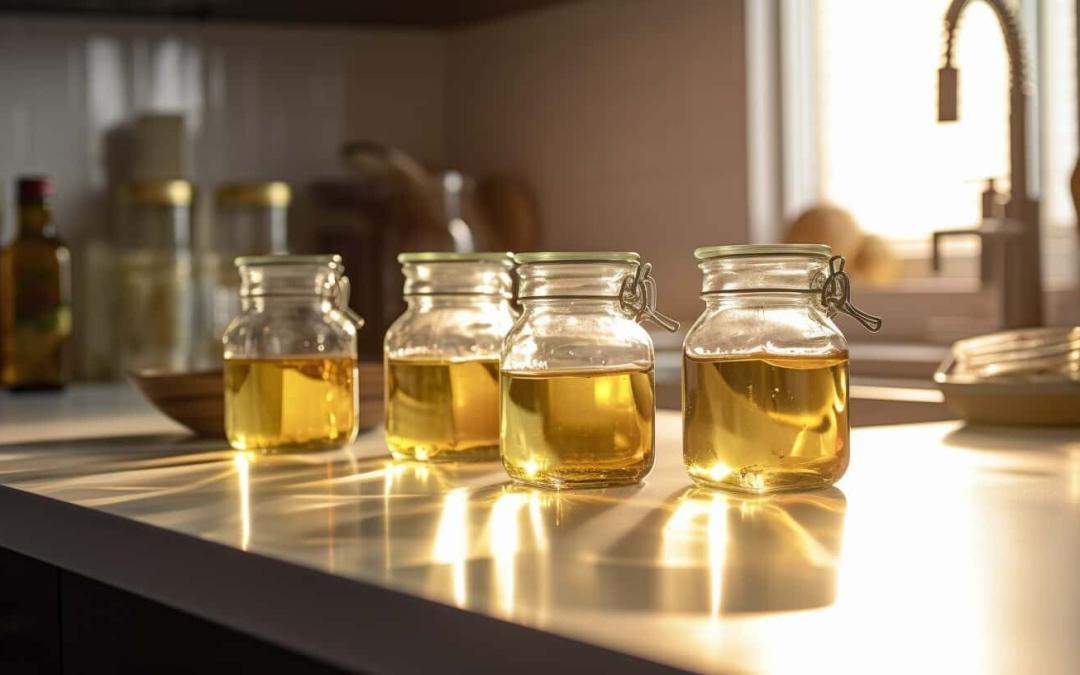
Storage Containers: Dark glass containers with tight seals are best to maintain the oil’s quality, protecting it from sunlight and contaminants.

How To Make Cooking Oil at Home

Now let’s dive into making your homemade cooking oil by gathering ingredients, choosing the method, and preparing to filter and store the cooking oil.

1. Gather Ingredients and Equipment

Before making your cooking oils, gather the ingredients, a press, a filter, and a container for storing the oil.

2. Prepare the Ingredients

Before you begin, carefully wash and dry all your ingredients. Try roasting or toasting them for a few minutes for added flavor and aroma. Also, make sure to dry them well before extraction.

3. Extract Oil using Cold-Pressing Method

To extract oil using the cold-pressing method, you will need to crush or grind the ingredients into a paste and then place the paste in a press. Apply pressure to the paste to extract the oil, and collect them in a container.

4. Extract Oil using Hot-Pressing Method

To extract oil using the hot-pressing method, you will need to heat the ingredients by roasting them before adding them to a press and then apply pressure to extract the oil.

5. Filter the Oil

After extracting the oil, you can filter your oil by straining it through a coffee filter to remove any remaining particles.

6. Store the Oil Properly

Store your homemade cooking oils in a cool and dark place, away from sunlight and heat. You can also add a natural preservative such as vitamin E to extend the shelf life of the oil.

How To Make Cooking Oil From Coconut

To make cooking oil from coconut, you will need fresh coconut meat, a blender, and a cheesecloth or press.

Fresh coconut split open with bottle of coconut oil.
  1. Remove the outer shell of the coconut and cut the meat into small pieces.


  2. Blend the coconut meat in a blender with a small amount of water to create a paste.


  3. Place the paste in a cheesecloth or press and squeeze out the oil.


  4. Allow the oil to settle for a few hours, then carefully pour off the top layer of clear oil into a separate container.


  5. Store the oil in a cool, dry place away from direct sunlight.

How To Make Cooking Oil From Sunflower Seeds

To make cooking oil from sunflower seeds, you will need a bag of sunflower seeds, a blender, and a cheesecloth or press. Sunflower seeds release a light oil perfect for a myriad of dishes.

Hands filled with sunflower seeds.
  1. Roast the sunflower seeds in the oven at 350°F for about 15 minutes or until golden brown.


  2. Allow the seeds to cool and then blend them in a blender until you have a fine powder.


  3. Add a small amount of warm water to the powder to create a paste.


  4. Place the paste in a cheesecloth or press and squeeze out the oil.


  5. Allow the oil to settle for a few hours, then carefully pour off the top layer of clear oil into a separate container.


Tall sunflowers growing in a garden with the sun shining down upon them.

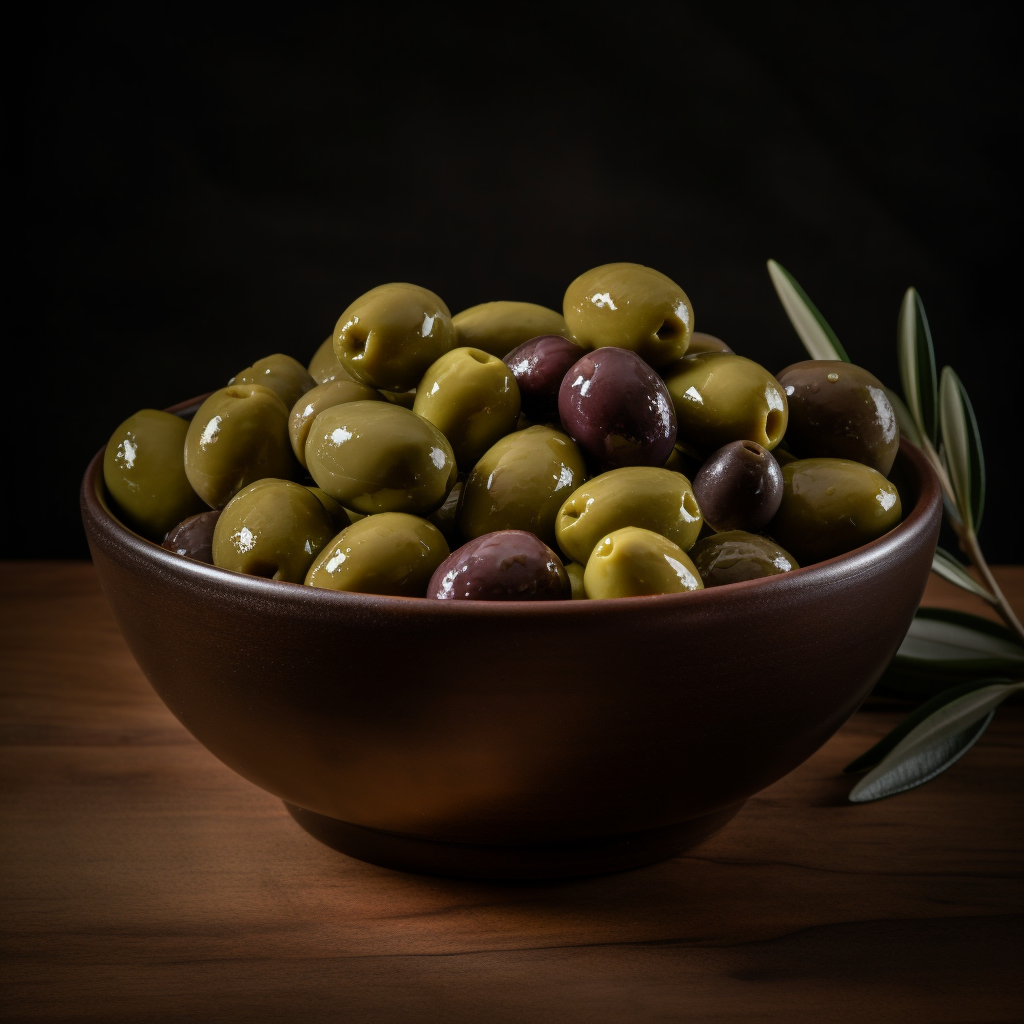
How To Make Cooking Oil From Olives

To extract olive oil, you will need fresh olives, a mechanical press or food processor, and a cheesecloth. Olives are one of the most sought-after oils, it is delicious and packed with health benefits.

  1. Wash and remove the stems from the olives.


  2. If using a mechanical press, crush the olives into a paste. If using a food processor, chop the olives into a fine paste.


  3. Place the olive paste in cheesecloth and squeeze out the oil.


  4. Allow the oil to settle for a few hours, then carefully pour off the top layer of clear oil into a separate container.


  5. Store in a dark container.

Bottle of olive oil being poured into a small glass container lying next to fresh olives.

You may choose green or black olives, but remember that green olives have a slightly bitter taste and yield less. On the other hand, black olives have a milder taste and produce a higher yield.

How To Make Seed Oils and Nut Oils

With the right methods, you can draw out seed and nut oils to get its unique flavor. Here’s how to do it:

  1. You can use a variety of nuts and seeds to make oil, such as sunflower seeds, pumpkin seeds, almonds, walnuts, etc. Choose your preferred type of nut or seed and gather them in a bowl.


  2. Spread them evenly on a baking tray and roast them in the oven at 350°F for about 10-15 minutes or until they turn golden brown. Roasting will help to release the oils from the nuts or seeds.


  3. Allow them to cool down completely before transferring them to a blender or food processor.


  4. Grind the nuts or seeds in a blender or food processor until they form a fine powder. Be careful not to over-blend as this can cause the mixture to become sticky.


  5. Add a small amount of neutral-flavored oil, such as grapeseed oil or sunflower oil, to the ground nuts or seeds. This will help to make the mixture smoother and easier to extract oil from.


  6. Use a cheesecloth or a fine mesh strainer to extract the oil from the nut or seed mixture. Squeeze the mixture well to ensure that all of the oil is extracted.


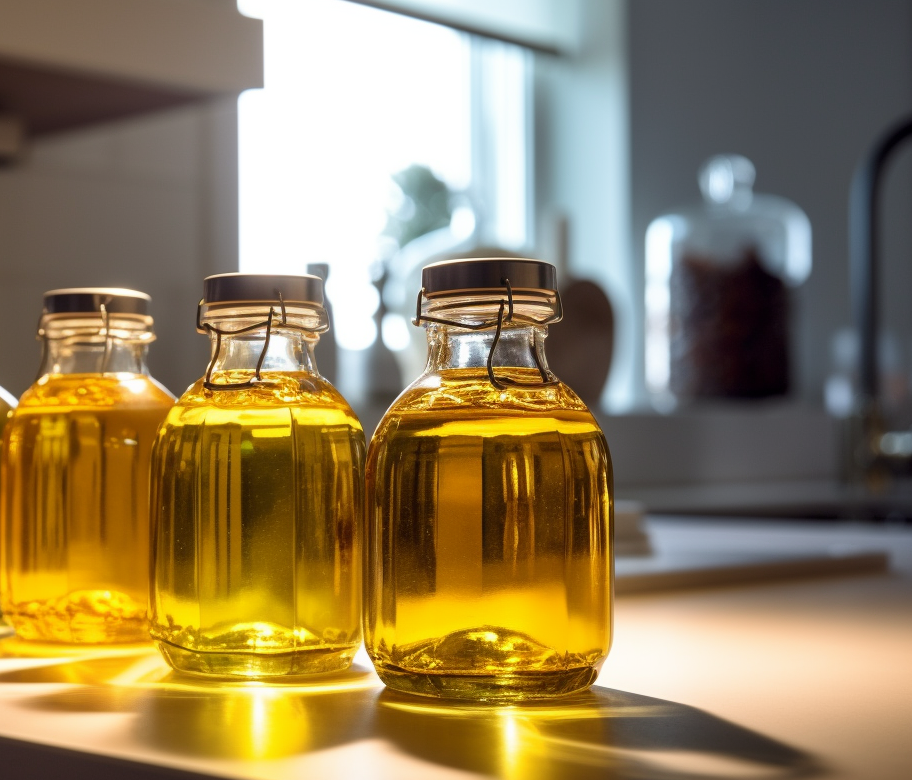
  7. Pour it into a sterilized glass jar with a lid. Store it in a cool, dark place and use it within a few weeks.


Four different wooden spoons filled with chia seeds, sesame seeds, almonds and sunflower seeds.

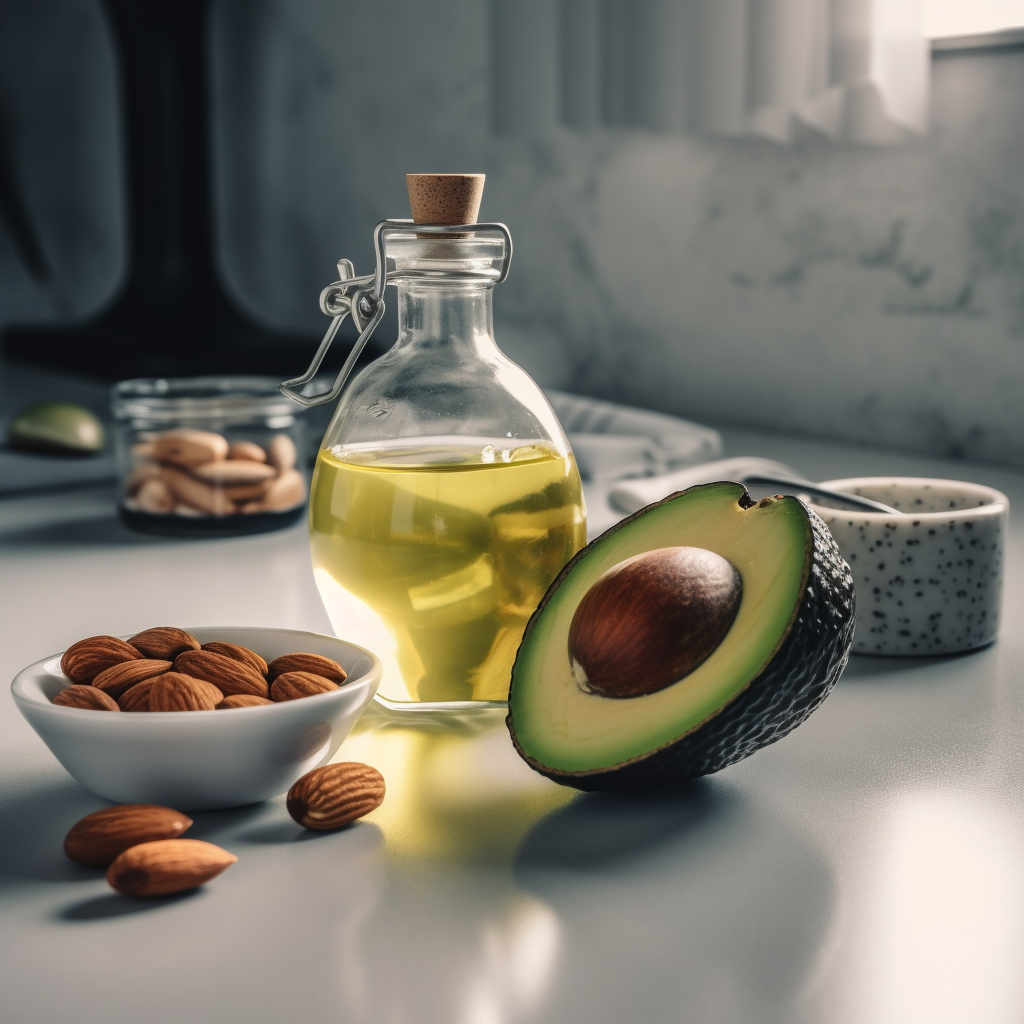
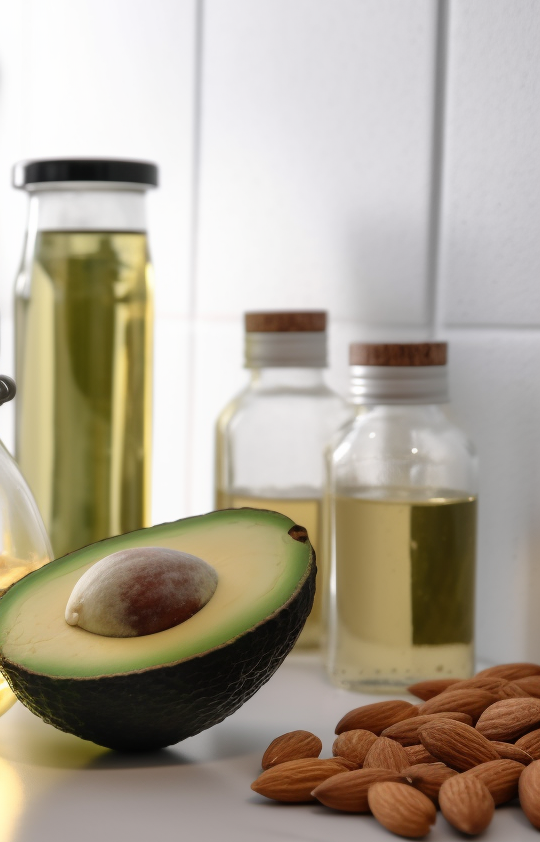
How to Make Your Own Avocado Oil

Avocado is a rich oil ideal for both culinary and cosmetic uses. When extracted, this oil carries the avocado’s health benefits in a concentrated form. Heres how to extract it:

1. Start by gathering ripe avocados. The number you need depends on how much oil you want, but 5-10 is a good starting point for a decent yield.

2. Wash the avocados thoroughly, halve them, and remove the pits. Scoop out the flesh and place it in a bowl.

3. Mash the avocado flesh using a fork or potato masher until you get a smooth paste. This will increase the oil yield.

4. Transfer the mashed avocado into an ovenproof dish. Preheat your oven to its lowest setting (around 150°F or 65°C) and allow the avocado to heat slowly for about 5-6 hours. This helps the oil seep out.

5. After heating, remove the dish from the oven and let it cool. Place a strainer over a jar and line it with cheesecloth. Pour the heated avocado mixture into the strainer, allowing the oil to drip into the jar. Squeeze the cheesecloth to extract more oil.

6. Seal the jar tightly and store it in a cool, dark place. It’s best to use the oil within a few days for freshness.

Remember, the resulting oil will have a strong avocado flavor, perfect for salads or dishes where the avocado taste is desired. For clearer oil, more refinement and filtration would be necessary. Always use ripe, high-quality avocados for the best results.

Photo of avocado oil.


How To Make Vegetable Oil From Palm Oil

Learn the step-by-step process of converting palm oil into versatile vegetable oil. Palm oil, though controversial, remains a staple in many kitchens. By creating it at home, you can ensure a more sustainable and ethical approach to its production.

Here’s a simple method on how make it:

1. Harvest and prepare the palm fruits. They will have a reddish-orange hue.

2. Place the fruits in a pot, cover them with water, and boil for 30-60 minutes until they become soft and the skin starts to come off.

3. Once cooled, mash the fruits manually to separate the pulp from the kernels and the outer husk. Traditional methods involve pounding the fruits in large wooden mortars. You can also use a hand press or any device that can apply pressure. 

4. Add a little warm water to the mashed pulp and mix. The oil will begin to surface. You can then start scooping it out or pour the mixture through a sieve or cloth to separate the oil.

5. Place the collected oil in a pot and boil for about 10-15 minutes. This will help to separate any remaining water and contaminants from the oil. Once boiled, allow it to cool, and you will notice the oil will come to the surface while impurities settle at the bottom.

6. Skim off the pure oil from the top, ensuring not to collect the settled impurities. Transfer the oil to a clean, dry container and store it in a cool, dry place.

Keep in mind that this is a basic and traditional method. Large-scale production and refining processes are more complex and require more equipment.

If sourcing palm fruits, ensure they come from sustainable and responsible sources to mitigate environmental and ethical concerns.

Photo of beef to be used to make tallow with the fat.

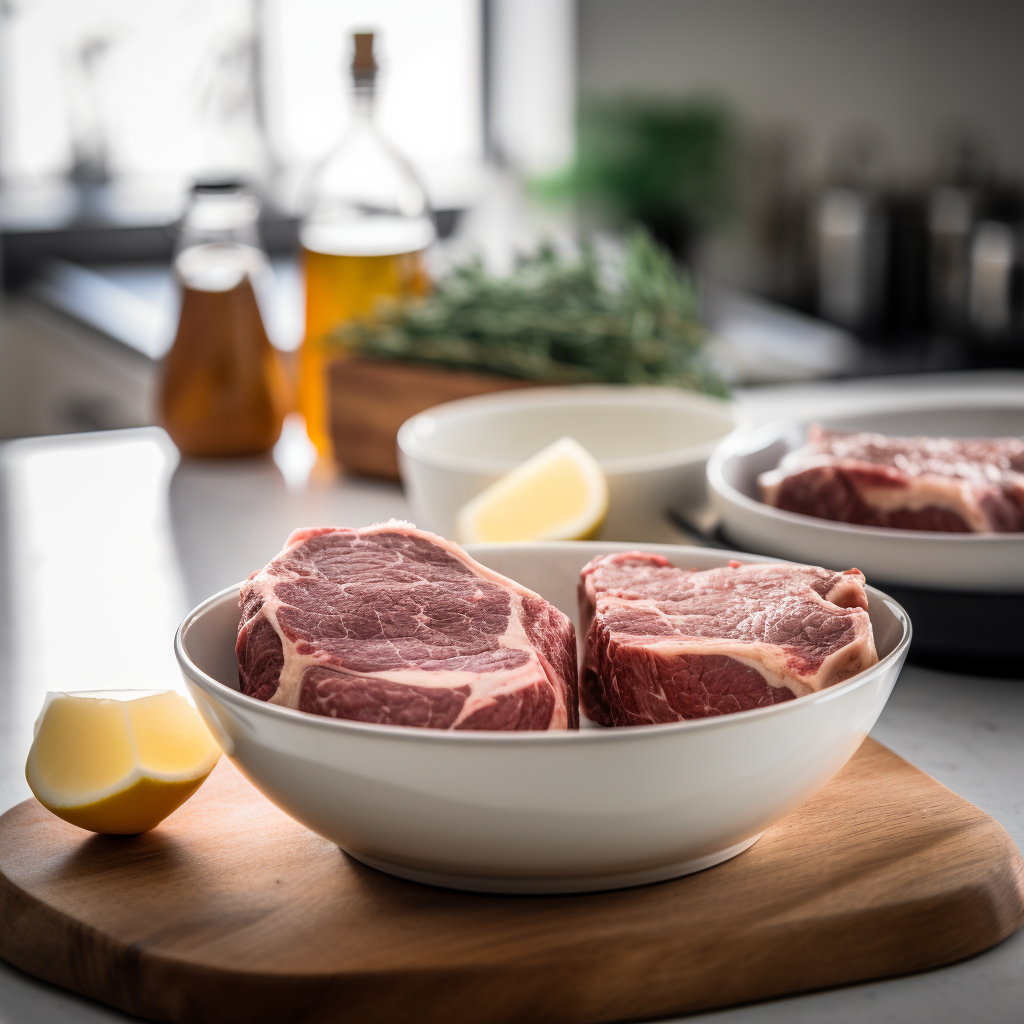
How To Make Cooking Oil From Animal Fat

Turning to traditional methods, animal fats like lard and tallow can be transformed into cooking oils. These fats, when rendered, offer rich flavors reminiscent of age-old culinary traditions. Here’s a simple guide on how to render animal fat into oil:

1. Start by trimming any meat residues from the fat. This is important because meat can cause the fat to spoil or impart undesired flavors to the oil.

2. Cut the fat into small pieces, or even better, grind it. The smaller the pieces, the quicker and more efficiently the fat will render.

3. Melt the fat. Here are two ways on how to do it:

  • Using a pot: Place the chopped fat into a large pot. Heat on the lowest setting. This process needs to be slow to ensure that the fat doesn’t burn. Stir occasionally.

  • Using a slow cooker: If you have a slow cooker, it’s ideal for this purpose. Place the chopped fat in the cooker, set it on low, and let it melt slowly for several hours.

4. Allow the fat to simmer gently. As it renders, you’ll notice clear oil separating from the solid bits. This process can take several hours. Ensure that it doesn’t reach a boiling point to avoid burning the fat.

5. Once the fat is fully rendered (you’ll be left with clear oil and crispy solid bits known as “cracklings”), carefully strain the oil through a sieve or cheesecloth into your chosen container or jar, leaving the solids behind.

6. Allow the oil to cool down. Once cooled, it will solidify somewhat, especially if made from pork or beef fat. Store it in a cool, dry place or refrigerate. It can last for a long time if stored correctly.

Note:

  • Beef fat, when rendered, is often referred to as “tallow.”
  • Pork fat, when rendered, is called “lard.”
  • Chicken fat is sometimes called “schmaltz,” especially in Jewish cuisine.

Remember to source your animal fats from trustworthy sources, preferably from pasture-raised animals, to ensure the best quality and flavor.

Photo of jars of oil.


How to Refine Cooking Oil at Home

By understanding simple refining techniques, you can enhance the quality of your homemade oils, ensuring they remain fresh for longer. Refining oil can also elevate its purity.

  1. Pour the oil through a coffee filter or a cheesecloth to remove any impurities or debris.


  2. Add a small amount of citric acid to the oil and mix it thoroughly to neutralize it. Let the mixture sit for a few hours until the acid has neutralized any remaining free fatty acids.


  3. Carefully pour the oil into a clean container, leaving any sediment or impurities behind.


  4. Mix the oil with a small amount of activated charcoal or clay and heat it to about 120°C (248°F) for 20-30 minutes. This process will remove any remaining impurities and lighten the color of the oil.


  5. Heat the oil to about 220°C (428°F) for 30 minutes to remove any remaining odor or flavor.


  6. Allow the oil to cool and then filter it through a clean cheesecloth or coffee filter to remove any remaining impurities.


  7. Transfer it to a clean, airtight container and store it in a cool, dark place.


Be cautious when heating oil as it can be dangerous. Always use appropriate safety measures and equipment.

Photo of home made cooking oils.


Tips and Tricks for Making Cooking Oils from Scratch

From choosing the right ingredients to mastering the extraction process, these tips and tricks will elevate your culinary game to the next level.

  • Choose high-quality seeds, nuts, or fruits. Experiment with different ingredients to create unique flavors and aromas.


  • Try roasting or toasting the seeds or nuts to bring out their flavor.


  • Use high-quality ingredients for the best results.


  • Use a cold-press method to extract the oil, as it preserves the nutrients and flavor.


  • Use a filter to remove any unwanted particles or debris and a clean, dry container to prevent contamination.


  • Store the oil in a dark, cool place to keep it fresh.


H/T to @SSLFamilyDad for their video: Making Cooking Oil at Home

Reusing and Repurposing Your Cooking Oil

By understanding how to properly store and reuse your oils, you not only save resources but also maintain the integrity of your oil.

If you’ve ever thought about reusing that homemade cooking oil, here’s a quick tip: once it’s cooled, just strain out the food bits using something like a fine-mesh strainer or even a cheesecloth.

But remember, try not to reuse it more than 2-3 times. If it starts smoking quickly or smells off, it’s time to let it go. And if you want to give it a little aroma boost, throw in some ginger or dry curry leaves. Though, when in doubt, start fresh for your next dish.

FAQs on How to Make Cooking Oils from Scratch

Do I need any special equipment to make cooking oil from scratch?

You will need an oil press or oil expeller to extract the oil from the seeds or nuts. You can buy these online or from specialty kitchen stores.

Can I store homemade cooking oil for a long time?

Yes, homemade cooking oil can be stored in a cool, dark place for several months. Always use a clean and dry container with an airtight seal to prevent spoilage.

Is homemade cooking oil healthier than store-bought options?

Homemade oils can be a healthier option because you control the ingredients and the extraction process. However, remember that all oils are energy-dense, so moderately incorporate them into a balanced diet.

Bottle of olive oil.

Can I use homemade cooking oil for high-heat cooking?

It depends on the type of oil you make. Some oils, such as coconut oil, are better suited for high-heat cooking, while others, such as flaxseed oil, are best used in salad dressings or for drizzling over foods.


Be sure to research the smoke point of your chosen oil before using it for cooking.


How do I know when the oil is ready to be extracted?

The oil will start to separate from the paste or seeds during the pressing process.

Can I use a blender to make the paste for cold-pressing?

Yes, you can use a blender to make the paste for cold-pressing, but be careful not to over-blend, as it can affect the quality of the oil.

Key Takeaways of How To Make Cooking Oils At Home

Making your own cooking oil at home is rewarding, allowing you to explore the rich flavors of ingredients like sunflower, coconut, avocado, and various seeds and nuts.

By understanding the nuances of cold and hot pressing methods, you can tailor the extraction process to achieve the desired taste and nutrient profile. Each type of oil brings its unique essence to your culinary creations.

Empowering yourself with this knowledge not only enriches your cooking experience but also ensures a healthier and more authentic touch to your dishes. 

The process can be a bit time-consuming, but the result is worth it, especially if you’re in a pinch. Learning how to make cooking oil at home can give you greater control over your food supply and ensure that you have the resources you need to thrive in any situation.


11 Best Soils for Growing Microgreens

11 Best Soils for Growing Microgreens

To find the best soils for growing microgreens, you need a good understanding of the intricate soil ecosystem that is made up of a combination of minerals, organic matter, organisms, water and oxygen.


This knowledge will highlight the profound connection between these tiny greens and the nourishing environment in which they thrive.

Microgreens are a great way to add flavor, texture, and nutrition to any meal. These tiny plants are packed with vitamins, minerals, and antioxidants. Plus, you can grow them easily and inexpensively indoors.

However, to grow healthy and tasty microgreens, you need to use the right soil.

In this guide, you’ll discover top-rated soils like Miracle-Gro and FoxFarm, and why soil composition and nutrients are crucial for microgreen growth. So if you want to know the best soils for growing microgreens, read on.


Our Picks

Hands sifting through one of the best soils for growing microgreens.

In This Guide

What Are Microgreens?

Microgreens are small, nutrient-packed plants harvested just after their first true leaves emerge. They are a great source of vitamins, minerals, and antioxidants.


Apart from their nutritional benefits, they add a splash of color and intense flavor to a variety of dishes.

Why Soil Matters for Microgreens

The soil is not just a medium; it’s the lifeblood for microgreens, providing them with the essential nutrients and support they need. The health and vitality of these plants directly hinge on the quality and composition of the soil.

Microgreens have a tender nature, requiring a nurturing environment to thrive. Soil provides nutrients, water, and oxygen to support healthy growth.


The proper soil will supply your microgreens with the nutrients they need. However, the incorrect soil may cause them to develop poorly or even die.

Image of a variety of microgreens in pots sitting on a counter top in the kitchen.

Top 11 Microgreen Soil Mixes For Fast Growth

Choosing the right soil mix can expedite the growth of your microgreens, ensuring they reach their full potential.


These curated blends offer a balanced environment for the plants, marrying drainage, aeration, and nutrient availability.

1. Miracle-Gro Moisture Control Potting Mix

Sizes available: 6 quarts, 8 quarts, 2-8 quart packs

Pros:
  • Prevents over and under-watering
  • Added fertilizer provides for optimal plant growth
  • Well-draining and well-aerated mix
Cons:
  • It may contain too much nitrogen
  • Some packs contain some bugs

Miracle-Gro offers exceptional water retention, a key factor for microgreen growth. It is popular due to its unique moisture control technology. With its proprietary AquaCoir composition, this soil mix absorbs up to 33% more water than standard potting soil.


So it’s ideal for preventing plant death from over- or under-watering. Enriched with fertilizer, it provides essential nutrients that support healthy and vigorous growth for up to 6 months.

This specialized potting mix is designed to help your plants grow bigger and faster. This mix provides a solid base, essential nutrients, and the perfect habitat for plant roots.

2. FoxFarm Happy Frog Potting Soil

Sizes available: 12 quarts

Pros:
  • Contains beneficial microbes and fungi
  • Ready to use right out of the bag
  • pH adjusted
  • Doesn't produce bugs
Cons:
  • The soil may smell like mold

FoxFarm Happy Frog Potting Soil is a nutrient-rich, organic mixture that drains well. It also provides enough oxygen for your microgreens to thrive in. This mix is rich in beneficial microbes and fungi that enhance root development and nutrient uptake.

This potting soil provides unrivaled support for plant structure for healthy and fast growth. It’s also pH-balanced for optimal nutrient absorption, and you can use it straight from the bag.

3. Espoma Organic Potting Soil Mix

Sizes available: 8 quarts

Pros:
  • All-natural and organic blend
  • Enriched with a mix of endo and ecto mycorrhizae
  • Ideal for indoor and outdoor plants
Cons:
  • Inconsistent package contents (some have barks and sticks)

Espoma Organic Potting Soil Mix is a premium blend that promotes healthy root growth and water management. This organic soil is a fertile blend of sphagnum peat moss, humus, and perlite with earthworm castings.


It also contains alfalfa meal, kelp meal, and feather meal. These provide excellent drainage, aeration, and moisture retention. It’s the ideal soil mix to ensure your plants thrive.

For enhanced root growth, it also has a special mix of endo and ecto mycorrhizae. It’s the potting mix for those seeking a premium, all-natural blend that supports healthy plant growth.

4. Verdana Coconut Fiber Potting Mix

Sizes available: 5 pounds, 10 pounds

Pros:
  • Made from 100% natural coconut coir
  • Optimum pH balance
  • Doesn't dry out quickly
  • Compact and expands to a lot of soil
Cons:
  • Some bricks are compressed together

Verdana Coco Peat is made from the waste left over from making coconut coir. This makes it a natural and sustainable choice. After being rehydrated, the compacted coco peat mix expands to a large volume.


For instance, a 10 pound block expands to about 18 gallons, so you also get great value. It is not necessary to water your plants as often since this special potting mix does not dry up as quickly as regular dirt or soil.

So if you’re searching for a soilless growing medium or a soil additive to improve texture, this potting mix is worth considering. It makes gardening easier with its water-saving properties, lightweight, and all-natural composition.

5. Minute Soil Compressed Coco Coir Fiber Grow Medium

Sizes available: Wheelbarrow block, bricks (3-pack), 20mm pellets (bag of 100), 40mm pellets (bag of 30), 60mm pellets (bag of 10), 80mm pellets (bag of 10), 100mm pellets (bag of 10)

Pros:
  • Easy to use
  • Expands quickly with the addition of water
  • Compressed discs are space-efficient
  • Made from 100% natural coconut coir fiber
  • Comes in an easy-to-store, resealable packaging
Cons:
  • Needs plenty of water to expand

This compressed soil mix is designed for ease of use, space efficiency, and convenience. It expands when added water creates a fluffy and airy growing medium that promotes strong root development.


Its aeration and water-retention make it a reliable choice for growing healthy microgreens.

Pure and untreated, the raw coconut coir is dried and compressed into convenient sizes for your choosing. It also has handy, resealable, and space-saving packaging.

6. Window Garden Expanding Organic Fiber Soil

Sizes available: 1-quart bags (pack of 10), 12 quarts

Pros:
  • Convenient and easy to use
  • Expands well after adding water
  • Excellent water retention
  • Fibers provide abundant oxygen for the plants
Cons:
  • May need fertilizer to boost plant growth

The organic fiber soil from Window Garden is a great choice for gardeners, whether they are just starting or have a lot of experience. Its unique natural fibers give plants a lot of oxygen, which prevents root rot and helps your plants live longer and be healthier.

This is also an eco-friendly, peat-free, and reusable growing medium for microgreens, an excellent sustainable option.

With its convenience, easy storage, and long-lasting plant life, this fiber soil is an excellent choice for indoor gardening.

7. Compressed Organic Potting Soil for Garden, Plants & Vegetables

Sizes available: 2 pounds

Pros:
  • Quickly expands to soil
  • Lightweight, compact, and easy to carry
  • Made of organic materials
  • Easy to wet and retains moisture
Cons:
  • Pack may be too small for some

This potting soil can grow four times its original size and produce three gallons of soil. So it’s a practical and effective alternative for gardeners.


This soil mix is perfect for growing microgreens and other small plants in containers inside or out. It’s composed of natural materials, including powdered coconut coir, worm castings, compost, humic acids, amino acids, kelp, and helpful GroBiotics like mycorrhizae.

Its nutrient-dense makeup includes over 55 trace minerals and other vital elements. The mixture quickly absorbs water and keeps the soil wet for three times as long as regular soil.


Plus, the resealable, foldable, and lightweight bag is useful for small and big gardening jobs since it reduces the need for storage space.

Person placing a variety of microgreens on a counter top.
8. Sungro Horticulture Black Gold All Organic Potting Soil

Sizes available: 8 quarts

Pros:
  • Made of 100% organic materials
  • Soil holds enough water for the plants and drains well
  • Lightweight, soft, and compact
  • Perlite and pumice provide air space
Cons:
  • May contain bugs and mold

Black Gold is well-known as an affordable and flexible alternative that doesn’t skimp on quality. The Organic Materials Review Institute lists this potting soil. So you know it meets their standards for growing organic food and fiber. It is also proudly made in the USA.

With its 100% organic base, this product delivers exceptional quality and performance. It also ensures the highest standards for environmental sustainability.


Its unique blend of screened earthworm castings, Canadian sphagnum peat moss, compost, and forest humus creates a nutrient-rich foundation for plant growth.

Also, the perlite and pumice provide excellent aeration, which is great for encouraging healthy growth in any garden. If you’re interested in organic gardening and want to improve your results, this potting soil is a great choice.

9. Espoma Organic Seed Starter Premium Potting Soil Mix

Sizes available: 8 quarts

Pros:
  • Adequate amount of nutrients essential for plant growth
  • Made of organic materials
  • Pre-mixed and ready to use straight out of the bag
  • Provides excellent soil drainage, aeration, and water retention
Cons:
  • Expensive

Espoma Organic Seed Starting Premium Potting Soil Mix is ideal for starting seeds and caring for early seedlings. It combines 75-85% peat moss, perlite, and aged humus perfectly. These ingredients work together to keep moisture while allowing air to circulate and drain.

The extra proprietary blend of 11 different strains of mycorrhizae encourages root development and nutrient absorption in your microgreens.


Plus, it is fortified with Espoma’s own Bio-tone mix. This mix of helpful microorganisms boosts nutrient uptake and encourages strong plant development.

And because you can use it with any seed or cutting, it’s a great option for beginner and professional gardeners.

10. Organic Potting Mix by Perfect Plants for All Plant Types

Sizes available: 8 quarts

Pros:
  • Organic composition
  • Easy to use and lightweight
  • Complete with the essential basic nutrients
  • Adequate aeration and drainage for healthy root development
Cons:
  • May require additional fertilizer for added nutrients

Perfect Plants Organic Potting Mix is a must-have for any indoor or outdoor gardener. This mix contains a combination of peat moss, perlite, aged pine bark, and coconut coir. So it offers excellent drainage, aeration, and moisture retention.

The added worm castings and organic fertilizers give your microgreens the nutrients they need for healthy growth. This potting mix also includes mycorrhizae, which aids in root growth and helps flush out harmful bacteria.

And besides preventing waterlogging, the resealable, heavy-duty bag provides convenient transport and storage.

11. Wonder Soil Organic Potting Soil

Sizes available: 12 quarts

Pros:
  • Made from natural and renewable coco coir
  • Excellent water retention and drainage
  • Neutral pH and sterile
  • Expands a lot after adding water
Cons:
  • It needs additional fertilization to thrive

Wonder Soil is formulated with worm castings, mycorrhizae, kelp, perlite, and more. These promote healthy root growth and maximize plant growth potential. It’s also peat-free and all-natural, so it’s safe for family pets.


This potting soil is a lightweight and eco-friendly option for growing microgreens. With excellent water retention, drainage, and aeration in the root zone, this soil mix can help you save up to 50% on water, fertilizer, and seed.

And because it’s compressed and dry, it’s easy to store and transport. When you’re ready to use it, mix it with water and watch it expand to four times its original size. It will also save you shed space and it’s easy to carry wherever you need it.

Microgreens growing stage by stage.

Understanding Key Soil Components

Every component of the soil, from its texture to its mineral content, plays a distinct role in plant growth. Understanding these elements can help gardeners tailor their soil mixes to the specific needs of microgreens.

Drainage

Drainage, a key component in gardening practices such as raised beds, sloped landscapes, and French drains, efficiently channels excess water away from plant roots, safeguarding them from root rot.

Root rot and other problems caused by overwatering may be avoided with good drainage. If the soil doesn’t drain properly, the roots might rot if constantly submerged in water.

Implementing effective drainage systems like gravel layers, perforated pipes, and swales not only deters stagnation but also fosters a conducive environment for robust root growth.

Aeration

Aeration, the process of introducing air into soil, promotes healthy root systems and efficient nutrient absorption. Well-aerated soils ensure that roots have ample oxygen, fostering robust growth.

Soil aeration is the presence of air spaces within the soil. Pockets like this let oxygen reach the plant’s roots, essential for its development. Roots will flourish in well-aerated soil, which will also help to prevent problems like compaction.

Nutrient Retention

Nutrient retention revolves around the soil’s competence in capturing and dispensing vital nutrients like nitrogen, phosphorus, and potassium to plants.


This capability guarantees that microgreens are steadily supplied with essential nourishment, such as calcium and magnesium, during their entire growth cycle.

Microgreens can get all the nutrients they need from the soil if they can retain them. Some soil mixes contain basic fertilizers. Some will need additional fertilizers from other sources.

Assortment of healthy microgreens.

Ingredients of High-Quality Soil Mix

A high-quality soil mix for microgreens combines both organic and mineral components, creating a balanced growing environment. The harmony between these elements determines the vitality and yield of the microgreens.

  • Peat Moss: Decomposed sphagnum moss that retains moisture and promotes aeration.


  • Coconut Coir: Fibrous coconut husks that retain moisture and provide good drainage.


  • Perlite: Expanded volcanic rock that improves aeration and drainage and prevents waterlogged roots.


  • Vermiculite: Expanded mineral that enhances moisture retention and nutrient availability.


  • Compost: Decomposed organic matter that adds nutrients and microorganisms and improves soil structure.


  • Worm Castings: Enriches soil with microbes and nutrients and promotes growth.


  • Biochar: Organic charcoal that boosts soil structure, moisture retention, and nutrient availability.


  • Mycorrhizae: Fungi that improve nutrient and water absorption.


  • Additional Amendments: Bat guano, fish meal, bone meal, or kelp meal. These provide nutrients and enhance microbial activity and soil structure.

Factors To Consider When Choosing a Potting Soil for Microgreens

Selecting the optimal potting soil for microgreens necessitates a thorough comprehension of vital elements such as soil pH, organic matter content, and drainage properties.

By considering factors like nutrient composition, texture, and microbial activity, you can tailor your soil mix to meet the specific requirements of these tender plants.

Soil Composition

Soil composition is a mosaic of sand, silt, clay, and organic matter, each contributing to the soil’s overall texture and drainage capabilities. A balanced composition is integral for the optimal growth of microgreens. It determines water drainage and root penetration. For microgreens, a well-aerated soil is usually recommended.

Your soil should be loose and well-draining. It should allow your microgreens’ roots to grow and prevent water from pooling around them.


A good soil mix for microgreens should be made up of 50% organic matter. Examples are peat moss or compost, and 50% inorganic matter, such as perlite or vermiculite.

Diagram of nutrients in organic soil.

pH Levels

The pH levels dictate the soil’s acidity or alkalinity, influencing nutrient availability to plants. Microgreens thrive in slightly acidic to neutral pH levels, with a pH between 6.0 and 6, to ensure maximum nutrient absorption.

The soil’s pH level can affect nutrient availability, which in turn affects the growth of microgreens. If your soil is too acidic or alkaline, it can affect the availability of nutrients, impacting their growth and health.

Nutrient Content

Nutrients like nitrogen, phosphorus, and potassium are essential for the robust growth of microgreens. Organic matter in the soil can serve as a slow-releasing nutrient source.

Choose a potting mix with the right balance of nutrients for your microgreens to thrive. A good soil mix should contain a balance of all three, with slightly higher nitrogen levels, promoting leafy growth.

Fertilizing Your Microgreens

Fertilizing microgreens supplements the existing nutrients in the soil, ensuring consistent growth and health. Choosing the right type and amount of fertilizer can elevate the quality and nutritional content of your crops.

Microgreens generally don’t require much fertilization. This is because they’re harvested early in their growth cycle. However, if you’re using a soil mix with low nutrient content, consider using a gentle, organic liquid fertilizer to support growth.

Follow the manufacturer’s instructions and avoid over-fertilizing. This can lead to nutrient imbalances and poor growth.

Preventing Soil-Borne Diseases

Implementing strategies such as sterilization and choosing disease-resistant soil mixes can safeguard your crops from detrimental pathogens. Preventing soil-borne diseases is crucial for the health and longevity of microgreens.

One of the challenges in growing microgreens is preventing soil-borne diseases. Here are some tips to help minimize the risk:

  1. Use high-quality soil mixes.

  2. Avoid overwatering your microgreens.

  3. Provide proper airflow and avoid overcrowding.

  4. Clean and sanitize your growing trays between harvests.

What symptoms to look for?

Yellowing leaves or stunted growth are common symptoms of soil-borne diseases in microgreens. Monitoring these signs early can help you take corrective actions.

  • Root rot- black spots

  • Damping off (thinning of the stem)

  • Wilting of the plant

  • Leaf or stem discoloration

  • Stunted growth

  • Odd shaped leaves


H/T to @best4soilnetwork829 for their video: Soil-borne Diseases Practical Information


FAQs About the Best Soils for Growing Microgreens

What soil should I use for microgreens?

The best soil combination is coco peat or peat moss, vermiculite, and perlite. Avoid using commercial garden soil because it’s too dense. It won’t let the roots grow and spread.

How often should I water my microgreens?

You should water your microgreens once a day or as needed to keep the soil moist.It depends on the soil moisture. Still, it’s essential to keep the soil consistently moist but not saturated.

Do I need to fertilize my microgreens?

You don’t need to fertilize microgreens if you are using high-quality soil. But if your microgreens aren’t growing quickly, you can add a small amount of organic fertilizer to the soil.

How long does it take for microgreens to germinate?

Microgreens typically germinate within 3-7 days, depending on the variety and growing conditions.


Photo of microgreens growing in soil.

Key Takeaways: The Best Soils for Growing Microgreens

The best soils for growing microgreens should offer a fine balance of drainage, nutrient content, and pH levels. Ultimately, the choice may vary depending on your specific microgreens variety and growing conditions.

Choosing the right soil for growing microgreens is crucial to their growth and overall health. This will lead to a satisfying harvest of nutritious and tasty greens to enjoy in your favorite dishes. A


A small indoor microgreens garden makes a great addition to your prepper food supply. Having the ability to grow these indoors is a great skill to have in a survival scenario.

If you want to know which of these we prefer, we really like #2 FoxFarm Happy Frog Potting Soil. We have had success with this product and it is more affordable than some of the other brands.

Let us know in the comments below what your favorite “go to” soil mix is and why you like it.

Pin It on Pinterest